4 | Components
Service manual
55
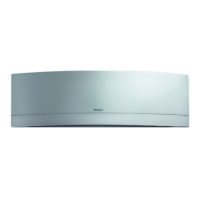
RXJ20~50A + FTXJ-A(W)(S)(B)
Split Emura 3 R32
ESIE22-04 – 2022.04
a Arm
b Shaft slot
c Shaft
5 Remove the front panel.
6 To re-install the front panel, perform the steps in the opposite order.
To remove the front grille
CAUTION
Wear adequate personal protective equipment (protective gloves, safety glasses,…)
when installing, maintaining or servicing the system.
1 Open the front panel. See "4.1Plate work"[448].
2 Remove the service cover. See "4.1Plate work"[448].
3 Remove the wire harness from the wire clamp, disconnect the connector and
place it in the connector holder.
4 Position the flap carefully by hand, so it does not to get caught during front
grille removal.
5 If already installed, remove the 2 screw covers using a long flat plate such as a
ruler wrapped in a cloth and remove 2 screws.
a Connector
b Wire clamp
6 Push the front grille up and then towards the mounting plate to remove the
front grille from the 3 hooks.
draft–22/04/2022 08:50

 Loading...