4 | Components
Service manual
57
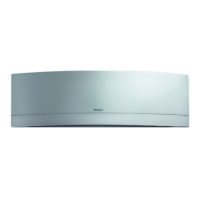
RXJ20~50A + FTXJ-A(W)(S)(B)
Split Emura 3 R32
ESIE22-04 – 2022.04
NOTICE
When closing the service cover, make sure that the tightening torque does NOT
exceed 1.4(±0.2)N•m.
TO REMOVE THE ELECTRICAL WIRING BOX COVER
Prerequisite: Remove the front grille.
1 Remove 1 screw from the electrical wiring box.
2 Open the electrical wiring box cover by pulling it to the front.
3 Remove the electrical wiring box cover from the 2 rear hooks.
a Screw
b Electrical wiring box
c Rear hook
4 To re-install the cover, first attach the electrical wiring box to the hooks, close
the electrical wiring box, and re-install the screw.
NOTICE
When closing the electrical wiring box cover, make sure that the tightening torque
does NOT exceed 2.0(±0.2)N•m.
To remove the switch box
Prerequisite: Stop the unit operation via the user interface.
Prerequisite: Turn OFF the respective circuit breaker.
Prerequisite: Remove the required plate work, see "4.1Plate work"[448].
1 Disconnect the power supply wiring from the power supply terminal X1M.
2 Remove the screw and power supply wiring bracket.
3 Pull the clip and remove the heat exchanger thermistor from its holder.
4 Remove the screw to disconnect the grounding wire from the heat exchanger
draft–22/04/2022 08:50

 Loading...