3 | Components
Service manual
135
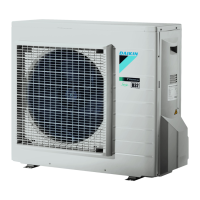
RXM20~71R + ARXM25~71R + FTXM20~71R + ATXM25~50R +
FVXM25~50A
Split New Perfera R32
ESIE20-11 – 2021.01
To check the fuse of the main PCB
Prerequisite: First perform all earlier main PCB checks, see "Checking
procedures"[4132].
1 Measure the continuity of the fuse. If no continuity is measured, the fuse has
blown.
a Fuse F1U
b Fuse F2U
c Fuse F3U
Blown fuse on the main PCB? Action
Yes Replace the main PCB, see "Repair
procedures"[4138].
No Return to "Checking
procedures"[4132] of the main PCB
and continue with the next procedure.
To check the rectifier voltage of the main PCB
Prerequisite: First perform all earlier main PCB checks, see "Checking
procedures"[4132].
1 Turn ON the power of the unit.
2 Measure the voltage on the rectifier voltage check terminals (+ and –) on the
main PCB.
Result: The measured voltage MUST be approximately 300~350VDC.
a + terminal
b – terminal

 Loading...


