3 | Components
Service manual
92
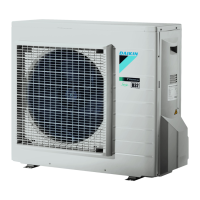
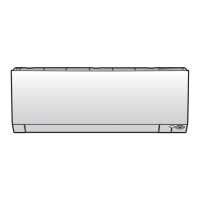
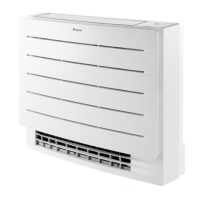
RXM20~71R + ARXM25~71R + FTXM20~71R + ATXM25~50R +
FVXM25~50A
Split New Perfera R32
ESIE20-11 – 2021.01
3 Manually rotate the fan and check the friction of the DC fan motor shaft
bearing.
Is the DC fan motor shaft friction
normal?
Action
Yes Perform an electrical check of the DC
fan motor assembly, see "Checking
procedures"[491].
No Replace the DC fan motor assembly, see
"Repair procedures"[492].
To perform an electrical check of the DC fan motor assembly
Prerequisite: First perform a mechanical check of the DC fan motor assembly, see
"Checking procedures"[491].
1 Remove the cover from the switch box; see "3.14Plate work"[4151].
2 Disconnect the DC fan motor connector from the appropriate PCB.
3 Measure the resistance between the pins 1-2, 1-3, and 2-3 of the DC fan
motor connector.
Result: All measurements MUST be approximately the same.
DC fan motor measurements are
correct?
Action
Yes Return to the troubleshooting of the
specific error and continue with the
next procedure.
No Replace the DC fan motor, see "Repair
procedures"[492].
Repair procedures
To remove the DC fan motor assembly
Prerequisite: Stop the unit operation via the user interface.
Prerequisite: Turn OFF the respective circuit breaker.
Prerequisite: Remove the required plate work, see "3.14Plate work"[4151].
1 Remove the switch box, see "3.14Plate work"[4151].
2 Click the indoor unit fan motor cover out of the indoor unit. If needed, remove
the screw (if installed) on the right hand side of the fan motor cover for easier
removal.

 Loading...


