INSTALLATION INSTRUCTIONS
ASSEMBLY AND INSTALLATION
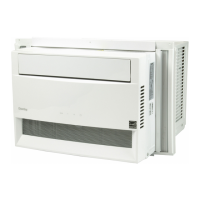
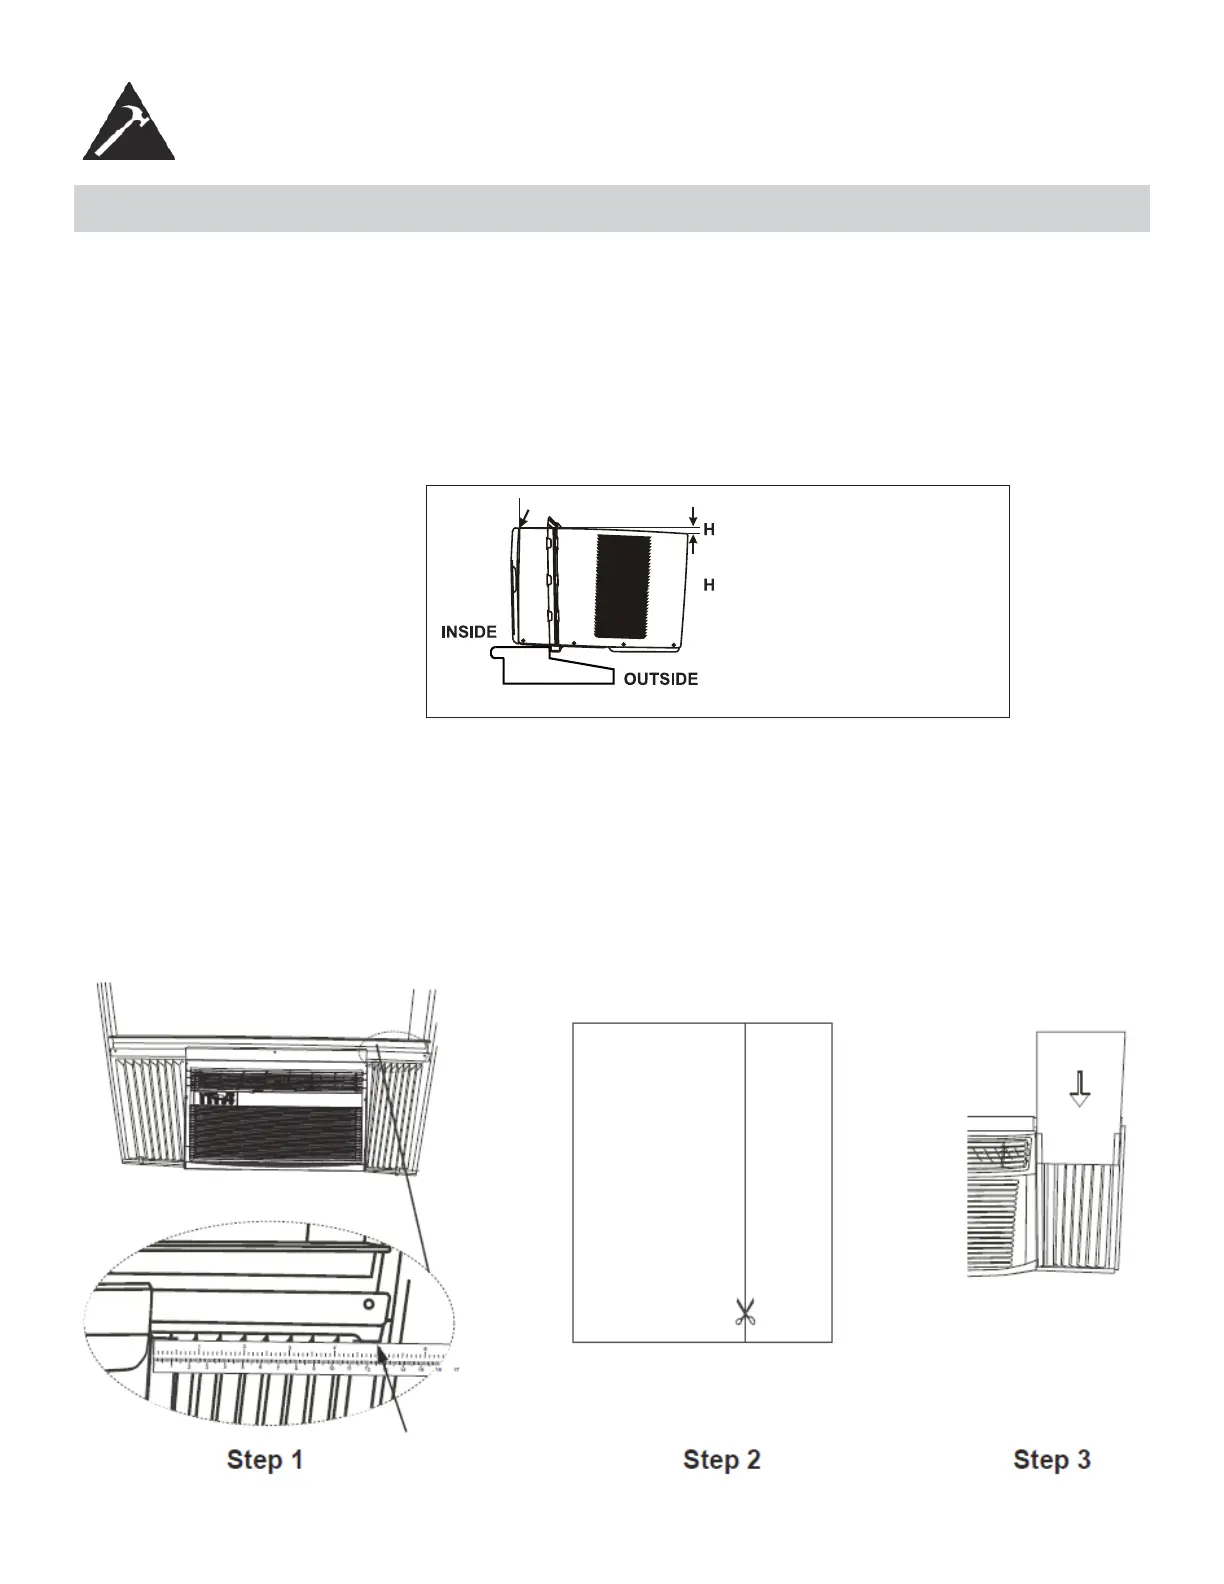
Check that the air conditioner is tilted downwards to the outside, about 3° to 4°, as shown in Fig. 7. After proper installa-
tion, condensed water should not drain from the overfl ow drain hole during normal use. If you notice water leaking out,
check the angle of tilt, and make any necessary adjustments. However, on a very humid day, water leakage can occur –
this is normal.
Note: To achieve 3° to 4°, you must measure the H, see fi gure 7.
Measure the tilt angle from the cabinet’s edge. The distance H should be approximately 3/4 in. to 1 in. (19 mm - 2.5 cm)
for DAC060BEUWDB and DAC080BEUWDB. The distance H should be approximately 1 in. to 1 3/8 in. (2.5 cm - 3.5 cm)
for DAC120BEUWDB.
Fig. 7
Measure the tilt angle from the cabinet’s edge
WINDOW
: approximately 3/4 in. (19 mm) to
1 in. (2.5 cm) for
: approximately 1 in. (2.5 cm) to
1 3/8 in. (3.5 cm) for
DAC060 and DAC080
4. Installing the Energy Effi cient Foam Insert
• After the unit is installed in the window, measure the width of the side curtain.
• If necessary, cut the foam insert down to the width of the side curtain.
• Slide the foam insert into the side curtain.
• Repeat for the other side. (See below)
NOTE: Apply the supplied weather-stripping where needed (cracks and spaces between the foam insert, window
kit and window frame).
7
DAC120