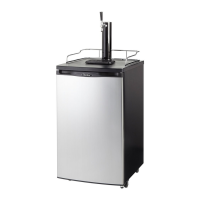
Beer Keg Installation Instructions
INSTALLATION OF CO2
AIR LINE HOSE TO
REGULATOR
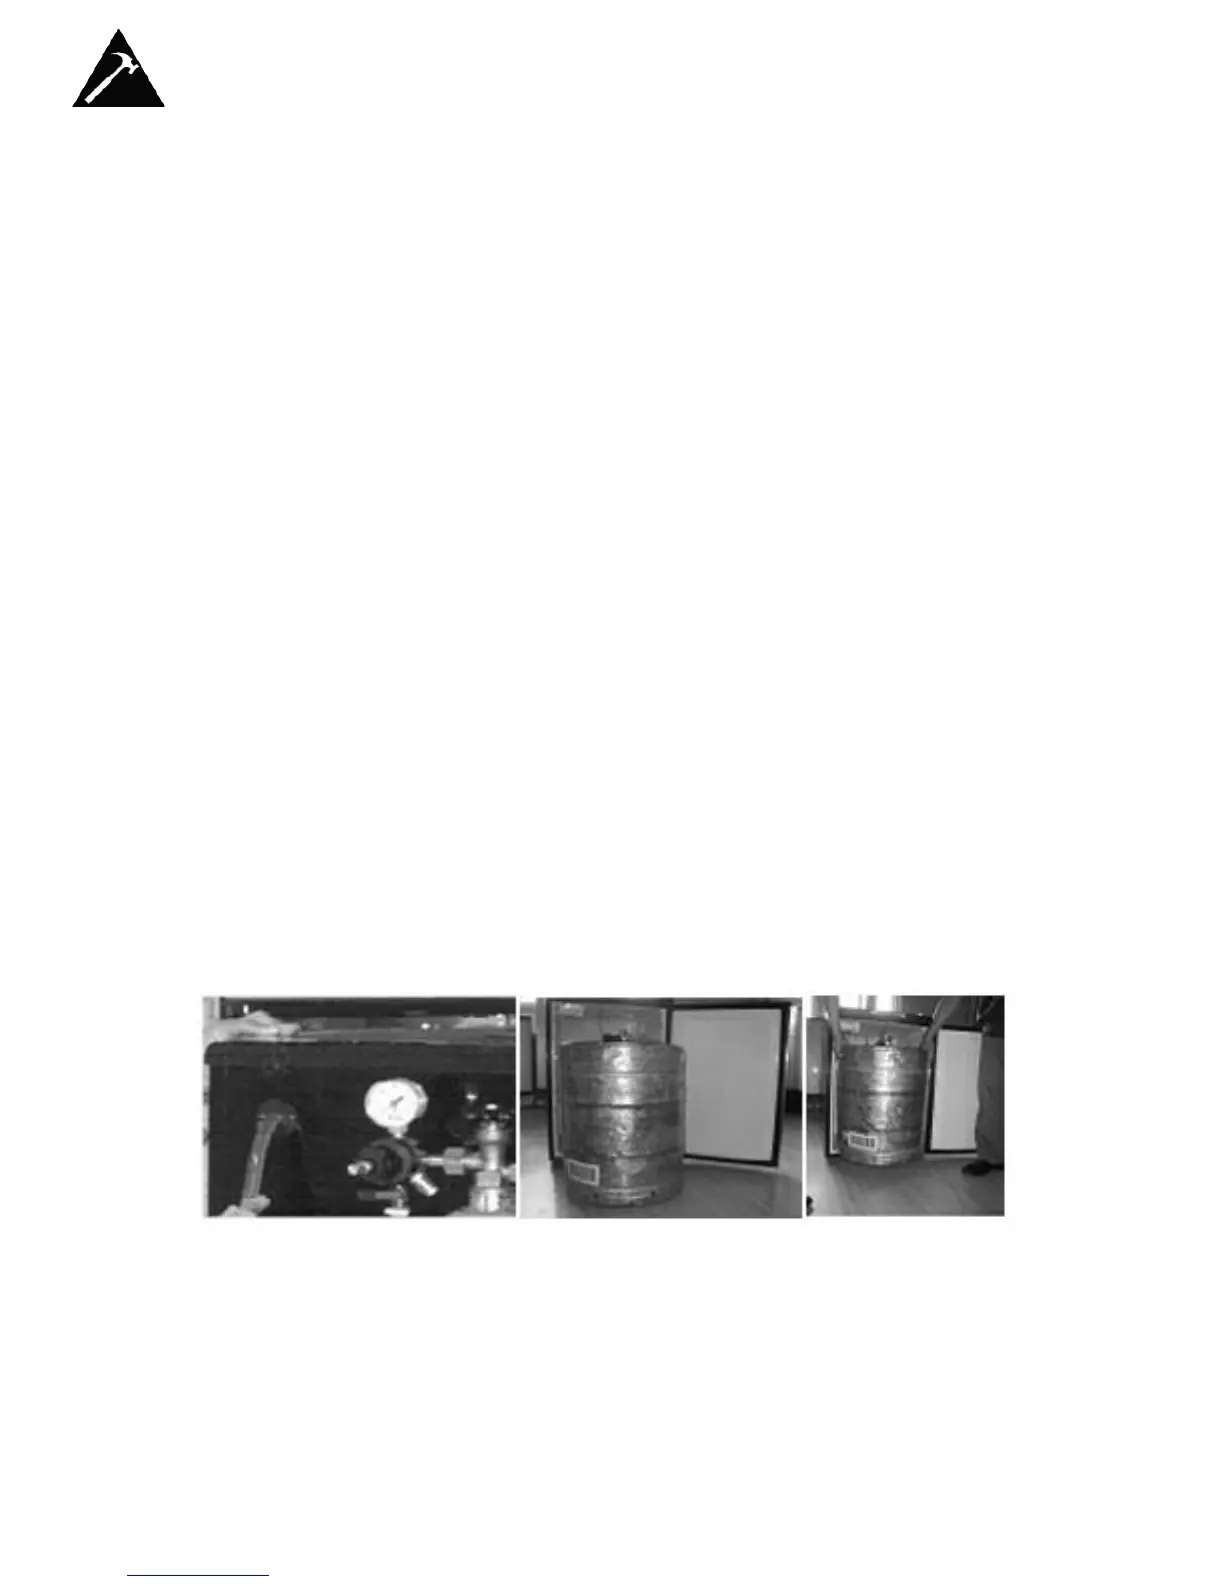
• Attach the open end of the red hose to the hose barb connection on the
regulator
• Secure hose by using one clamp provided. Use pliers/screwdriver to
tighten clamp to prevent leaks. (See Figure 3)
INSTALLATION OF THE
BEER TOWER
• Remove the top plug by twisting and pulling out, saving it for later use if
you decide to convert unit to an all refrigerator unit.
• Unravel the beer line (clear hose) from the tower and insert the beer line
and wing nut through the uncovered hole on top.
• Lock the beer tower assembly to the top and make sure to position the
beer faucet so it is aligned with the cabinet front (6 o’clock position). You
accomplish this by aligning the bottom of the beer tower to the 3 grooves
on the top cabinet and tighten by hand clockwise to properly lock.
• The plastic gasket (# 2 in parts list), can be used to make the connection
between the tower and the cooler tighter if needed. If Beer Tower will not
turn to lock in place, try removing the plastic gasket.
INSTALLATION OF
PROTECTIVE METAL
PLATE
• This plate should always be installed when the keg is in place to protect
against unnecessary damage to the floor of the cabinet.
INSTALLATION OF THE
BEER KEG
• Position the beer keg directly in front of the open door. Using keg
handles only, carefully lift the beer keg. (See Figure 5)
• To place the beer keg inside the cabinet, brace your knees behind the
beer keg. Lift the front of the keg just enough so the front edge of the
keg is resting on the front edge of the Beer Dispenser bottom cabinet.
(See Figure 6)
• Grasp the keg handles and slide it all the way into the cabinet.
Figure 4
Figure 5 Figure 6
INSTALLATION OF THE
KEG COUPLER
• Insert the keg coupler provided into the locking neck of the beer keg and
turn it clockwise to lock into position, making sure the keg coupler is in
the closed position. (See Figure 7)
9