-9-
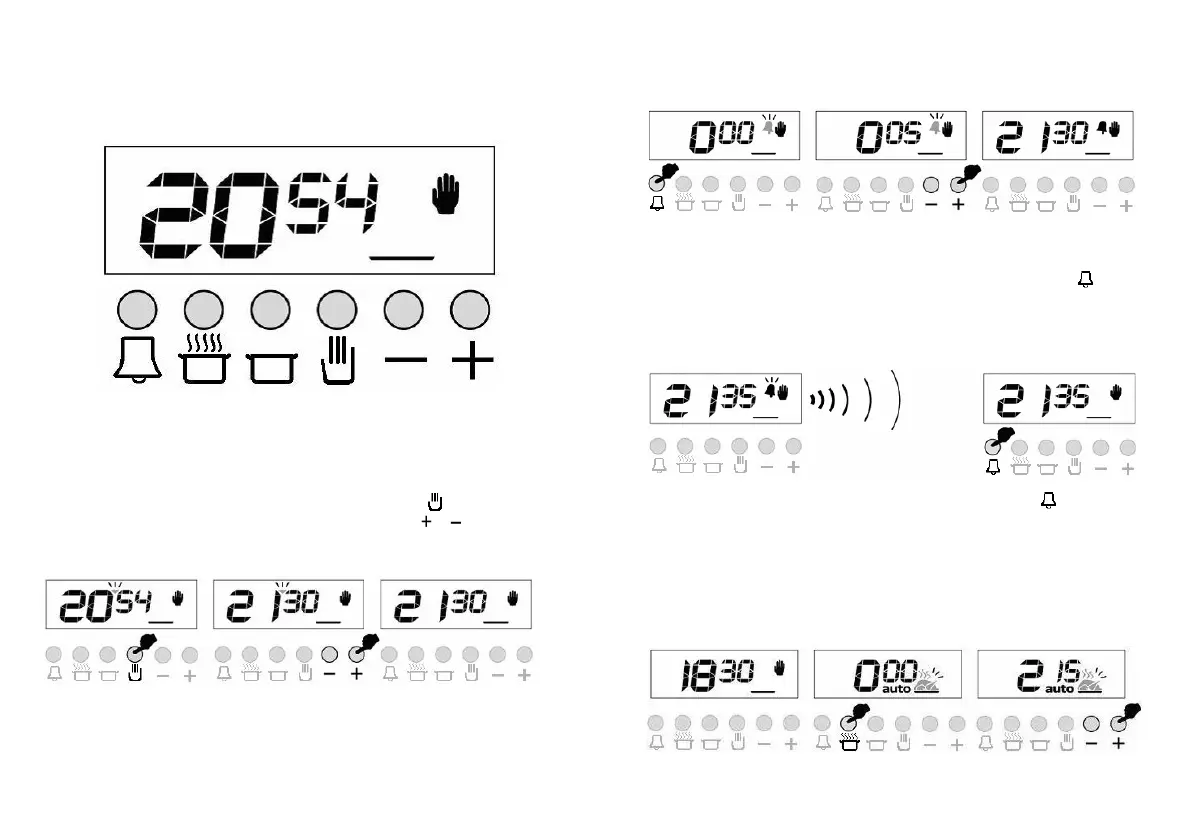
ADJUSTING THE BUZZER ALARM
With this feature, you can program after how much elapsed time you should be warned
by a buzzer sound.
1) Switch into buzzer alarm 2) Give in the period of 3) After a few seconds screen
mode. time to be counted down will return to clock mode
Note: Once programmed, the remaining time can be seen by pressing the button
once
CANCELLING THE BUZZER SOUND
1) Buzzer will sound after the programmed 2) Press the button to cancel.
amount of time elapses.
AUTOMATIC COOKING PROGRAM
If you want to start cooking immediately, you just have to give in the cooking time.
Example: We placed our food into the oven and want it to be cooked for 2 hours and 15
minutes.
1) Current time is 18:30. 2) Switch into cooking time 3) Adjust the cooking time using
mode.
the + or – buttons.
-2-
SECTION 7 ADJUSTMENT of TIMER
SETTING ELECTRONIC TIME
� You must set timer before using your oven. Otherwise, your oven
will not operate.
� Power is supplied to the heating elements through the programmer
clock. In order to turn the heating elements on, the clock must be
programmed.
� The clock/timer of the oven functions in the same way as a normal
clock. In case of electricity failures, the clock is reset. If the mains supply
frequency is under 50 Hz, the clock will be slower. It is not a failure of the
clock. In such cases, readjust the clock.
BY USING THE CLOCK/PROGRAMMER IT IS POSSIBLE TO:
1. Set cooking time between 0-12 hours.
2. Use it as alarm clock between 0-12 hours.
3. Program full automatic, semi automatic or manual cooking.
You can see cooking time by pressing
button and cooking end time
by pressing stop switch. Day real time will be displayed again 5 seconds
after pressing it.
AUTO: Shines steadily when the oven is programmed.
: Shines steadily when the oven is running.
: Shines steadily when the alarm is programmed
1. Set day time while pressing STOP and
and
pressing “-“ or “+”.
You can increase number one by one by pressing “-“, “+”
as well as you can increase the number fast by hold it
pressed.
2. When you release the button, the clock/timer and your
oven starts functioning manually.
If you do not want the oven to function, “Oven control”
switches should be off. If full or semi-automatic
programming has been made before, clock/timer can not
be set without deactivating the program.(see clock / timer
reset).
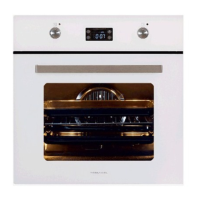
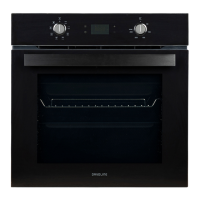
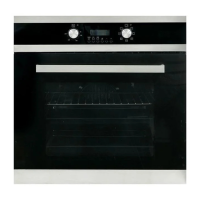
OT-3000-LCD OVEN TIMER USER MANUAL
GENERAL OVERVIEW
OT-3000-LCD is an electronic timer, which enables your oven to get the food ready to
serve at the desired time. The only thing to be done is to program the cooking time and
ready time. It can also be used as an alarm clock, where you just give in the amount of
time after which it should remind you by a buzzer tone.
TIME OF DAY ADJUSTMENT
You can adjust the displayed time only if no automatic cooking program is in progress
(there is just the time and the hand icon on the screen). Press the
button, a small
triangle between the hours and minutes will s
tart to flash, use the
or buttons for
adjustment. Long presses of those buttons will enable fast adjustments.
1) Switch into time 2) Adjust the time using 3) Screen will be
adjustment mode. the + or – buttons. stabilized in 5 seconds.
-1-
 Loading...