EasyManuals Logo

Daymak Tokyo User Manual

Daymak Tokyo
27 pages
To Next Page IconTo Next Page
To Previous Page IconTo Previous Page
Page #5 background imageLoading...
Page #5 background image
5
Bicycle Part Diagrams
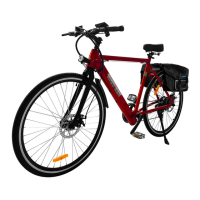
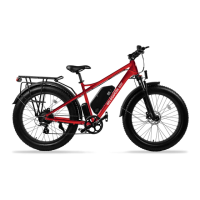
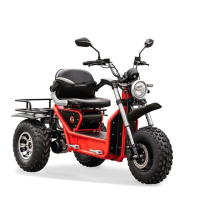
Diagram 1: The Tokyo Electric Bicycle
This diagram illustrates the various parts of your bicycle. Please note that many of these parts are not us-
er-serviceable and should be repaired only by trained professionals. This is especially true of the electrical
systems and the mechanical components.
1
2
3
4
5
6
7
8
12
10
11
9
17
19
18
13
14
15
16
1. Seat
2. Taillight
3. Rear Mudguard/Fairing
4. Rear Wheel
5. Rear Shock Absorber
6. Hub Motor
7. Controller (inside)
8. Kickstand
9. Battery (inside)
10. Battery charger slot
11. Front Fork
12. Wheel Rims
13. Tire
14. Front Mud Guard
15. Headlight
16. On / Off key switch
17. Handlebars
18. Pedals
19. Seat Compartment

Questions and Answers:

Question and Answer IconNeed help?

Do you have a question about the Daymak Tokyo and is the answer not in the manual?

Daymak Tokyo Specifications

General IconGeneral
BrandDaymak
ModelTokyo
CategoryScooter
LanguageEnglish

Related product manuals