202 E
R
Operating instructions and warnings
10
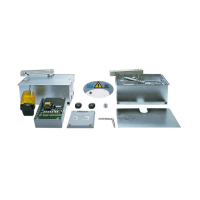
programming function or to exit the programming (all leds are turned off).Radio control memory reset:
1. Press repeatedly the “SEL” key until the RADIO led turns on.
2. Press the “SEL” key and continue to press it until the led starts quickly flashing (under cancellation),
release the key.
3. Wait for the led to light up (cancellation settled). At this point press the “SEL” key to select any other
programming function or to exit the programming (all leds are turned off).
Please note: the control board detects automatically the type of radio control at first learning (dipswitch or
rolling code), in the future it will receive only same coding radio controls.
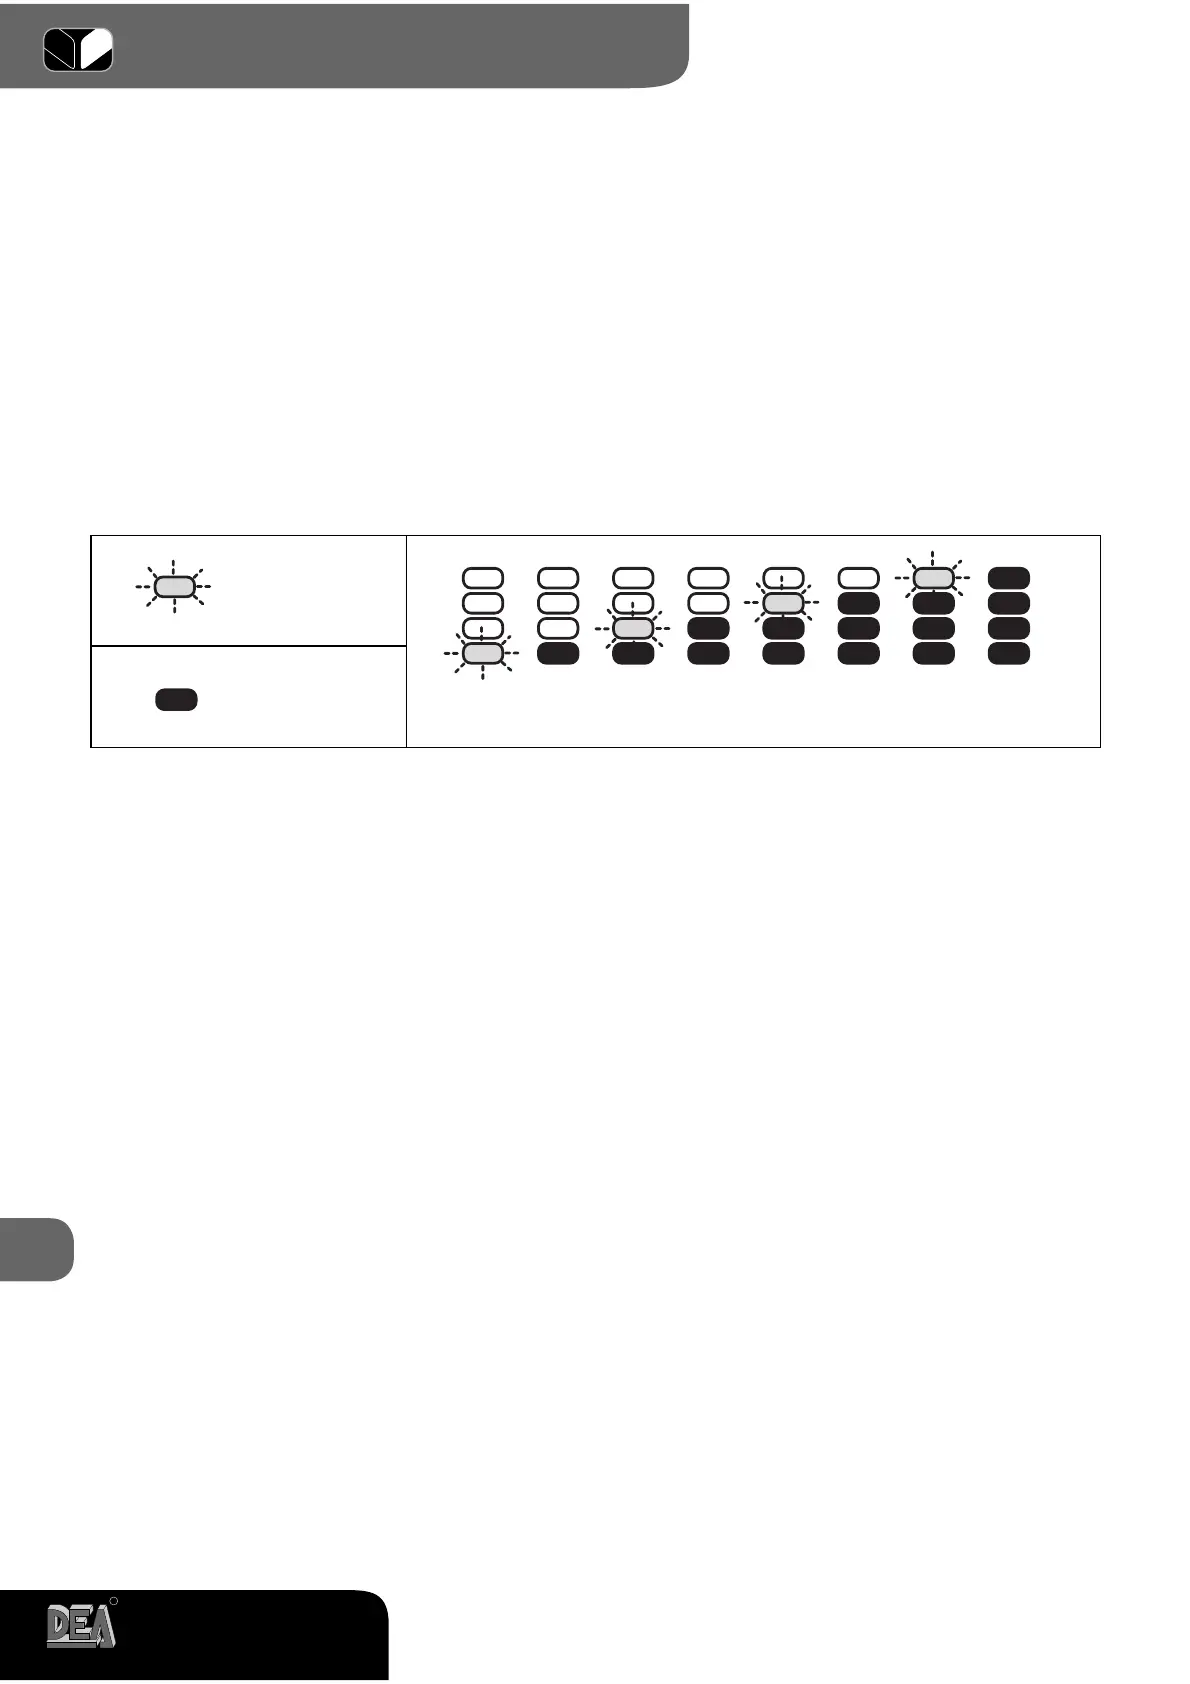
8.2 Operator force adjustment
1. Press repeatedly the “SEL” key until the led “FORZA” lights up.
2. Press the “SET” key and soon release: the display shows the force value settled at the moment (8 levels
are available, see table).
Force Level
Led flashing
30%
40% 50%
60% 70%
80%
90%
100%
Led lighted on
with fixed light
3. Press the “SEL” key to obtain the configuration led corresponding to the desired force value.
4. Press the “SET” key and soon release: the “FORZA” led lights fixed up (new memorized force value). At
this point, press the “SEL” key to select any other programming function or to exit the programming
(all leds are turned off).
8.3 Functioning program selection (reversal or step by step)
1. Press repeatedly the “SEL” key until the “PROG” led is lighted on.
2. Press the “SET” key and soon release: “PROG” led starts flashing and shows the selected program
(quick flashing = reversal; slow flashing = step by step).
3. Press the “SEL” key to change the functioning program type.
4. Press the “SET” key and soon release: “PROG” led lights on again and fixed (new memorized pro-
gram). ). At this point press on the “SEL” key to select any other programming function or to exit the
programming (all leds are turned off).
8.4 Operation times learning
1. Press repeatedly the “SEL” key until the “TEMPI” led is lighted on.
2. Press the “SET” key and continue pressing it until the “TEMPI” led starts quickly flashing and shows that
working times learning is started, release the key.
3. Give a START impulse: motor 1 starts opening.
4. Wait for desired delay between the leaves.
5. Give a START impulse: motor 2 starts opening.
6. When motor 1 arrives at the stop, give a START impulse: motor 1 stops
7. When motor 2 arrives at the stop, give a START impulse: motor 2 stops
8. Give a START impulse: time counting of the automatic closing starts. (to deactivate the automatic clo-
sing, press continuously until motor 2 starts closing and go directly to point 11)
9. Wait for desired auto-closing time.
10. Give a START impulse: motor 2 starts closing.
11. Wait for desired delay between the leaves.
12. Give a START impulse: motor 1 starts closing.