Do you have a question about the Decorotika Labrina Bookcase and is the answer not in the manual?
| Category | Indoor Furnishing |
|---|---|
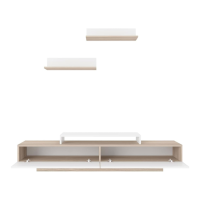
| Color | White |
| Assembly Required | Yes |
| Number of Shelves | 5 |
| Depth | 30 cm |
Valued customer information, product quality checks, and general advice for furniture assembly.
Guidance on preparing tools, selecting a suitable installation surface, and seeking assistance.
Comprehensive list of all parts and hardware required for assembling the bookcase.
Instructions for attaching pieces #4, #9, and #12 to piece #03 using screws.
Attaching pieces #2 to #3 and piece #1 to #02 using screws.
Attaching piece #8 to piece #1 using screws.
Placing pieces #2 between #8 and #9, and attaching #2 to #12 using screws.
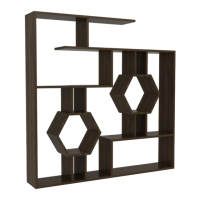
Assembling pieces #10 and #11 into a hexagonal shape using screws.
Securing the hexagon part to pieces #4 and attaching piece #5 to the hexagon.
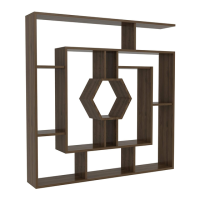
Placing piece #6 between piece #5 and #12 and securing with screws.
Attaching piece #13 to #2 and #1, and piece #4 to the hexagon top.
Attaching piece #2 to pieces #7 using screws.
Securing the assembled part from step i to the top of the bookcase.
Attaching piece #14 to the top of the bookcase using screws.
Using L brackets (A35) and screws (A18) to prepare for wall mounting.
Marking, drilling, inserting rawlplugs, and screwing brackets to the wall.
Applying stickers (A07) for aesthetic enhancement.