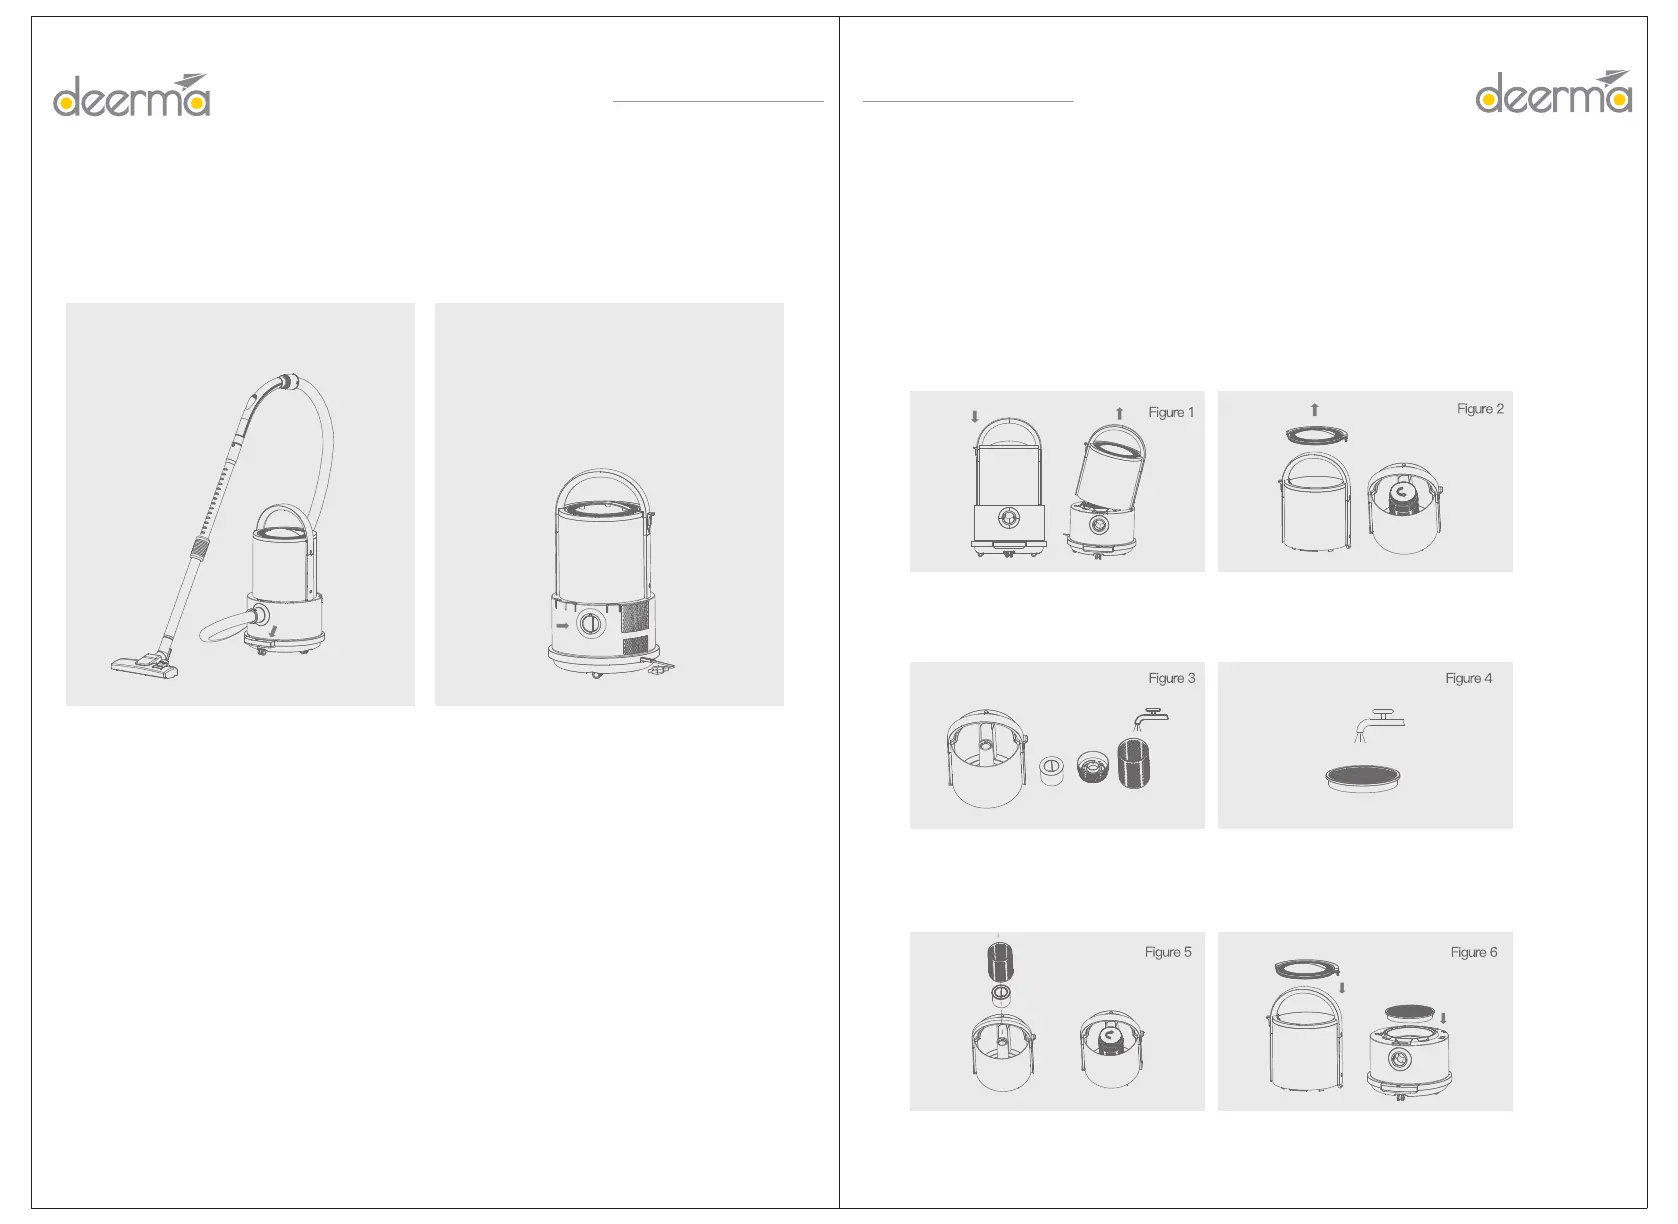
V. Insert the power cord plug to the power
socket, and stamp the foot pedal to start the
vacuum cleaner.
VI. A normally-closed blowing port is provided
at the rear of the main body seat. If there is
any need of air blowing, insert the hose
connector to the port and rotate the connector
clockwise to lock the hose connector to the
port. Then, air will blow strongly from the hose
handle connector. The blo-wing port is
normally closed and is only opened when the
hose connector is inserted.
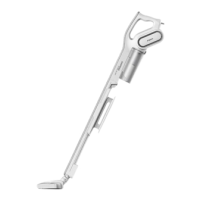
Cleaning and maintenance
Cleaning of dust bin
1. Press the release push button of the dust bin, and simultaneously lift the dust bin slightly to
detach the dust bin from the main body.
2. If it is required to remove the upper lid of the dust bin, hold the handle with one hand, and
underprop the dust bin bottom with the other hand. Empty the waste from the dust bin into
the trash can, and then rotate the cyclone column counterclockwise to remove it.
3. Clean the cyclone column, cyclone
cover,
floater
and dust
bin with water.
4. The dust attached to the HEPA 1ilter can be directly flushed away with water.
Cleaning frequency is dependent in the actual use. It is suggested to gently pat the
HEPA 1ilter after each time of use to prevent dust accumulation and ensure effects.
The washed 1ilter must be installed back to the main body after completely dried.
5. Assemble the floater and cyclone cover back to the dust bin (the floater must be installed
along the direction indicated by the arrow marl<). Align the cyclone column to the slot at
the inner pillar of the dust bin, and rotate the column clockwise to lock it properly.
6. Install the upper lid and HEPA filter (the HEPA filter must be completely dried ) back to
the dust bin and main body seat respectively. Continue using the cleaner after installing the
dust bin back to the main body seat.
Note: 1. The floater must be installed along the direction indicated by the arrow mark on it;
otherwise, the safety water stop valve will be damaged;
2. As the floater shall float up and down in the dust bin, after the correct installation of the cyclone
column, there will be sound caused by the active floater if the dust bin is shaken, which is normal;
Please read this manual carefully before use. Instruction
Manual for Handheld Wireless Vacuum Cleaner
Please read this manual carefully before use.
Instruction Manual for Handheld Wireless Vacuum Cleaner
Deerma Vacuum Cleaner
Deerma Vacuum Cleaner