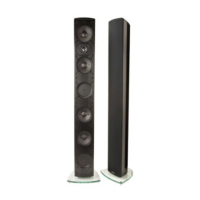
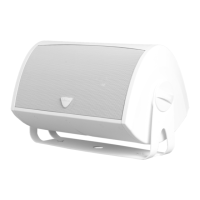
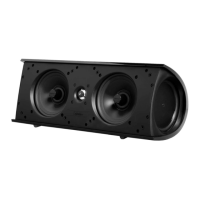
MYTHOS XTR-50
7.
Pre-drill
the pilot-hole locations
for
mounting
screws
(not included).
Use
flat
head
screws
rated to hold securely in the
waIl
material and
have
screws
heads between 0.25 inch (6.4mm) and 0.33 inch
(8.4mm) in diameter.
Figure 7
••
Figure 6
•
·.
O'
•
,~,
.':'1"
•
~-'
t__---
~._.
••
'0
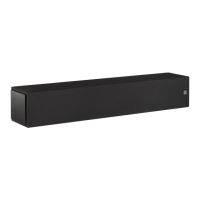
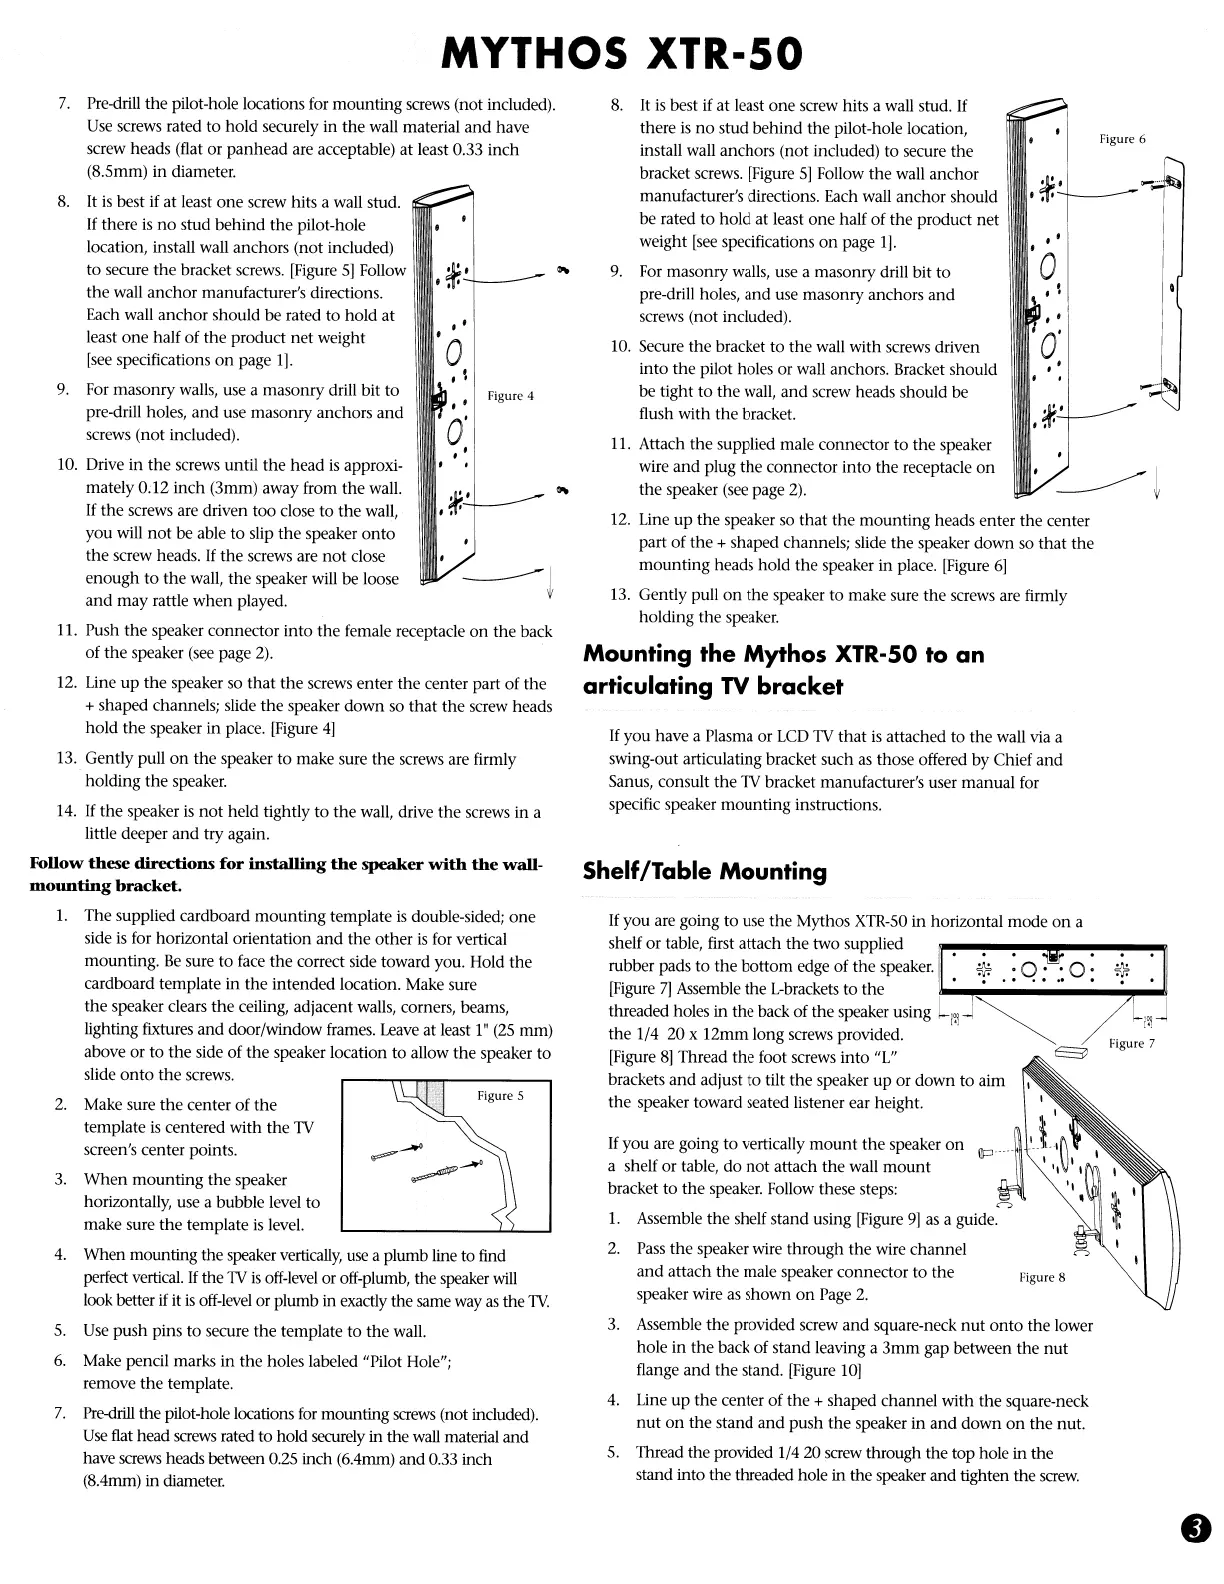
If
you are going to use the Mythos
XTR-50
in horizontal mode
on
a
shelf or table, first attach the two supplied
rubber pads to the bottom edge of the speaker.
*.
O·
. 0 .
[Figure
7]
Assemble the L-brackets to the
'.
.,
.•.•
•
threaded holes in the back of the speaker using
Li~J~
the 1/4 20 x 12mm long screws provided.
~
[Figure
8]
Thread the foot screws into
"L"
~
brackets
and
adjust
to
tilt the speaker
up
or down
to
aim
the speaker toward seated listener ear height. ' ,
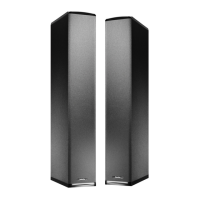
If
you are going
to
vertically
mount
the speaker
on
IP'J---
.,
__
~.,~
I
a shelf or table,
do
not
attach the wall
mount
"~
I
bracket
to
the
speaker. Follow these steps: " I
r;,
1.
Assemble the shelf stand using [Figure
91
as
a guide.
2.
Pass
the speaker wire through the wire channel
and
attach the male speaker connector
to
the !'igure 8
speaker wire
as
shown
on
Page
2.
3.
Assemble the provided screw
and
square-neck
nut
onto
the lower
hole in
the
back of stand leaving a
3mm
gap between the
nut
flange and
the
stand. [Figure
10]
4.
Line up the center of the + shaped channel with the square-neck
nut
on
the stand and push the speaker in and down
on
the nut.
5.
Thread the provided
1/420
screw through the top hole in the
stand into the threaded hole in the speaker
and
tighten the
screw.
If
you have a Plasma or
LCD
TV
that
is
attached
to
the wall
via
a
swing-out articulating bracket such
as
those offered by Chief
and
San
us,
consult the
TV
bracket manufacturer's user manual
for
specific speaker mounting instructions.
12. Line
up
the
speaker so that the mounting heads enter the center
part of the
+ shaped channels; slide the speaker down
so
that the
mounting
heads hold
the
speaker in place. [Figure
6]
13. Gently pull
on
the speaker
to
make sure the screws are firmly
holding the speaker.
8.
It
is
best if at least one screw hits a wall stud.
If
there
is
no
stud behind the pilot-hole location,
install wall anchors (not included) to secure the
bracket screws. [Figure
5]
Follow
the
wall anchor
manufacturer's directions. Each wall anchor should
be rated to hold at least one half of the product net
weight
[see
specifications
on
page
1].
9.
For
masonry walls,
use
a masonry drill bit
to
pre-drill holes,
and
use masonry anchors and
screws (not included).
10.
Secure
the
bracket
to
the wall with screws driven
into the pilot holes or wall anchors. Bracket should
be tight
to
the wall,
and
screw heads should be
flush with
the
bracket.
11. Attach the supplied male connector to the speaker
wire and plug the connector into the receptacle
on
the
speaker (see page
2).
Shelf/Table Mounting
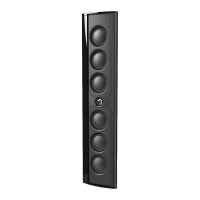
Mounting the Mythos
XTR-SO
to an
articulating
TV
bracket
Figure 4
Figure 5
---
••
••
•
·.
0'
I
o
,j;,'
.':J.-J....._-
.~-'+----
2.
Make sure
the
center of the
template
is
centered with the
TV
screen's center points.
3.
When
mounting the speaker
horizontally, use a bubble level to
make sure the template
is
level.
4.
When mounting the speaker
vertically,
use
a plumb line to find
perfect vertical.
If
the
TV
is
off-level
or off-plumb, the speaker
will
look better
if
it
is
off-level
or plumb in exactly the same
way
as
the
TV.
5.
Use
push pins to secure the template
to
the wall.
6.
Make pencil marks in
the
holes labeled "Pilot Hole";
remove the template.
10. Drive
in
the screws until the head
is
approxi-
mately 0:12 inch (3mm) away from
the
wall.
If
the
screws are driven too close
to
the wall,
you will
not
be able to slip the speaker
onto
the
screw heads.
If
the screws are not close
enough to the wall, the speaker will be loose
and
may rattle
when
played.
11. Push
the
speaker connector into the female receptacle
on
the back
of the speaker
(see
page
2).
12. Line
up
the
speaker so
that
the screws enter the center part of the
+ shaped channels; slide
the
speaker down
so
that
the screw heads
hold the speaker in place. [Figure
4]
9.
For
masonry walls, use a masonry drill bit
to
pre-drill holes,
and
use masonry anchors
and
screws (not included).
7.
Pre-drill the pilot-hole locations for mounting screws (not included).
Use
screws rated to hold securely in the wall material
and
have
screw heads (flat or panhead are acceptable)
at
least 0.33 inch
(8.5mm) in diameter.
8.
It
is
best if at least one screw hits a wall stud.
If
there
is
no
stud behind the pilot-hole
location, install wall anchors (not included)
to secure
the
bracket screws. [Figure
5]
Follow
the wall anchor manufacturer's directions.
Each wall anchor should be rated
to
hold at
least
one
half of the product net weight
[see
specifications
on
page
1].
13. Gently pull
on
the speaker to make sure the screws are firmly
holding
the
speaker.
14.
If
the
speaker
is
not
held tightly to the wall, drive the screws in a
little deeper
and
try again.
Follow
these
directions
for
installing
the
speaker
with
the
waU-
mounting
bracket.
1.
The supplied cardboard mounting template
is
double-sided;
one
side
is
for horizontal orientation and the other
is
for vertical
mounting.
Be
sure
to
face
the
correct side toward you. Hold the
cardboard template in the intended location. Make sure
the
speaker clears
the
ceiling, adjacent walls, corners, beams,
lighting fixtures
and
door/window frames.
Leave
at least
1"
(25
mm)
above or
to
the side of the speaker location
to
allow the speaker
to
slide
onto
the screws.
 Loading...