EasyManua.ls Logo

Definitive Technology SuperCube Reference

Definitive Technology SuperCube Reference
4 pages
To Next Page IconTo Next Page
Loading...
SuperCube I & SuperCube Reference
The following will detail the amplifier removal process for Definitive
Technology subwoofer models SuperCube I & SuperCube Reference. Some models
may be Labeled Powerfield SuperCube X.
The subwoofer should be unplugged from any receiver or power amp that it may be plugged
into. Disconnect the speaker from AC power at least 60 minutes prior to starting. Gather the tools
you will need in a clean well-lighted place:
a Phillips head screwdriver
a flat head screwdriver (optional)
4 small plastic cups, with labels
a (small or tack) hammer
a needle nosed pliers (recommended)
a digital camera (or pen and paper)
3mm hex key (high-level amp)
4mm hex key (woofer)
Remove End Caps and Logo.
1. Remove both end caps.
a. The top end cap lifts off using as purely vertical a motion as possible.
b. The bottom end cap is secured onto the cabinet by long wood screws.
i. Remove them and set aside the bottom end cap.
ii. Mind the gloss finish.
iii. Reserve the screws in the 1
st
container, labeled “end cap”.
2. Remove the logo
a. The logo is held in by simple tension
b. The pegs that press into the cabinet are located beneath the left and right sides of
the logo.
c. Using a flat bladed screwdriver slightly pry up one side. Then slightly pry up the
other side.
d. This should expose enough space between the middle of the logo and cabinet to
insert your screwdriver between the pegs and pop the logo right off.
Remove the Low-Level Amplifier
1. Lay the speaker down gently on its belly, so that the amplifier to be removed (entire back
panel) is facing toward the ceiling.
2. Remove the screws that are along the outer edge of the back panel.
CAUTION: Only remove the screws along the outer edge of the back panel.
As you get the screws out drop them into a 2
nd
plastic cup labeled “LL/Temp”.
a. It is very important that you retain all the original screws.
3. You may use the power cord as leverage to remove the amplifier. It can stick and this
process needs to be done with care.
Question and Answer IconNeed help?

Do you have a question about the Definitive Technology SuperCube Reference and is the answer not in the manual?

Definitive Technology SuperCube Reference Specifications

General IconGeneral
BrandDefinitive Technology
ModelSuperCube Reference
CategorySubwoofer
LanguageEnglish

Summary

Remove End Caps and Logo

Remove Both End Caps

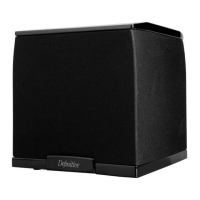
The top end cap lifts off vertically. The bottom end cap is secured by long wood screws.

Remove the Logo

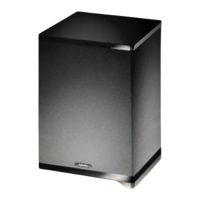
Logo held by simple tension. Pry up sides to expose space for removal.

Remove the Low-Level Amplifier

Prepare Speaker and Remove Back Panel Screws

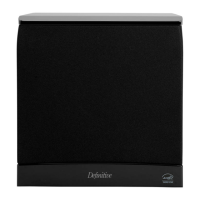
Lay speaker on its belly, then remove screws along the outer edge of the back panel.

Leverage Power Cord for Amplifier Removal

Use the power cord to gently pry the amplifier out, applying steady pressure.

Disconnect Wiring and Temperature Gauge

Disconnect Wiring Harnesses

Remove the two wiring harnesses connecting the low-level amp and high-level amp.

Disconnect Temperature Gauge

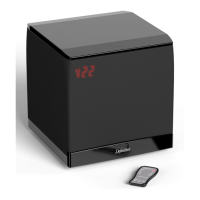
Disconnect the temperature gauge wire from the woofer's magnet.

Gasket Maintenance

Do Not Remove the Gasket

Caution against removing the gasket; only re-secure staples if necessary.

Remove Passive Radiators

Access and Remove Radiator Screws

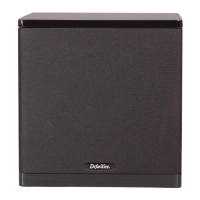
Lower or raise grill sock to access and remove screws around the radiator circumference.

Extract the Passive Radiator

Gently pull the radiator out, using rubber surround for leverage if stuck.

Remove the Woofer

Disconnect Woofer Wires

Use needle nose pliers to carefully disconnect red and white wires from woofer clips.

Remove Woofer Mounting Screws

Use a hex key to remove external hex screws securing the woofer.

Support and Extract Woofer

Support the woofer from outside and inside, then ease it out carefully.

Remove the High-Level Amp

Note High-Level Amp Orientation

Observe amp board orientation; it cannot be installed in any other way.

Remove High-Level Amp Mounting Screws

Use a 4 mm hex key to remove mounting screws via passive radiator ports.

Related product manuals