5
2) PARTS
The Delimano Kitchen Robot PRO contains the following parts for following functions:
Pic. 1 (see: PICTURES, Pic. 1)
1. Main unit
2. Rise knob
3. Speed knob
4. Power cable
5. Mixing bowl
6. Dough hook
7. Beater
8. Whisk
9. Front cover
10. Rear cover
11. Measuring cup*
12. Jar lid*
13. Blending jar*
14. Helix housing*
15. Helix*
16. Blade*
17. Mincing discs*
18. Locking nut*
19. Meat mincer pusher*
20. Filling tray*
21. Splashing protector
Pic. 3 (see: PICTURES, Pic. 3)
22. Pusher*
23. Housing*
24a. Coarse shredder*
24b. Slicer*
24c. Fine shredder*
25. Sausage segmentation plate*
26. Sausage tube*
27. Kibbe cone*
28. Kibbe shaper*
29a. Cookie shaper holder*
29b. Cookie shaper*
30. Pasta shaping discs (6 pcs)*
* available separately
3) HOW TO USE THE BASIC SET/MAIN UNIT (Pic.2)
NOTE: Before use, place the product on hard, at, stable and dry surface.
1. In order to lift the arm, rotate the rise knob (see Pic 1, 2) clockwise. The arm will now move upwards. (FIG.1)
2. Slide the splashing protector (21) onto main unit from below. (FIG.2)
3. Place the mixing bowl into its holding place (Step ①) and turn the bowl clockwise until it locks (Step ②). (FIG.3)
4. Mount the required utensil (6-8) by inserting the top over the output shaft and turn counter clockwise until it locks into place. (FIG.4 & FIG. 5)
5. Fill in the ingredients. Do not overll the machine - the maximum quantity of ingredients is 1, 2 kg or liquid up to MAX level indicated on the inner side of the mixing bowl.
6. Release the arm by turning the rise knob clockwise and lower it. (FIG.6)
7. Insert the power cable in power supply socket.
8. When you use the mixing bowl, always make sure the rear cover (10) is properly installed.
9. Turn the machine on by rotating the speed knob to 1 - 6 speed setting.
10. For pulse operation (kneading at short intervals), turn and hold the speed knob in the “PULSE” position. When the speed knob is released it returns automatically to the “0” position
and device turns o.
11. After kneading/stirring turn the speed knob (3) back to the “0” position as soon as the mixture has formed a ball and unplug the device from power supply..
12. Press the rise knob (2) downwards and the arm will be raised.
13. The mixture can now be released with the help of a spatula and removed from the mixing bowl.
14. The mixing bowl can now be removed (rotate counter clockwise and raise).
15. Clean the parts as described under “Cleaning” section.
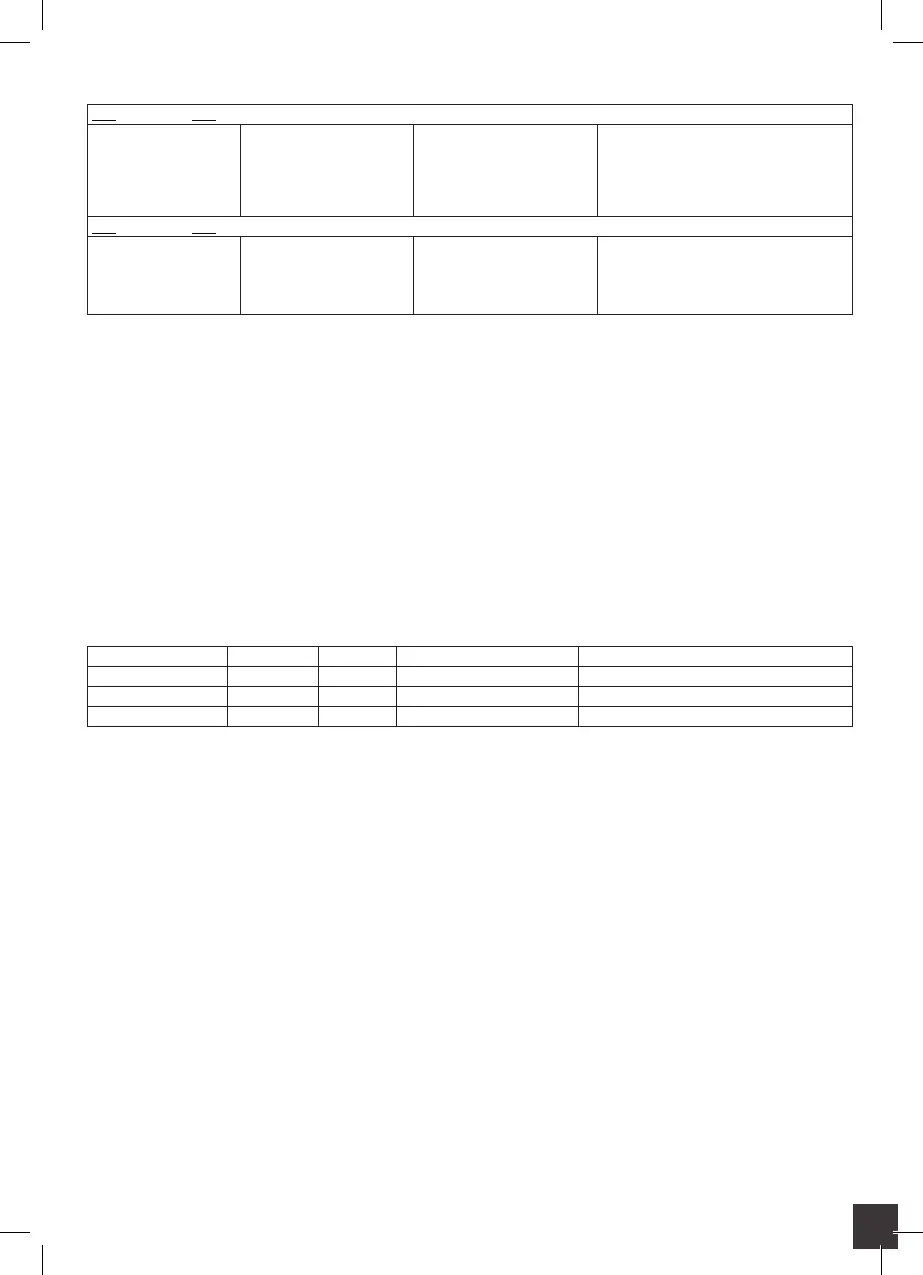
4) ADJUSTING THE LEVELS AND USING THE HOOK
Use Speed setting Time (min) Maximum Remarks
Dough hook 1-3 3 700 g our and 380 g water Heavy mixtures (e.g. bread or short pastry)
Beater 1-4 3 400 g our and 400 - 500g water Medium-heavy mixtures (e.g.crepes or cake mixture)
Whisk 5-6 3 Minimum 3 eggwhites Light mixtures (e.g. cream,egg white,…)
NOTES: With heavy mixtures, do not operate the machine for more than six minutes, and then allow it to cool down for a further ten minutes.
Never use more than 1,2 of mixture.
5) HOW TO USE GLASS BLENDING JAR 1,5 L
The blender can be used for pureeing and for blending. It can be used for e.g. soups (max temperature 55°C), sauces, milk shakes, baby food, vegetable, fruit, puree, etc. If necessary cut solid
ingredients into smaller pieces (2,5 x 2,5 cm) before you put them in the blender.
Important:
•
Before use: do not plug the device in power supply until you have attached the blender jar and the jar lid in the correct way.
•
After use: unplug the device from power supply before you remove the blender jar from the housing.
•
Do not ll the blender jar with ingredients that are hotter than 55°C.
•
To prevent spilling, do not put more than 1,5 liters of liquid in the blender jar.
•
Never <remove the jar lid while the blender is operational.
•
Always install cover the jar lid before installing the blender jar onto the machine or dismounting the blender jar from the machine.
•
Do not operate the blender attachment over 3 minutes continuously.
•
Clean the parts as described under “Cleaning” section.
How to use the blender (Pic.4):
NOTE: Make sure the device is unplugged from power supply.
•
Remove the rearcover. (FIG.1)
•
Place the food you wish to process into the blending jar.
•
Press the jar lid onto the jar until rm t. (FIG.2)
•
Place the blender measuring cup into the jar lid and turn it clockwise to lock.(FIG.3)
•
Place the blender jar onto the main unit and turn it counter clockwise until it is rmly xed. Follow OPEN CLOSE markings on the main unit. (FIG.4)
•
Plug the device into power supply.
•
Set the speed knob to position 6.
NOTE
1) You can add ingredients while the appliance is running by removing the measuring cup (11) ONLY from the jar lid.
2) It may be necessary to turn o the appliance from time to time to remove pieces of food sticking to the inside of the blender jar.
- Switch o the appliance and unplug it from power supply.
- Remove the jar lid.
 Loading...