Installing the U.2 solid-state drive
NOTE: Ensure that you remove the security cable and security screw from the security-cable slot—if applicable.
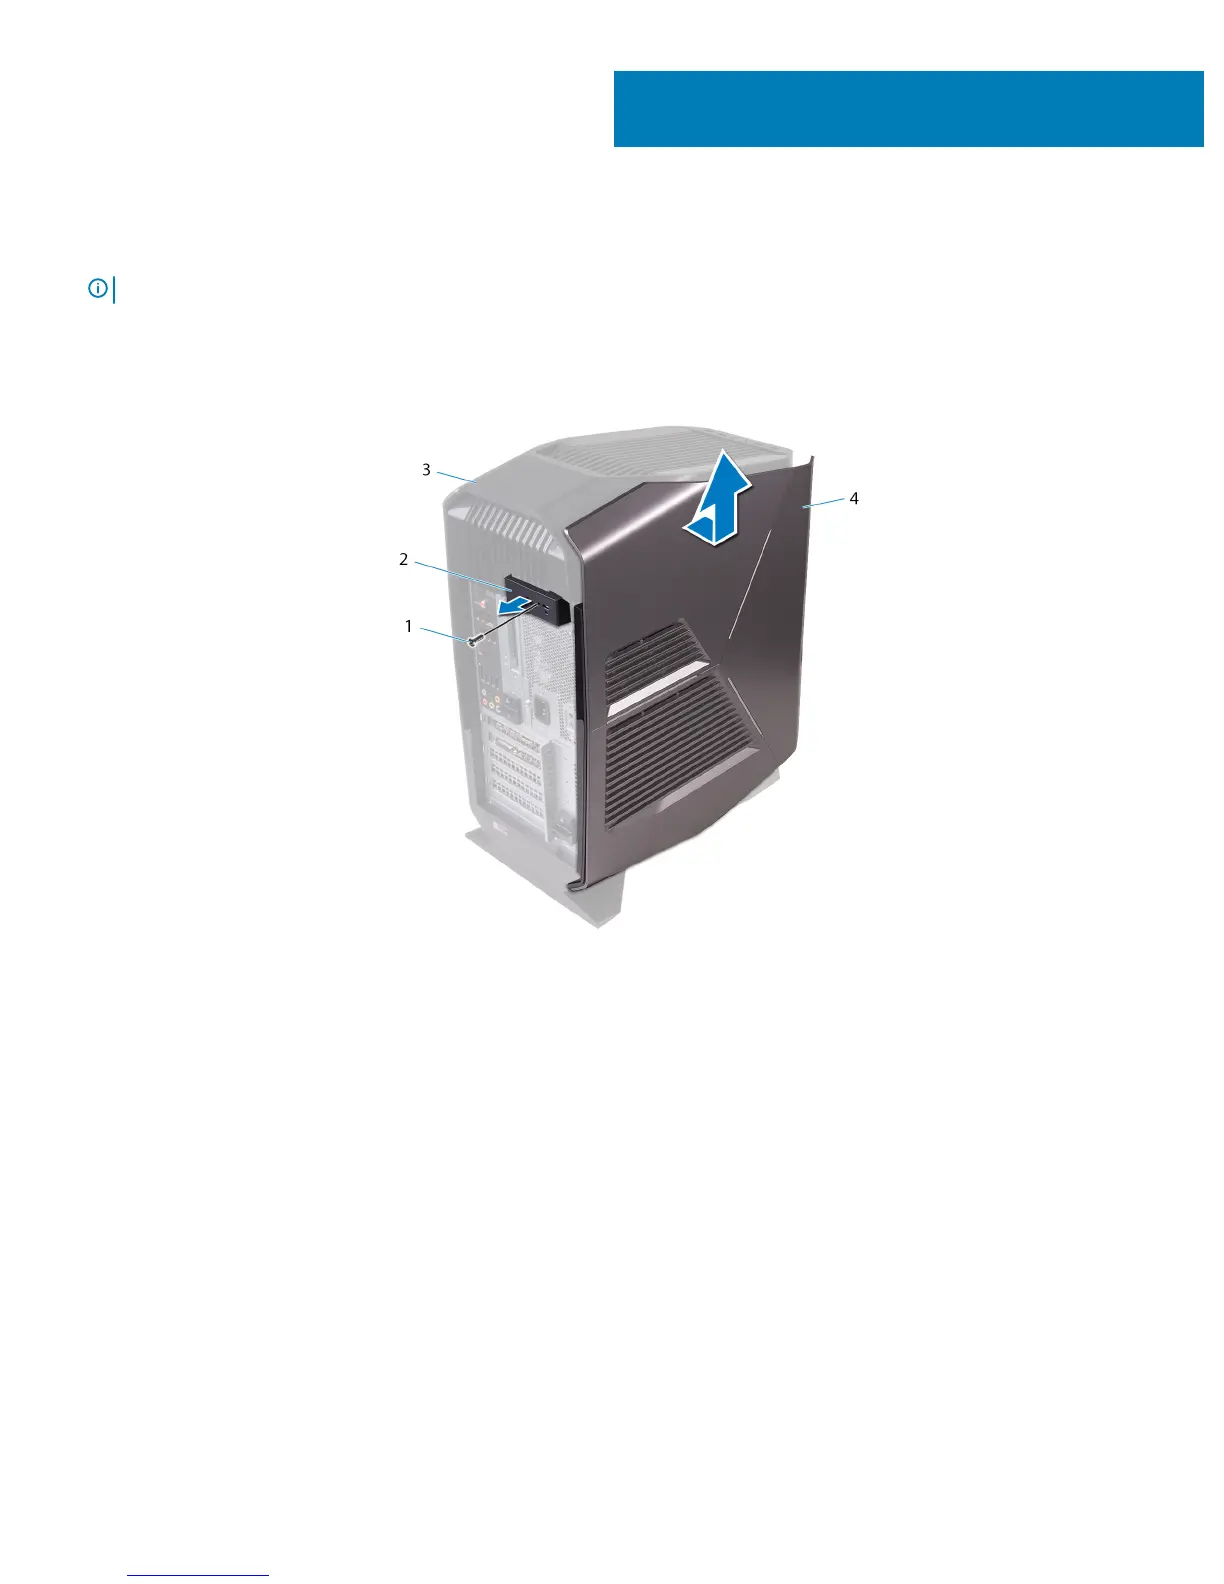
1 Remove the screw (#6-32 X 1/2") that secures the side-panel release latch to the chassis.
2 Pull the side-panel release latch.
3 Release the left-side cover away from the chassis and then lift it from the computer.
Figure 1. Removing the left-side cover
1
screw
2 side-panel release latch
3 top cover 4 left-side cover
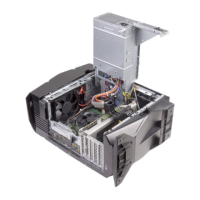
4 Lay the computer on the right side.
5 Disconnect the data and power cables from the hard drive.
6 Press the release tabs on the hard-drive carrier and slide the hard-drive carrier out of the hard-drive cage.
2
6 Installing the U.2 solid-state drive