9
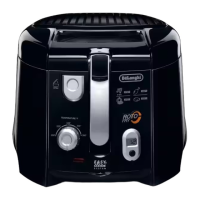
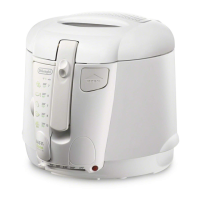
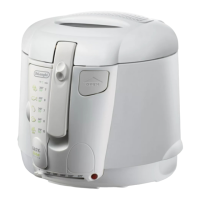
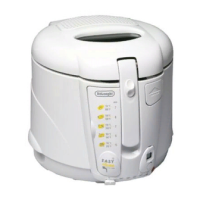
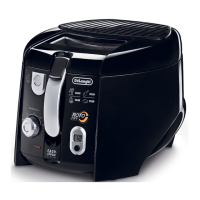
STARTING TO FRY
1. Put the food which is to be fried into the basket,
without ever overfilling it (max. 2,2 lb. of fresh
potatoes).
In order to obtain a more even frying, we
recommend concentrating the food especially
around the perimeter of the basket., leaving the
central part more sparingly filled.
2. Put the basket into the bowl in a raised position
(fig.3) and close the lid by pressing lightly down
upon it until the latchs click.
3. Set thermostat knob “U” to the required
temperature (fig.4). When the temperature set
has been reached, signal lamp “T” will go off.
4. As soon as the signal lamp goes off, immerse
the basket in the oil, lowering the handle slowly
after sliding the handle’s “C” slider back.
• It is completely normal for a considerable
amount of very hot steam to pour out of filter
cover “F” immediately after this.
• At the start of cooking, immediately after the food
has been immersed in the oil, the internal wall of
viewing window “E” (where present) will steam
up, before progressively clearing.
• It is normal for drops of condensation to form
around the basket handle while the appliance is
working.
IN THE MODELS FITTED WITH THE
ELECTRONIC MINUTE TIMER
1. Set the cooking time by pressing key “O”; display
“N” will show the minutes set.
2. The figures will begin flashing immediately
afterwards, signifying that the cooking time has
started. The last minute will be visualised in
seconds.
3. In the event of error, the new cooking time can
be set by keeping the button pressed down for
more than 2 seconds. The display will reset
itself, then repeat as for point 1 (above).
4. The minute timer will show the end of the cooking
time with two series of beeps at an interval of
about 20 seconds. In order to switch off the audible
alarm you only need press minute timer key “O”.
WARNING: the minute timer does not switch the
appliance off.
Replacing the minute timer battery (fig.5)
• Remove the minute timer from its compartment
by prying it from the right side (see fig.5A).
• Turn the battery cover (fig.5B) placed on the
back in an anticlockwise direction until it is
released.
• Replace the battery with another of the same type.
AFTER FRYING
When the cooking time runs out raise the basket and
check if the food has reached the required golden
colour. In the models fitted with a viewing window
this check can be carried out by looking through the
window without opening the lid.
If you consider the cooking to be finished, switch off
the appliance by turning the thermostat knob to the
OFF position until you hear the click of the internal
switch.
Allow the excess oil to drip off by leaving the basket
in the deep fryer in the high position.
P.S. If the cooking needs to be done in two phases
(e.g. potatoes) raise the basket at the end of the
first phase and wait for the signal lamp to go off
again. Then immerse the basket back in the oil
for a second time (see enclosed tables).
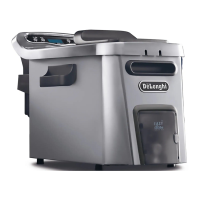
FILTERING THE OIL OR FAT
We recommend that you carry out this procedure
each time you have finished frying as, especially
when the food has been breaded or floured, the food
particles tend to burn if they remain in the liquid thus
causing much quicker deterioration in the oil or fat.
Check that the oil is cool enough, waiting about
2 hours.
Bring the front part of the deep fryer to the
edge of the work surface, being careful that
feet “M” are always inside the area of the
work surface (fig. 6).
1. Pull tray “R” outwards (as in fig.7)
2. Place oil container “Q” without the “J” lid in the
special compartment (fig.8).
3. Remove the basket.
4. Open inspection door “Z” (as in fig.9).
5. Insert oil filter ”P” onto the container (fig.9)
6. Extract drainage pipe “S”, remove plug “L” while
at the same time squeezing the pipe between
two fingers to avoid the liquid coming out until it
has been positioned above the filter (see fig. 10).
7. Let the liquid flow into the container. If the oil is
particularly “dirty”, be careful to ensure that it
does not overflow from the filter.
8. Reposition the pipe in its compartment after
replacing the plug and close the inspection door.
9. Put down the container, stopping it with lid “J” in
order to ensure better preservation of the oil for
future use.
10. Reposition the tray as at the beginning.
☛
In the event of fat being used, be careful not
to let it cool down too much or it will solidify.
GB 4-12-2000 12:23 Pagina 9
 Loading...