3
General instructions
Remove the heater from the packaging.
Turn the heater upside down and rest on the polystyrene.
Check that neither the heater nor the power cable has been damaged in any way during transportation.
Do not operate the heater if damaged.
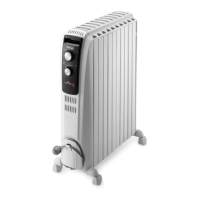
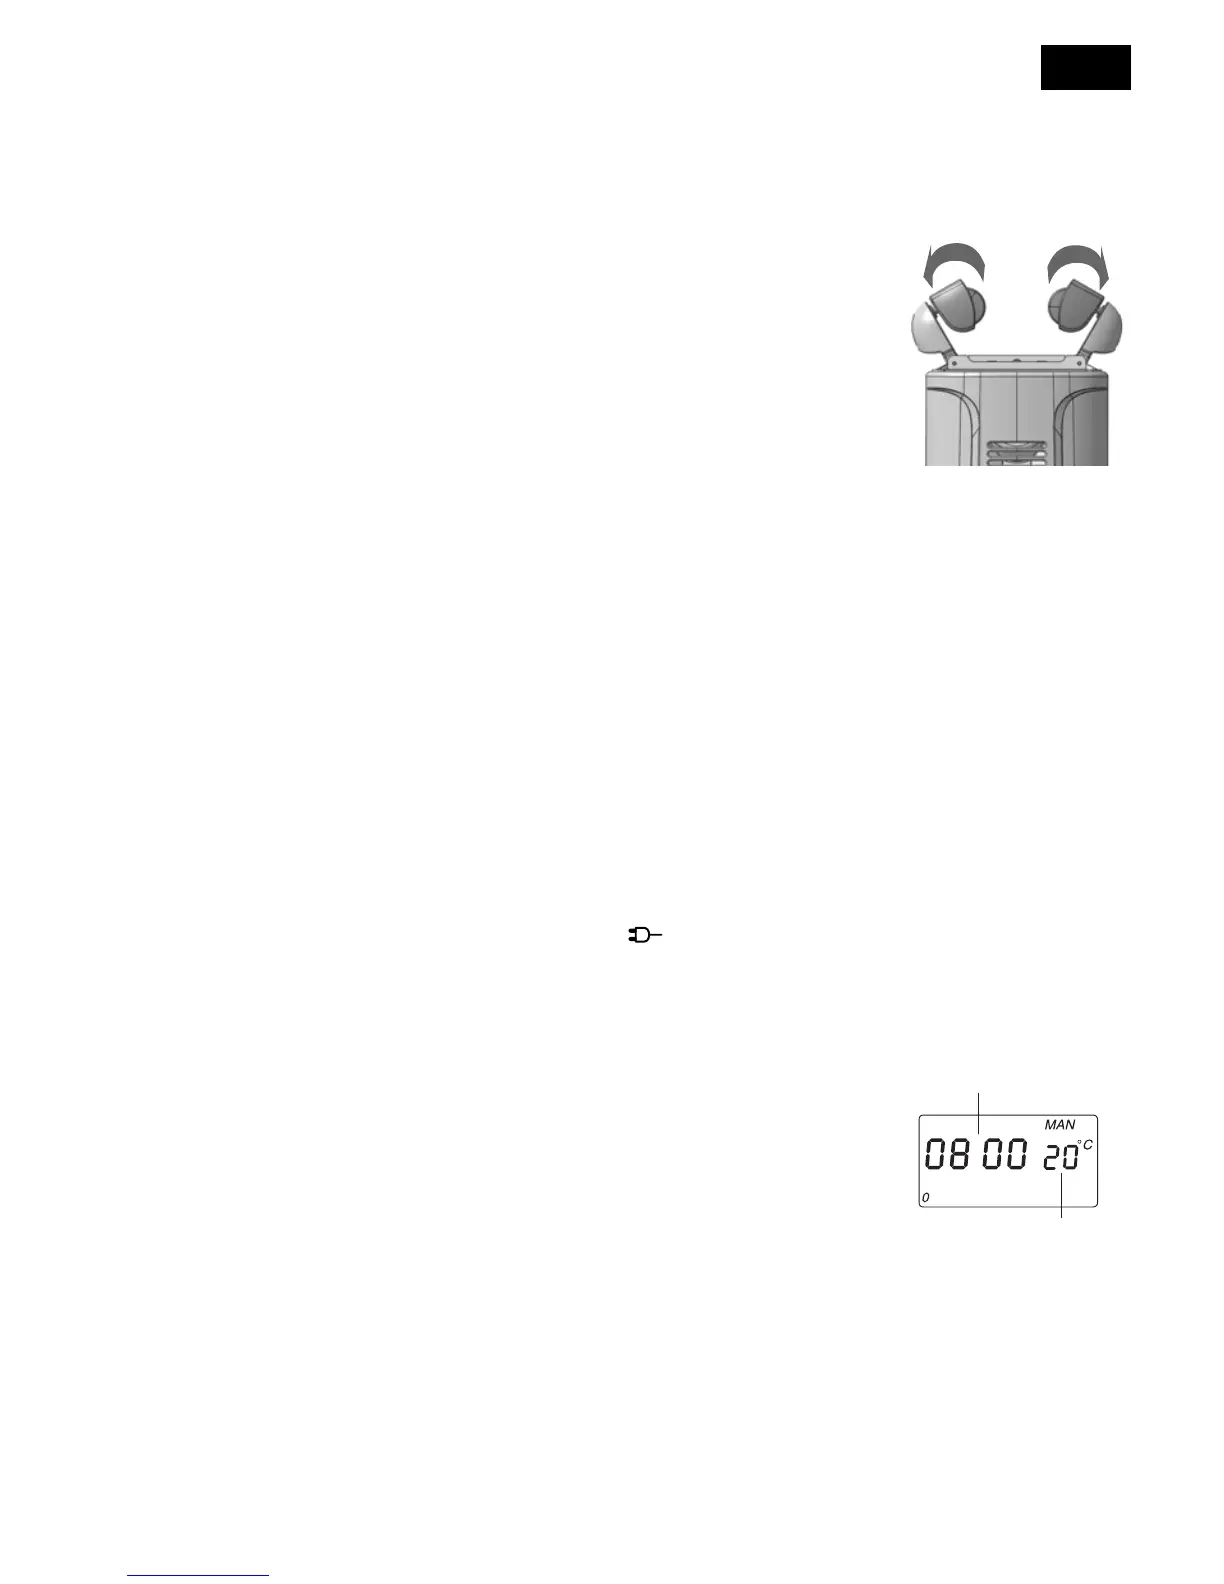
Models with “easy wheel”system
Turn the radiator upside-down on a rug or a soft surface in order to prevent
damaging the paint finish. Fully unfold the castors by turning them outwards
(Fig. 1).
Turn the radiator back to its upright position.
Using for the first time
On using the appliance for the first time we advise that you turn it on to the maximum power setting for
at least 2 hours. This is to eliminate the “new odour”, which is released by the appliance. During this
time ensure that the room is well ventilated.
Electrical connection
- Before plugging the radiator into the mains, check that your supply voltage is the same as that shown
on the rating plate of the appliance.
- If using more than one appliance at a time, it is important to ensure that the ring main is adequate
to cope with the power requirements.
- It is important to ensure that the socket is adequately earthed.
- This appliance complies with EEC Directive 89/336 relating to electromagnetic compatibility.
How to use your heater
Plug the heater into the electric socket and the light will come on.
Setting the clock (fig. 2)
Set the clock to the correct time, proceeding as follows:
•Press the “hour” (9) button until the display (1) shows the hours for the cor-
rect time, then release the button.
•Press the “min” (8) button until the display (1) shows the minutes for the cor-
rect time, then release the button.
When setting the correct time, the numbers will flash on the display.
The clock will continue to flash for a few seconds after the adjustment has been
made then stop on the correct time and start working.
To change the time, press the “hour” (9) or “min” (8) button for at least 5 sec-
onds, then proceed as above to modify both hours and minutes.
To move through the hours or minutes quickly keep the relevant button (9 or 8)
pressed for longer than 3 seconds.
fig. 1