10
11
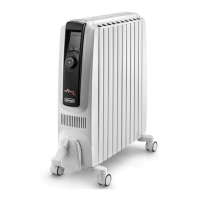
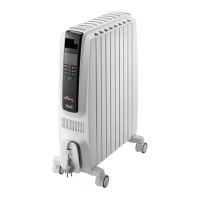
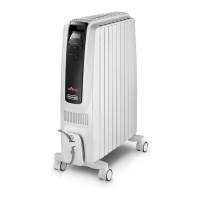
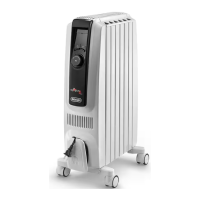
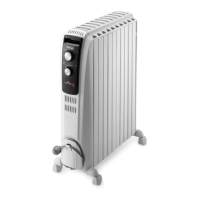
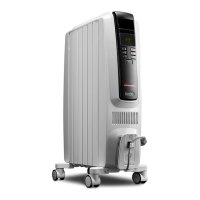
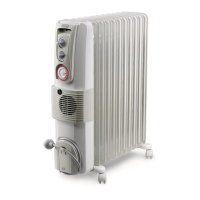
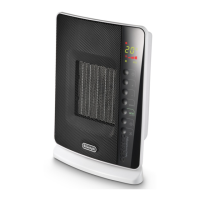
DESCRIPTION
A ON/STAND-BY button
B timer button
C control dial/dial button
D display
E wheel
F cord holder
Symbols shown on the unit's display
key-lock
power supply
temperature/clock
selected power levels
working power levels
Anti-frost symbol
timer function
l (green) Temperature 1 (T1) indicator
l (red) Temperature 2 (T2) indicator
FIRST USE
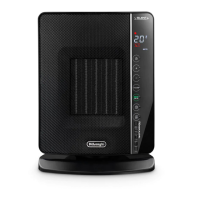
"Easy wheel" system
Turn the radiator upside down on a rug or a soft surface in
order to prevent damaging the paint nish.
Fully unfold the wheels by turning them outwards (Fig. 1).
Turn the radiator back to its upright position.
Location
The heater must not be placed immediately below a power
outlet. Do not use this radiator in rooms having a surface area
of less than 43 square feet (4 sq.m.).
Power connection
Before using the appliance check that your supply voltage is
the same of that shown on the rating label of the unit and
that the power socket and power supply line correspond to
the load specied. After plugged in the appliance will shows
the symbol in red colour.
Setting the time
When using for the rst time or after it has been unplugged
for a long time, you need to set the current time:
1. Plug the appliance into the mains. The display will show
00 blinking.
2. Turn the control dial to select the current hour.
3. When the correct hour is set, press the dial and the min-
utes digits will blink.
4. Turn the control dial to set the minutes then press the
dial to conrm.
Example of display:
❸
❹
Changing the time
If you need to reset the time, in manual operation mode press
the control dial for 5 seconds, then proceed as explained
above. After setting the clock, the unit will return in manual
operation mode.
MANUAL OPERATION MODE
Turn the appliance on pressing the button .
The unit will start operating in manual operation mode with
the following default settings:
Setting the temperature
To modify the temperature set point, turn the dial clockwise
to increase and anticlockwise to decrease the temperature.
Temperature settings available are 5°C, and 10°C through to
28 °C. Setting to 5°C turns the unit to the antifrost function.
(see Antifrost function at page 6).
Fig. 1