9
Turning on and setting the timer
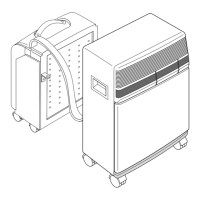
ELECTRICAL CONNECTION
Before plugging in check that:
• the mains supply corresponds to the
power supply shown on the rating plate;
• the socket and the mains lead correspond
to the power requirements of the applian-
ce;
• the socket is suited to the plug, otherwise
have the socket replaced;
• the socket is properly grounded.
The manufactures cannot be held responsi-
ble for any damages due to failure in fol-
lowing normal safety procedures.
Replacement of the power cable must be
carried out by qualified personnel.
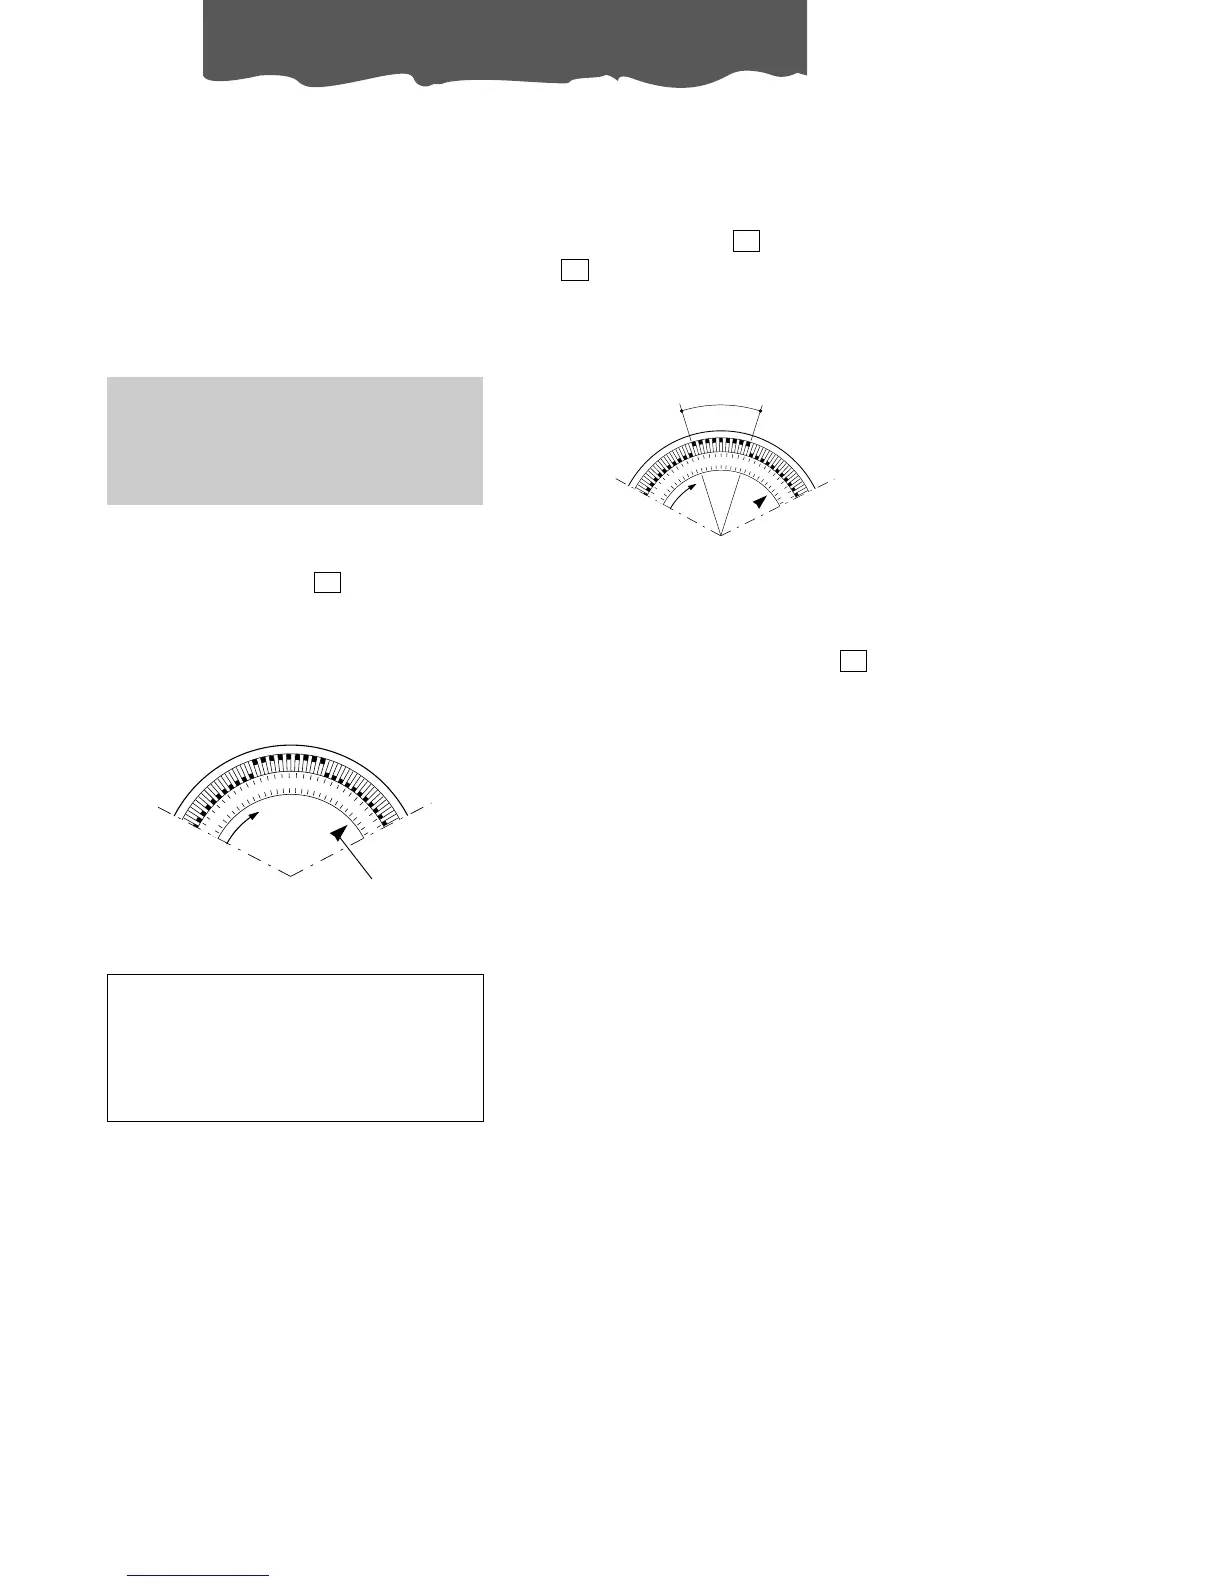
SETTING THE TIMER
The programmer/timer , like all clocks,
must be set to the exact time. If for example
it is 4.00 pm. (16.00), turn the dial in a clockwi-
se direction (following the direction of the
arrow) until the number 16 is lined up with the
triangular pointer (the arrows indicates 4:00
P.M. approximately ).
12
pointer
N.B.: Never turn the dial in an anti-clockwise
direction!
The timer is in effect, an electric clock and
works only if the plug is connected to the
power supply. Whenever the plug is
disconnected or there is a power failure,
the programmer stops (the clock is then
“slow”) and must be re-set.
PROGRAMMED MODE
1) Set the operating times by pushing out the
notches on the dial corresponding to the
period required (each notch represents 15
mins.)
2) Press the TIMER key , the signal light
will come ON.
3) Make sure that the timer indicates the cor-
rect time (see instructions on setting).
13
11
4) Select the desired function as shown in the
chart overleaf.
N.B.: To override the programmed operating
times, simply press the ON/OFF key (the
timer signal lamp ON will go out)
11
operating time