I
• i
CLUTCH ASSEMBLY - Fig. 1
REMOVAL
1.
Disconnect negative battery — blue cable —
and raise vehicle on hoist.
2.
Remove transmission
transmission section.
as outlined in
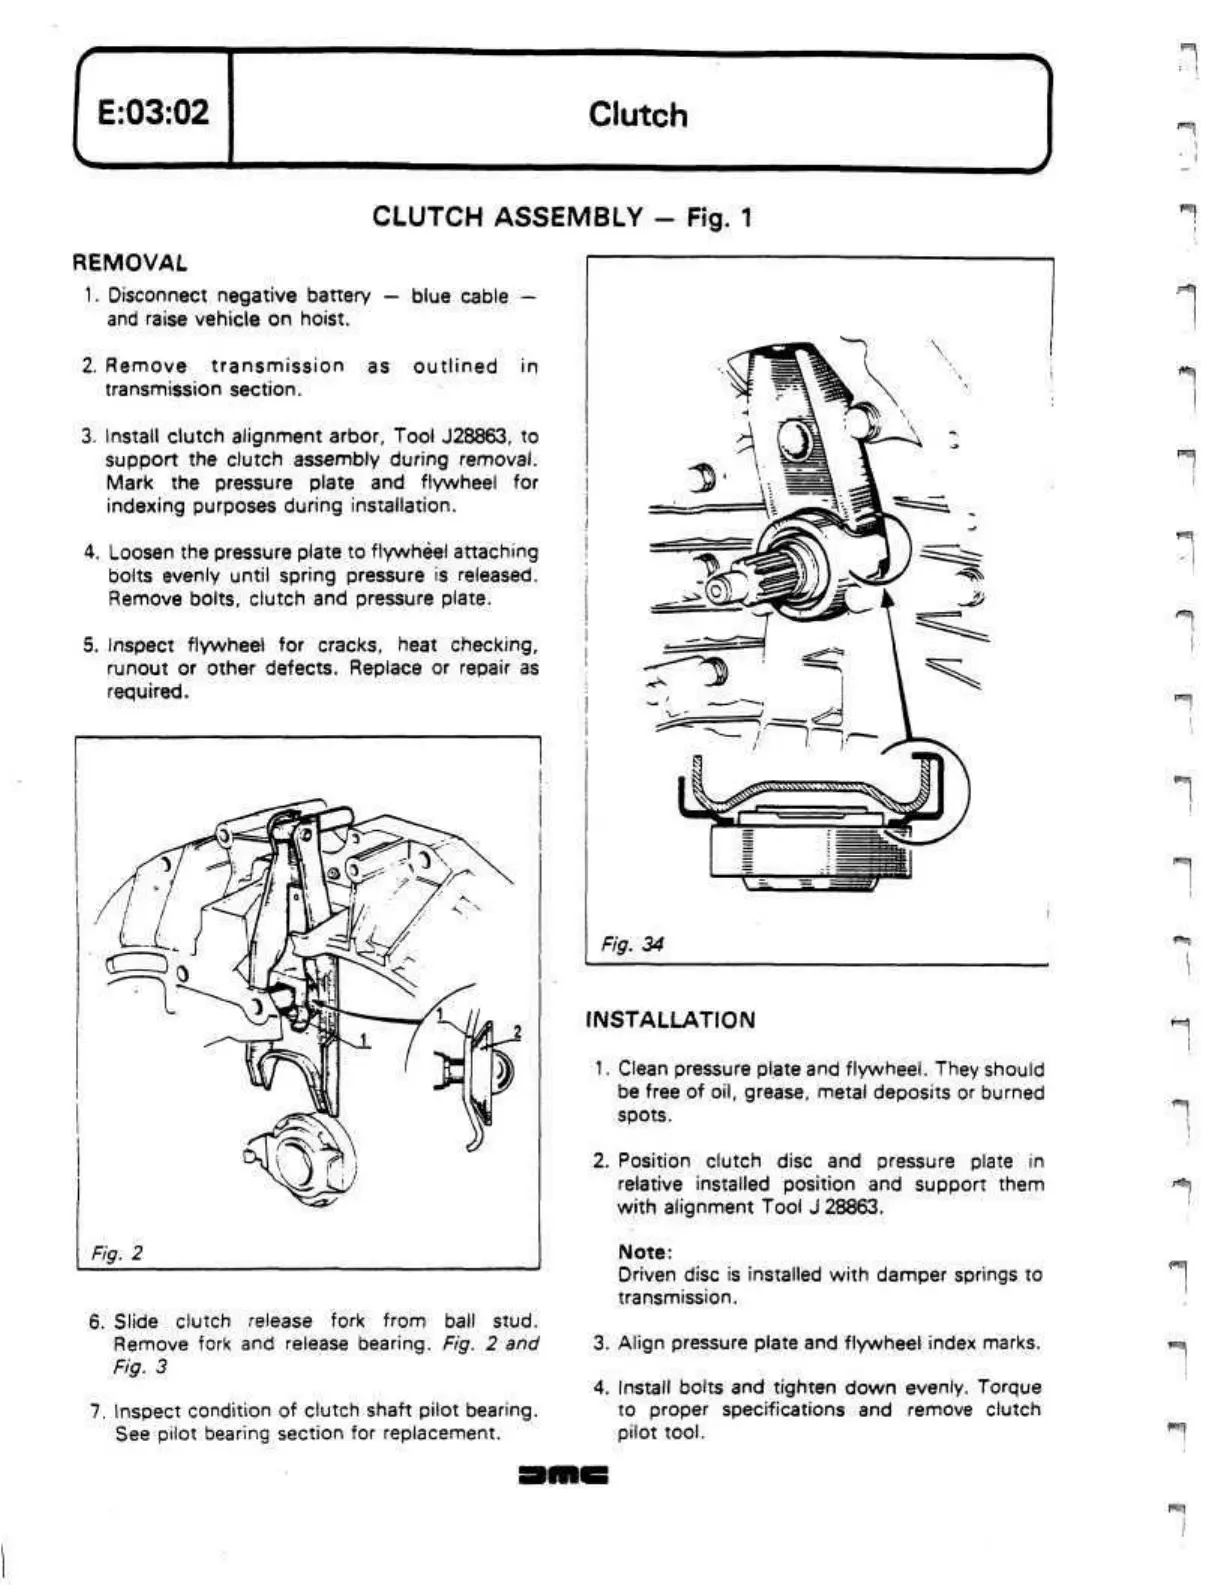
3. Install clutch alignment arbor, Tool J28863, to
support the clutch assembly during removal.
Mark the pressure plate and flywheel for
indexing purposes during installation.
4.
Loosen the pressure plate to flywheel attaching
bolts evenly until spring pressure is released.
Remove bolts, clutch and pressure plate.
5. Inspect flywheel for cracks, heat checking,
runout or other defects. Replace or repair as
required.
6. Slide clutch release fork from ball
stud.
Remove fork and release bearing. Fig. 2 and
Fig. 3
7. Inspect condition of clutch shaft pilot bearing.
See pilot bearing section for replacement.
Fig. 34
INSTALLATION
1.
Clean pressure plate and flywheel. They should
be free of oil, grease, metal deposits or burned
spots.
2.
Position clutch disc and pressure plate in
relative installed position and support them
with alignment Tool J 28863.
Note:
Driven disc is installed with damper springs to
transmission.
3. Align pressure plate and flywheel index marks.
4.
Install bolts and tighten down evenly. Torque
to proper specifications and remove clutch
pilot
tool.
r"j
T:ri
 Loading...
