G:08:02
Automatic Transmission
2.
Remove the special tool and remove the
retaining plate and the coil springs.
3. Remove the piston from the transmission case.
4.
Separate the piston from the support and
remove the seals
1,
3 and 4. Fig. 43
5. Remove the brake B2 discs and adjusting
shim(s)
from the planetary gear carrier housing
(on the final drive unit).
Reassembly
Clean and inspect all parts for damage and scoring.
1.
Lubricate the two (2) square section seals and
fit the outer seal on the piston. Fit the inner
seal in the groove on the inside of the piston.
Fig. 43
2.
Lubricate the new support seal with
transmission fluid and fit on the piston
support. Fig. 43
3. Lubricate the support and insert it in
piston.
Ensure that it is fully seated.
the
4.
Lubricate the piston assembly with
transmission fluid and install in the
transmission case.
Notice:
Ensure that the three (3) lugs on the piston support
mate with the large groove in the transmission
case.
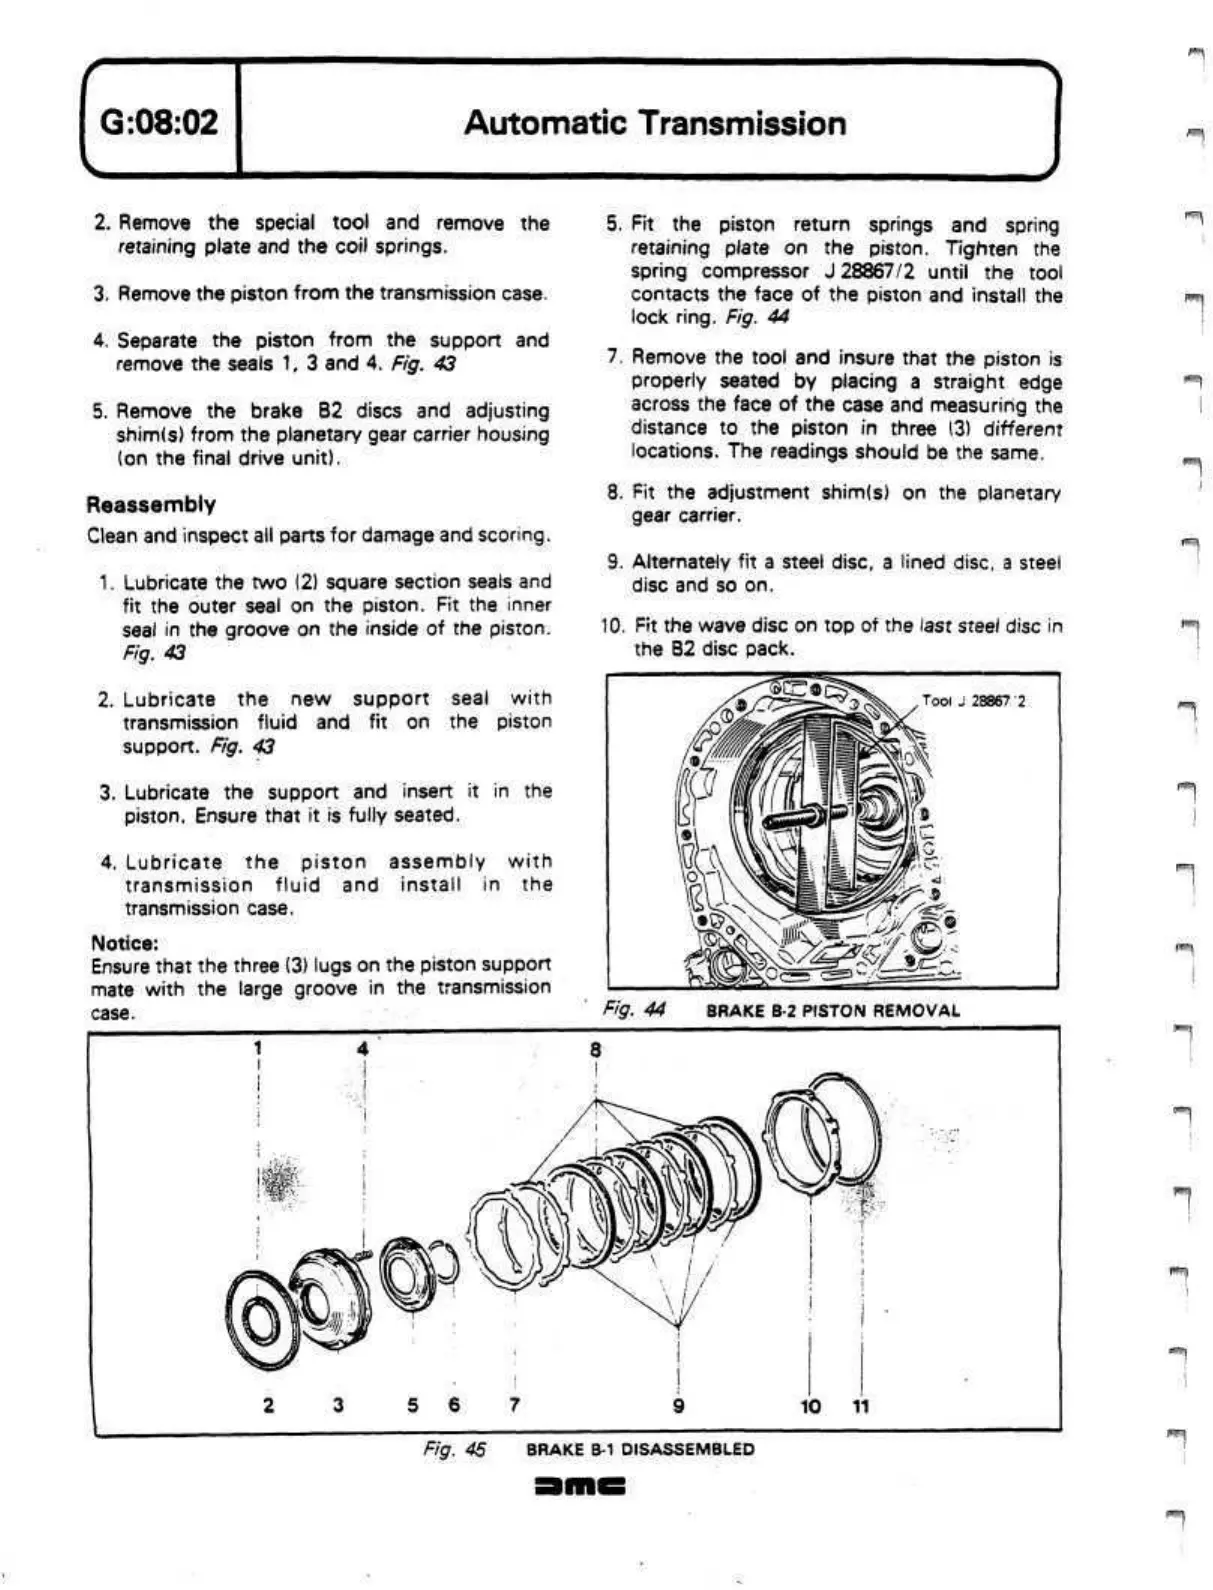
5. Fit the piston return springs and spring
retaining plate on the piston. Tighten the
spring compressor J 28867/2 until the tool
contacts the face of the piston and install the
lock
ring.
Fig. 44
7. Remove the tool and insure that the piston is
properly seated by placing a straight edge
across the face of the case and measuring the
distance to the piston in three (3) different
locations. The readings should be the same.
8. Fit the adjustment shim(s) on the planetary
gear carrier.
9. Alternately fit a steel disc, a lined disc, a steel
disc and so on.
10.
Fit the wave disc on top of the last steel disc in
the B2 disc pack.
Fig. 44 BRAKE
B-2
PISTON
REMOVAL
Fig. 45 BRAKE
B-1
DISASSEMBLED
 Loading...
