Heating and Air Conditioning
IM:08:05
21.
Re-fit
grommet
to seal hoses in firewall.
22.
Re-fit access cover in spare wheel
well.
23.
Re-charge air conditioning system as
described.
REMOVING HEATER CORE
1.
Remove heater/air conditioning unit (refer to
N:08:01).
2.
Loosen foam rubber strip stuck around inlet
~J
and outlet pipes sufficiently to allow
withdrawal of unit.
3. Remove one screw adjacent to screen vent
aperture.
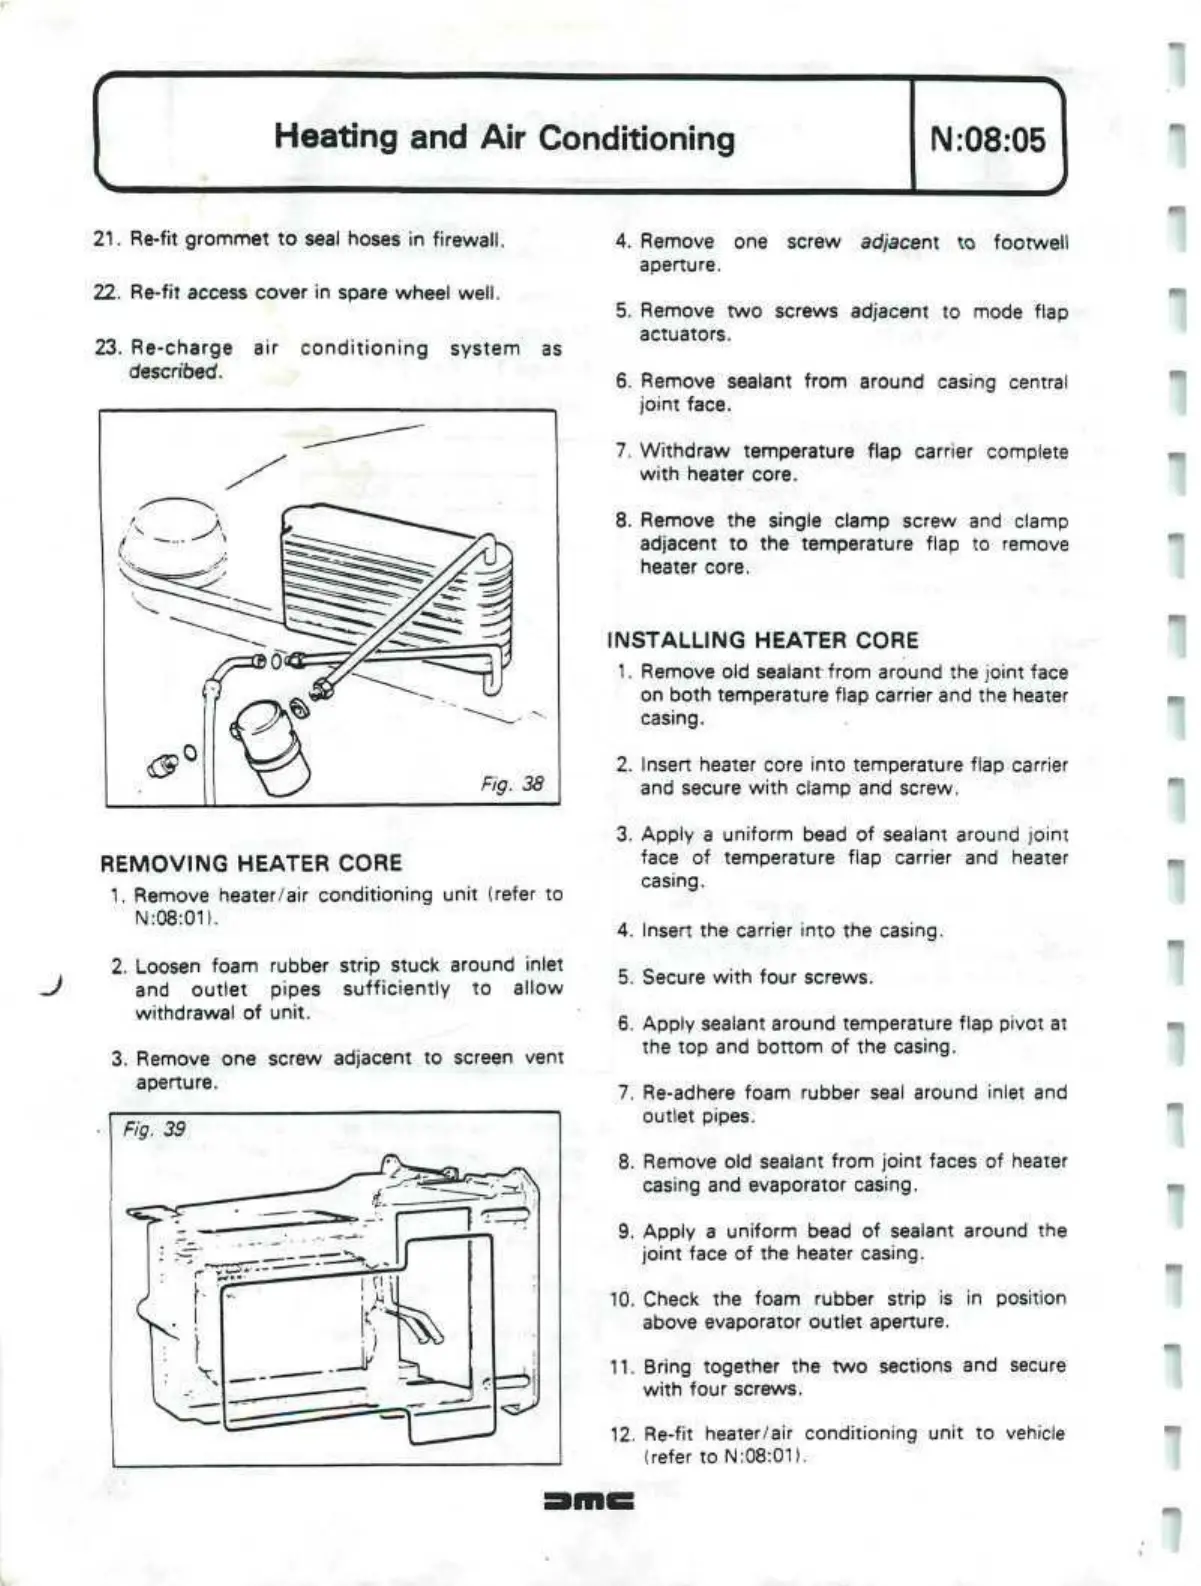
Fig. 39
4.
Remove one screw adjacent to footwell
aperture.
5. Remove two screws adjacent to mode flap
actuators.
6. Remove sealant from around casing central
joint face.
7. Withdraw temperature flap carrier complete
with heater core.
8. Remove the single clamp screw and clamp
adjacent to the temperature flap to remove
heater core.
INSTALLING HEATER CORE
1.
Remove old sealant from around the joint face
on both temperature flap carrier and the heater
casing.
2.
Insert heater core into temperature flap carrier
and secure with clamp and screw.
3. Apply a uniform bead of sealant around joint
face of temperature flap carrier and heater
casing.
4.
Insert the carrier into the casing.
5. Secure with four screws.
6. Apply sealant around temperature flap pivot at
the top and bottom of the casing.
7. Re-adhere foam rubber seal around inlet and
outlet pipes.
8. Remove old sealant from joint faces of heater
casing and evaporator casing.
9. Apply a uniform bead of sealant around the
joint face of the heater casing.
10.
Check the foam rubber strip is in position
above evaporator outlet aperture.
11.
Bring together the two sections and secure
with four screws.
12.
Re-fit heater/air conditioning unit to vehicle
(refer to N:08:01).
"
 Loading...
