Heating and Air Conditioning
N:08:13
J
INSTALLING COMPRESSOR
1.
Locate compressor in mounting brackets and
secure with six bolts and nuts.
2.
Connect clutch supply wire.
3. Fit serviceable '0' rings, coating them and the
mating surfaces with refrigeration oil, and
reconnect hoses to compressor.
4.
Fit hose clamp plate and tighten.
5. Fit serviceable drive belt loosely over pulleys.
6. Tighten tension adjusting screw until the belt
may be deflected 6-10 mm
(14"
-
%")
from
the straight line using moderate thumb
pressure between crank and upper jockey
pulley.
7. Tighten tension screw lock-nut and adjuster
clamp screws and re-check belt tension. Run
engine briefly, switch off, and re-check belt
tension.
REMOVING
EVAPORATOR
!£•.;.-.
1.
Remove heater air conditioning unit.
'
2. Release four screws securing evaporator
casing to
heater^casing.
-ft •• .
v
*3.
Release eleven screws from periphery of
evaporator casing.
4.
Separate the two halves of the casing.
5. Remove the evaporator.
5. Apply a uniform bead of sealant to the joint
face of the evaporator casing.
6. Bring the two casing halves together and
secure with four screws.
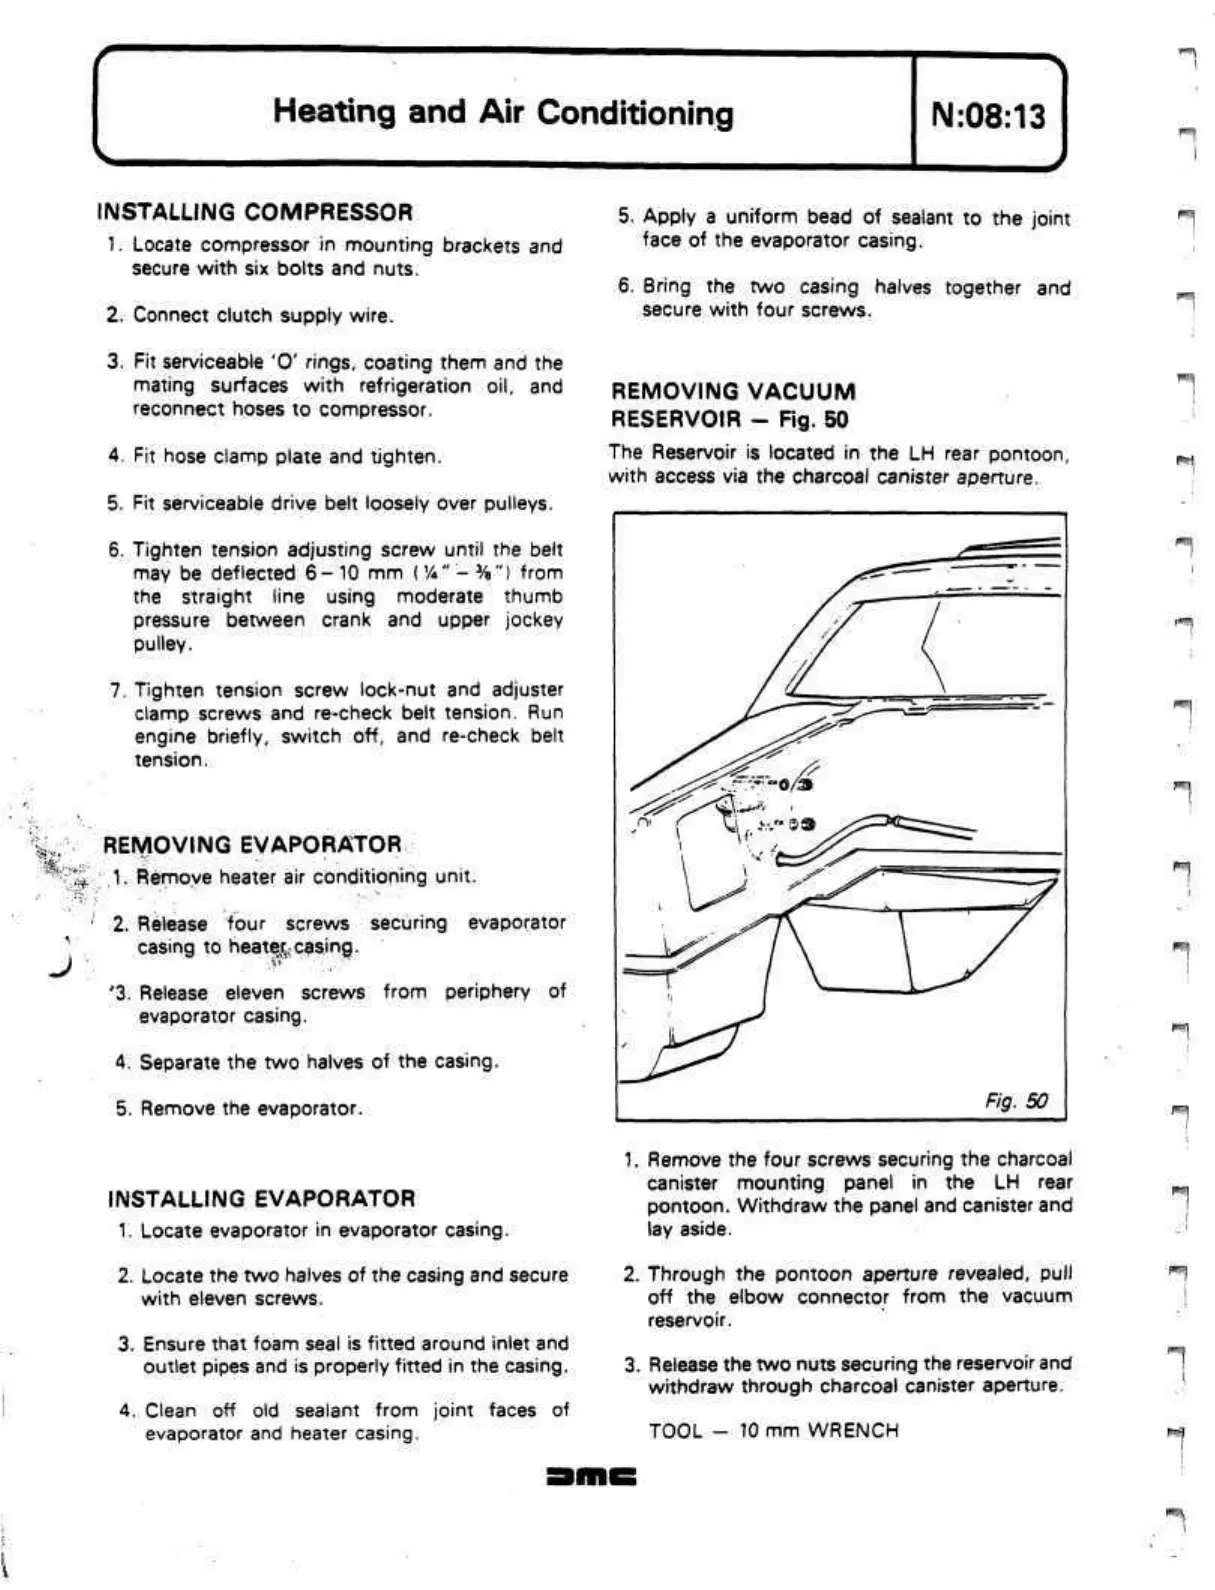
REMOVING VACUUM
RESERVOIR
-
Fig. 50
The Reservoir is located in the LH rear pontoon,
with access via the charcoal canister aperture.
'""'!
p-'H
p~'i
INSTALLING EVAPORATOR
1.
Locate evaporator in evaporator casing.
2.
Locate the two halves of the casing and secure
with eleven screws.
3. Ensure that foam seal is fitted around inlet and
outlet pipes and is properly fitted in the casing.
4.
Clean off old sealant from joint faces of
evaporator and heater casing.
1.
Remove the four screws securing the charcoal
canister mounting panel in the LH rear
pontoon.
Withdraw the panel and canister and
lay aside.
2.
Through the pontoon aperture revealed, pull
off the elbow connector from the vacuum
reservoir.
3. Release the two nuts securing the reservoir and
withdraw through charcoal canister aperture.
TOOL - 10 mm WRENCH
\
 Loading...
