Heating
and Air Conditioning
N:08:17
J
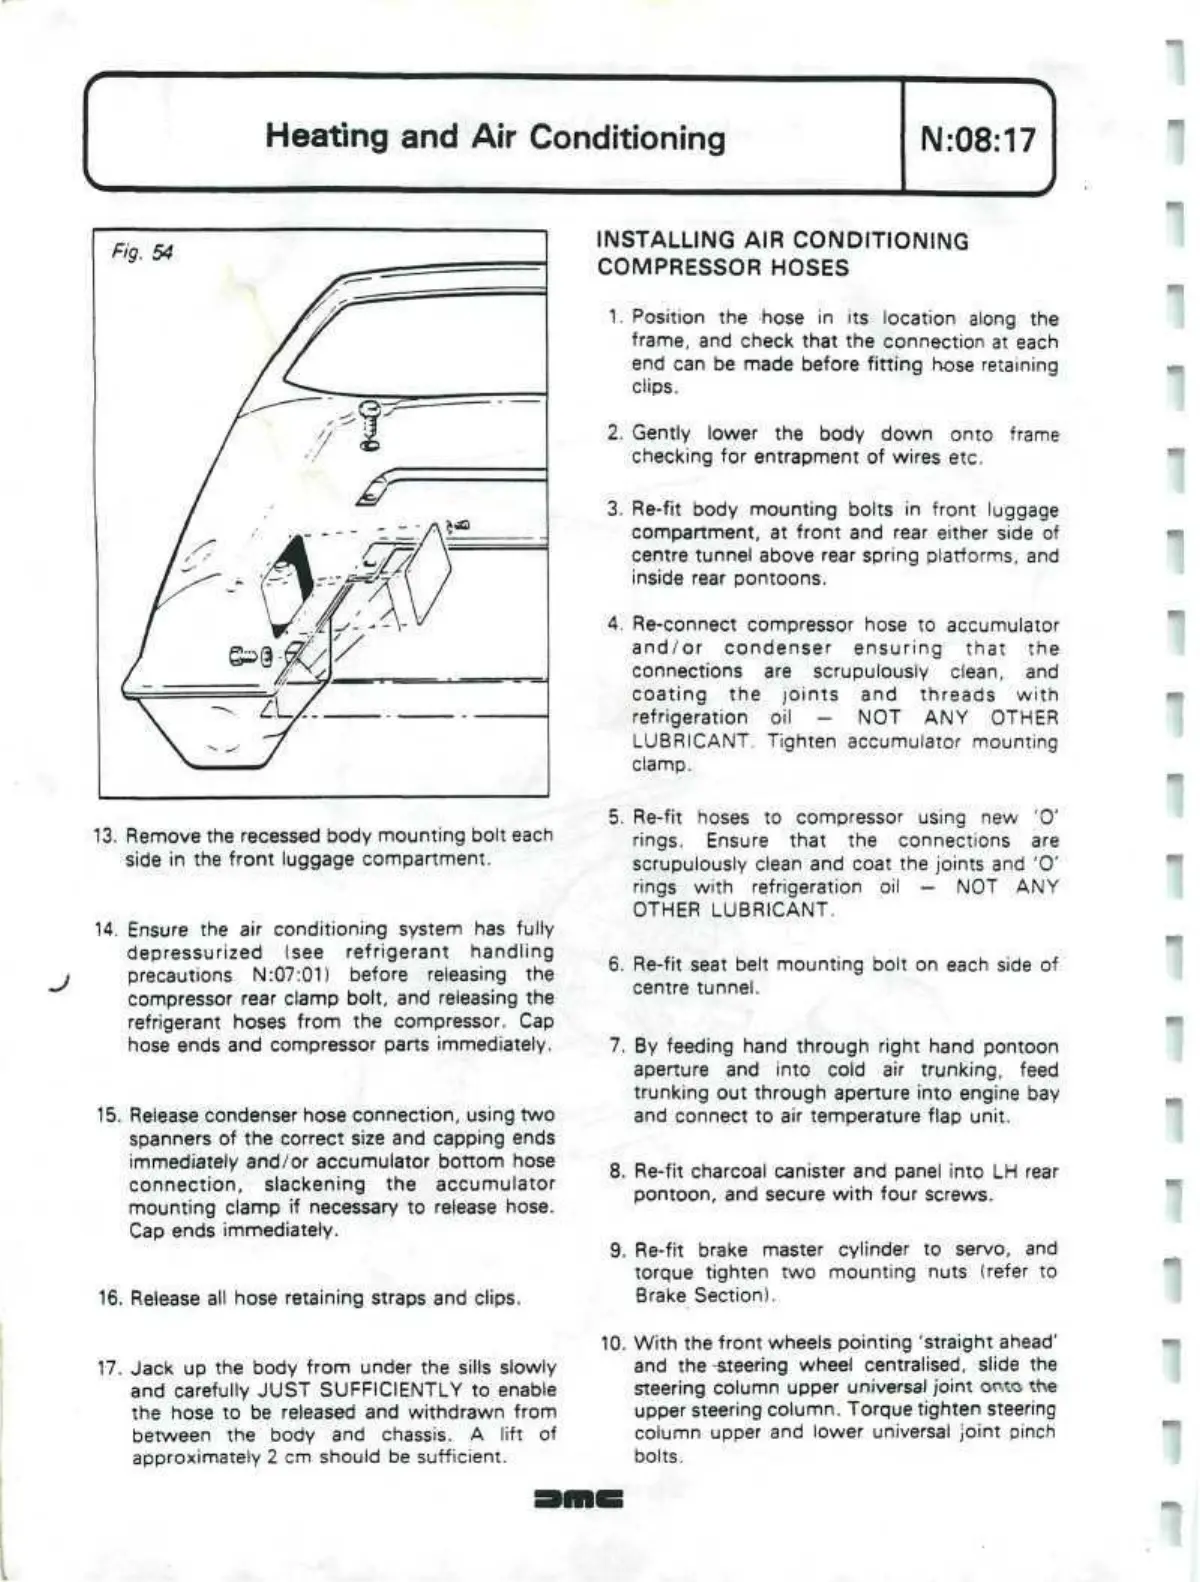
13.
Remove the recessed body mounting bolt each
side in the front luggage compartment.
14.
Ensure the air conditioning system has fully
depressurized (see refrigerant handling
precautions N:07:01) before releasing the
compressor rear clamp bolt, and releasing the
refrigerant hoses from the compressor. Cap
hose ends and compressor parts immediately.
15.
Release condenser hose connection, using two
spanners of the correct size and capping ends
immediately and/or accumulator bottom hose
connection, slackening the accumulator
mounting clamp if necessary to release hose.
Cap ends immediately.
16.
Release all hose retaining straps and clips.
17.
Jack up the body from under the sills slowly
and carefully JUST SUFFICIENTLY to enable
the hose to be released and withdrawn from
between the body and chassis. A lift of
approximately 2 cm should be sufficient.
INSTALLING AIR CONDITIONING
COMPRESSOR HOSES
1.
Position the hose in
its
location along the
frame,
and check that the connection at each
end can be made before fitting hose retaining
clips.
2.
Gently lower the body down onto frame
checking for entrapment of wires etc.
3. Re-fit body mounting bolts in front luggage
compartment, at front and rear either side of
centre tunnel above rear spring platforms, and
inside rear pontoons.
4.
Re-connect compressor hose to accumulator
and/or condenser ensuring that the
connections are scrupulously clean, and
coating the joints and threads with
refrigeration oil - NOT ANY OTHER
LUBRICANT. Tighten accumulator mounting
clamp.
5. Re-fit hoses to compressor using new '0'
rings.
Ensure that the connections are
scrupulously clean and coat the joints and '0'
rings with refrigeration oil — NOT ANY
OTHER LUBRICANT.
6. Re-fit seat belt mounting bolt on each side of
centre tunnel.
7. By feeding hand through right hand pontoon
aperture and into cold air trunking, feed
trunking out through aperture into engine bay
and connect to air temperature flap unit.
8. Re-fit charcoal canister and panel into LH rear
pontoon,
and secure with four screws.
9. Re-fit brake master cylinder to servo, and
torque tighten two mounting nuts (refer to
Brake Section).
10.
With the front wheels pointing 'straight ahead'
and the
-steering
wheel centralised, slide the
steering column upper universal joint
octo
the
upper steering column. Torque tighten steering
column upper and lower universal joint pinch
bolts.
 Loading...
