F^7
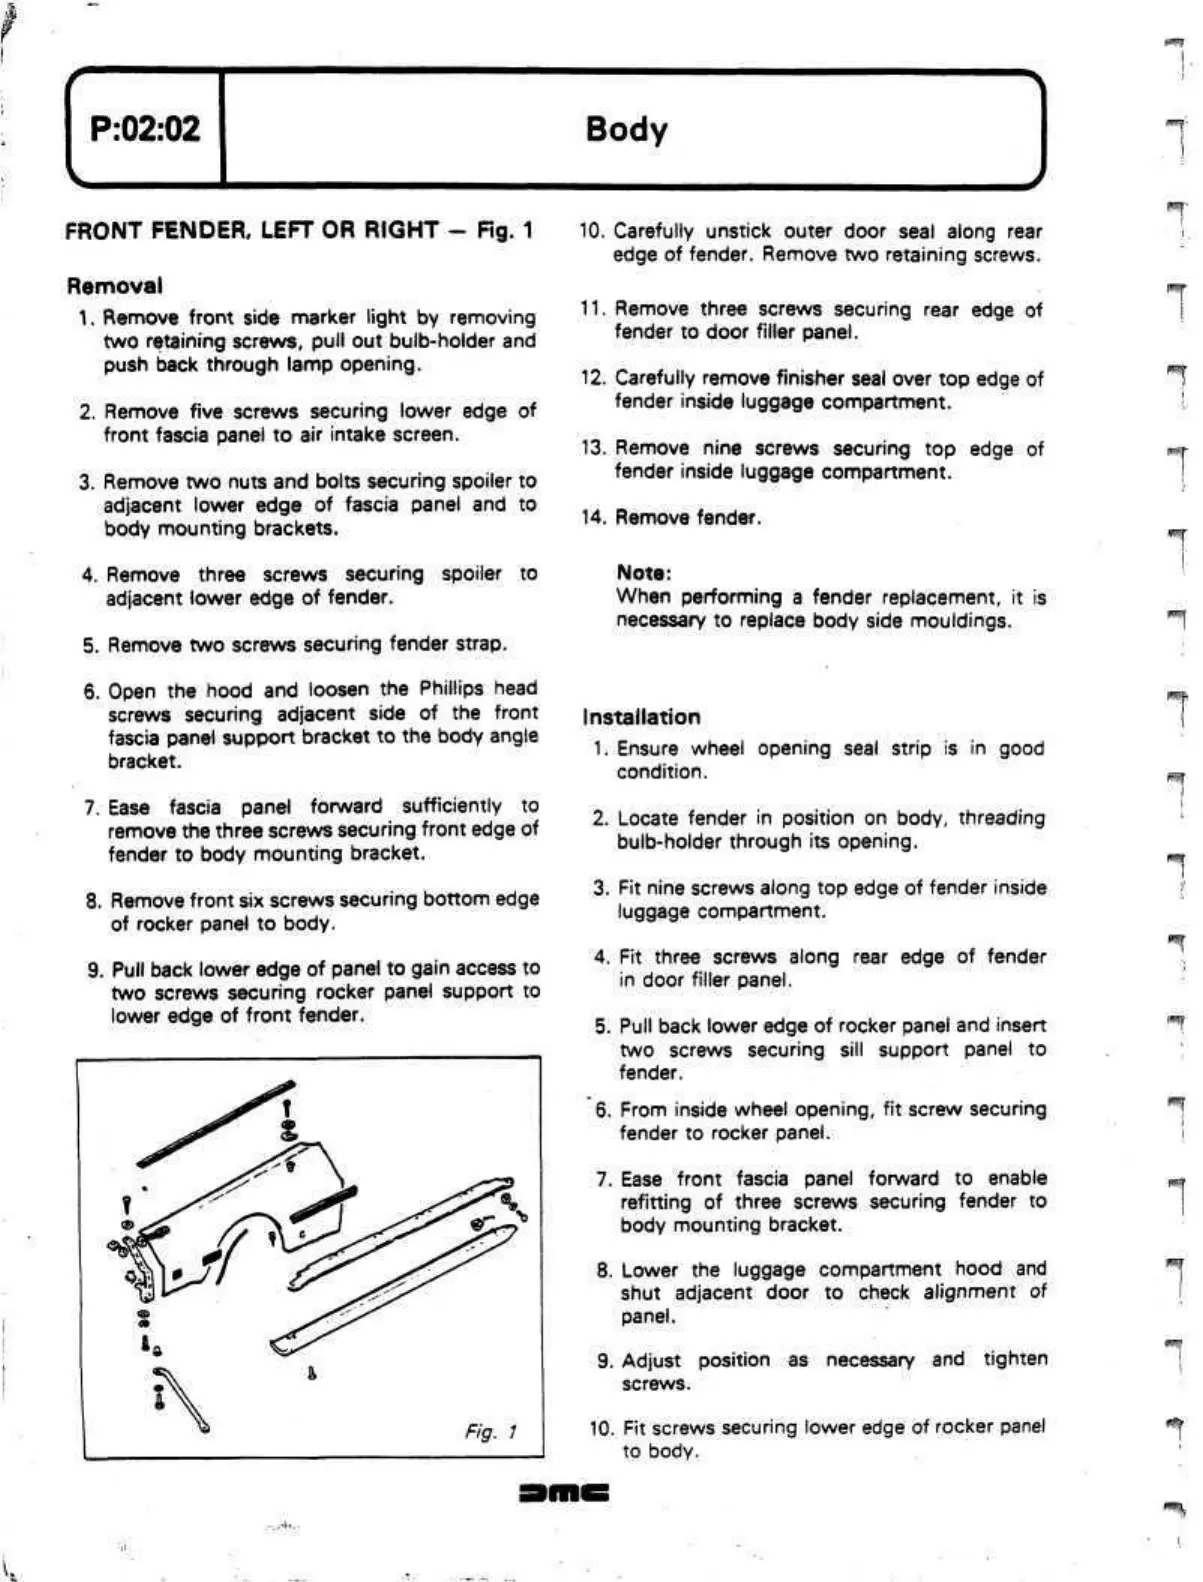
FRONT FENDER, LEFT OR RIGHT - Rg. 1
Removal
1.
Remove front side marker light by removing
two retaining screws, pull out bulb-holder and
push back through lamp opening.
2.
Remove five screws securing lower edge of
front fascia panel to air intake screen.
3. Remove two nuts and bolts securing spoiler to
adjacent lower edge of fascia panel and to
body mounting brackets.
4.
Remove three screws securing spoiler to
adjacent lower edge of fender.
5. Remove two screws securing fender strap.
6. Open the hood and loosen the Phillips head
screws securing adjacent side of the front
fascia panel support bracket to the body angle
bracket.
7. Ease fascia panel forward sufficiently to
remove the three screws securing front edge of
fender to body mounting bracket.
8. Remove front six screws securing bottom edge
of rocker panel to body.
9.
Pull
back lower edge of panel to gain access to
two screws securing rocker panel support to
lower edge of front fender.
10.
Carefully unstick outer door seal along rear
edge of fender. Remove two retaining screws.
11.
Remove three screws securing rear edge of
fender to door filler panel.
12.
Carefully remove finisher seal over top edge of
fender inside luggage compartment.
13.
Remove nine screws securing top edge of
fender inside luggage compartment.
14.
Remove fender.
Note:
When performing a fender replacement, it is
necessary to replace body side mouldings.
Installation
1.
Ensure wheel opening seal strip is in good
condition.
2.
Locate fender in position on body, threading
bulb-holder through its opening.
3. Fit nine screws along top edge of fender inside
luggage compartment.
4.
Fit three screws along rear edge of fender
in door filler panel.
5. Pull back lower edge of rocker panel and insert
two screws securing sill support panel to
fender.
6. From inside wheel opening, fit screw securing
fender to rocker panel.
7. Ease front fascia panel forward to enable
refitting of three screws securing fender to
body mounting bracket.
8. Lower the luggage compartment hood and
shut adjacent door to check alignment of
panel.
9. Adjust position as necessary and tighten
screws.
10.
Fit screws securing lower edge of rocker panel
to body.
F^-j
Ifff
fvWjJ
F*R\
 Loading...
