2.
Before fitting replacement, check that trim
secured by the door seal is correctly in
position.
3. Starting at the centre bottom edge of door
opening,
fit inner door seal around door
opening,
pressing on fully. Ensure that seal is
fully located on all corners.
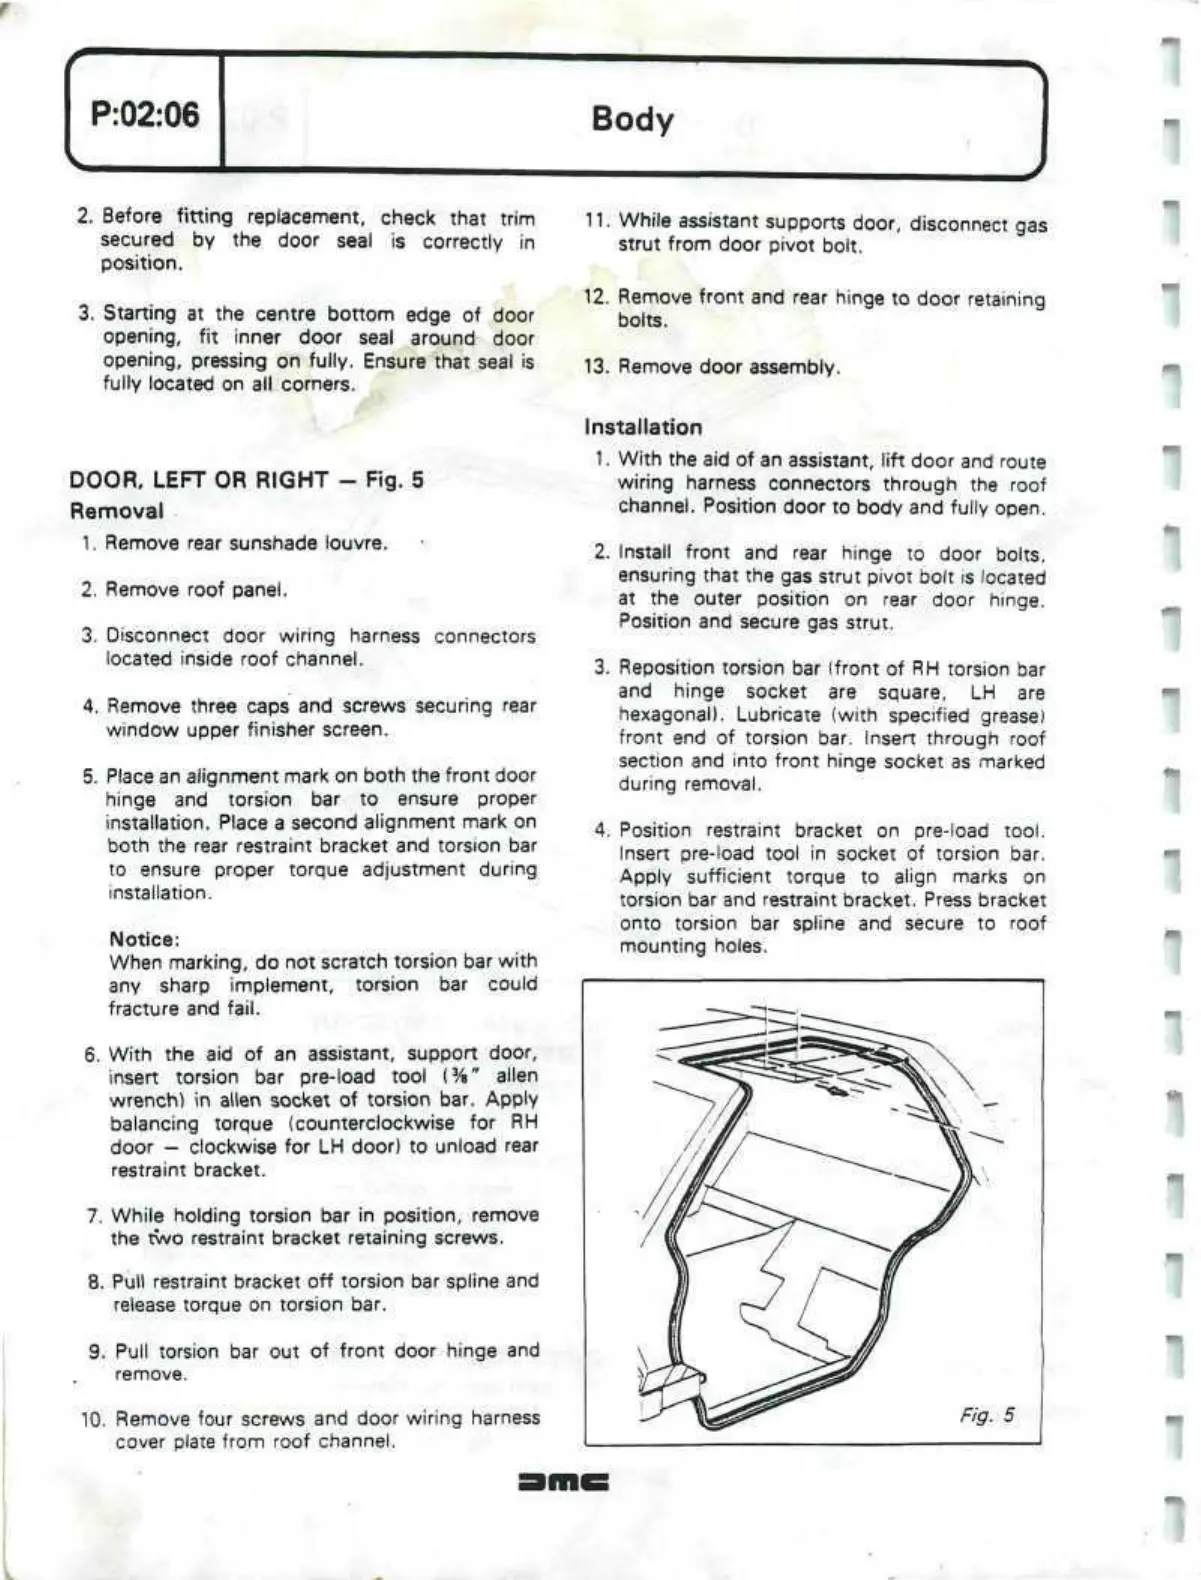
DOOR, LEFT OR RIGHT - Fig. 5
Removal
1.
Remove rear sunshade louvre.
2.
Remove roof panel.
3. Disconnect door wiring harness connectors
located inside roof channel.
4.
Remove three caps and screws securing rear
window upper finisher screen.
5. Place an alignment mark on both the front door
hinge and torsion bar to ensure proper
installation. Place a second alignment mark on
both the rear restraint bracket and torsion bar
to ensure proper torque adjustment during
installation.
Notice:
When marking, do not scratch torsion bar with
any sharp implement, torsion bar could
fracture and
fail.
6. With the aid of an assistant, support door,
insert torsion bar pre-load tool
(
3
/B"
alien
wrench) in alien socket of torsion bar. Apply
balancing torque (counterclockwise for RH
door — clockwise for LH door) to unload rear
restraint bracket.
7. While holding torsion bar in position, remove
the two restraint bracket retaining screws.
8. Pull restraint bracket off torsion bar spline and
release torque on torsion bar.
9. Pull torsion bar out of front door hinge and
remove.
10.
Remove four screws and door wiring harness
cover plate from roof channel.
11.
While assistant supports door, disconnect gas
strut from door pivot bolt.
12.
Remove front and rear hinge to door retaining
bolts.
13.
Remove door assembly.
Installation
1.
With the aid of an assistant, lift door and route
wiring harness connectors through the roof
channel.
Position door to body and fully open.
2.
Install front and rear hinge to door bolts,
ensuring that the gas strut pivot bolt is located
at the outer position on rear door hinge.
Position and secure gas strut.
3. Reposition torsion bar (front of RH torsion bar
and hinge socket are square, LH are
hexagonal). Lubricate (with specified grease)
front end of torsion bar. Insert through roof
section and into front hinge socket as marked
during removal.
4.
Position restraint bracket on pre-load
tool.
Insert pre-load tool in socket of torsion bar.
Apply sufficient torque to align marks on
torsion bar and restraint bracket. Press bracket
onto torsion bar spline and secure to roof
mounting holes.
1
1
1
1
I
 Loading...
