J
6. Install either the left door power mirror switch,
or the right door close-out plate.
7. Position and secure upper trim panel, as
described above.
8. Position and secure door control panel bezel.
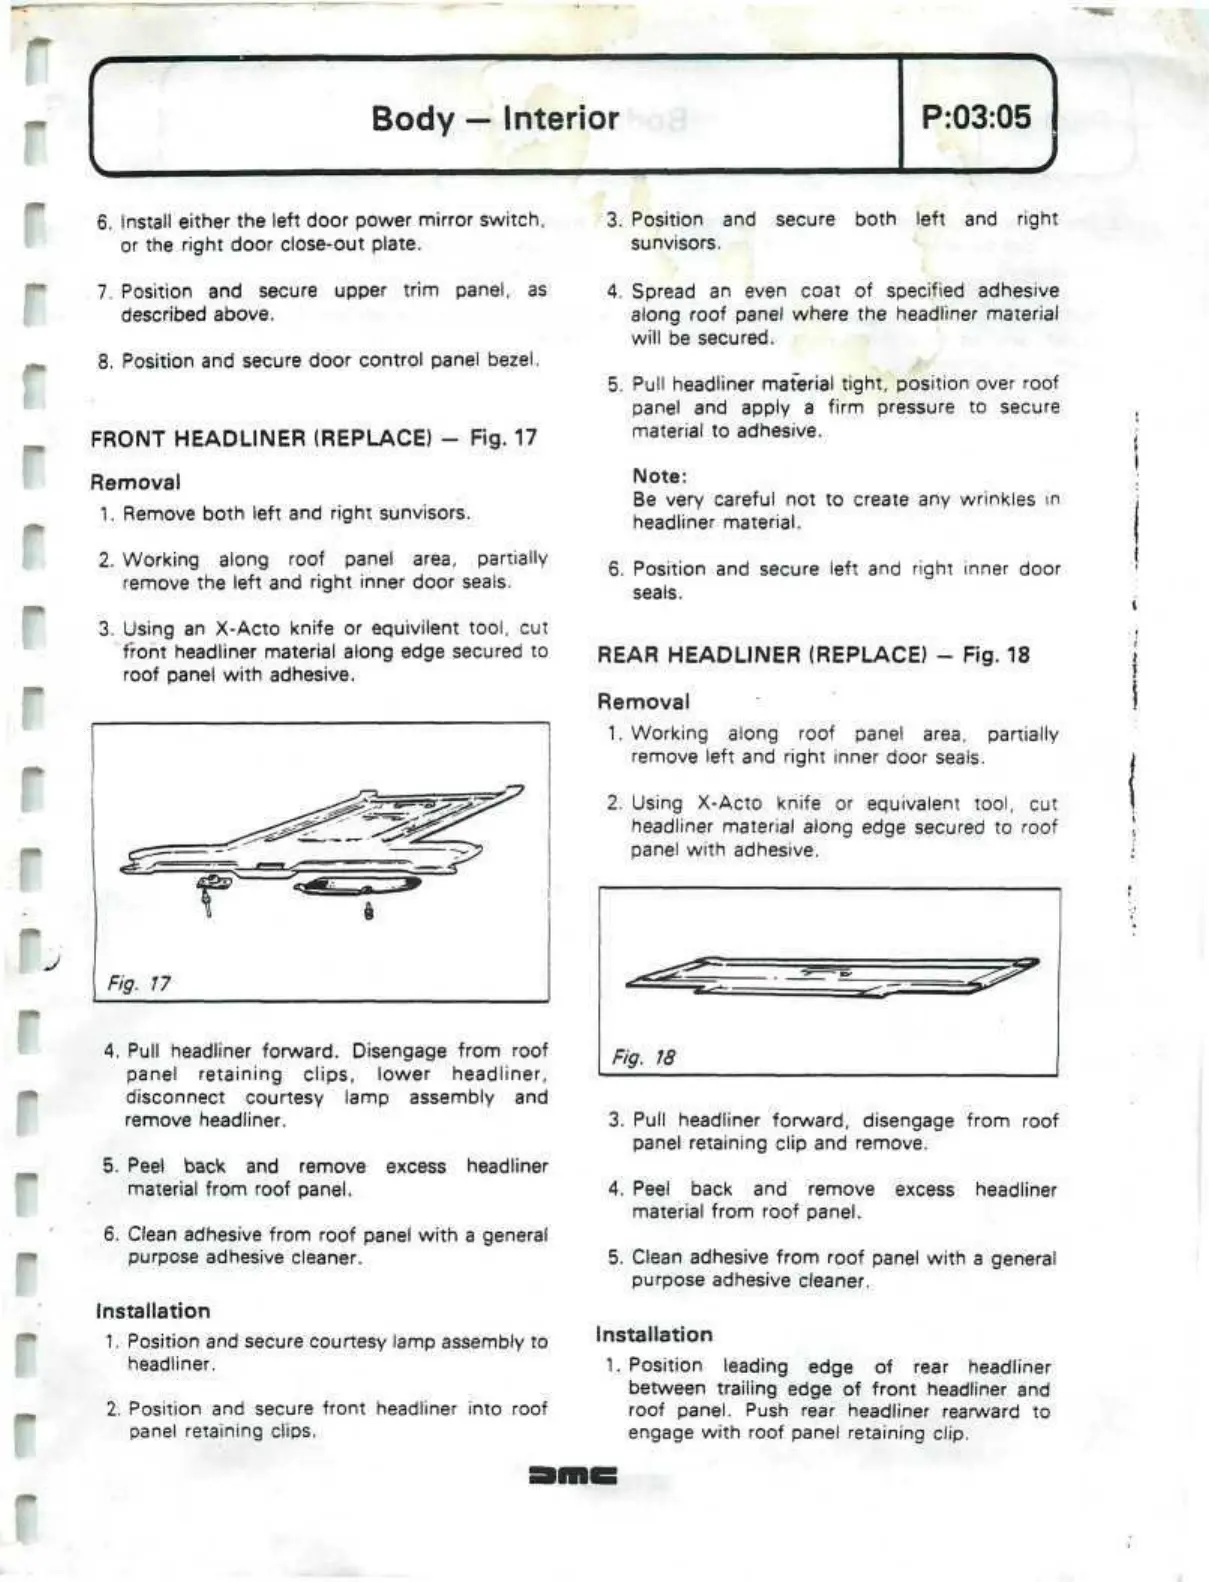
FRONT
HEADLINER
(REPLACE) - Fig. 17
Removal
1.
Remove both left and right sunvisors.
2.
Working along roof panel area, partially
remove the left and right inner door seals.
3. Using an X-Acto knife or equivilent
tool,
cut
front headliner material along edge secured to
roof panel with adhesive.
4.
Pull headliner forward. Disengage from roof
panel retaining clips, lower headliner,
disconnect courtesy lamp assembly and
remove headliner.
5. Peel back and remove excess headliner
material from roof panel.
6. Clean adhesive from roof panel with a general
purpose adhesive cleaner.
Installation
1.
Position and secure courtesy lamp assembly to
headliner.
2.
Position and secure front headliner into roof
panel retaining clips.
3. Position and secure both left and right
sunvisors.
4.
Spread an even coat of specified adhesive
along roof panel where the headliner material
will be secured.
5. Pull headliner
maferial
tight, position over roof
panel and apply a firm pressure to secure
material to adhesive.
Note:
Be very careful not to create any wrinkles
in
headliner material.
6. Position and secure left and right inner door
seals.
REAR HEADLINER (REPLACE) - Fig. 18
Removal
1.
Working along roof panel area, partially
remove left and right inner door seals.
2.
Using X-Acto knife or equivalent
tool,
cut
headliner material along edge secured to roof
panel with adhesive.
3. Pull headliner forward, disengage from roof
panel retaining clip and remove.
4.
Peel back and remove excess headliner
material from roof panel.
5. Clean adhesive from roof panel with a general
purpose adhesive cleaner.
Installation
1.
Position leading edge of rear headliner
between trailing edge of front headliner and
roof panel. Push rear headliner rearward to
engage with roof panel retaining clip.
 Loading...
