204451 Rev. A 2
SHUT OFF WATER SUPPLIES
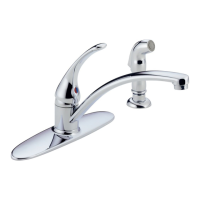
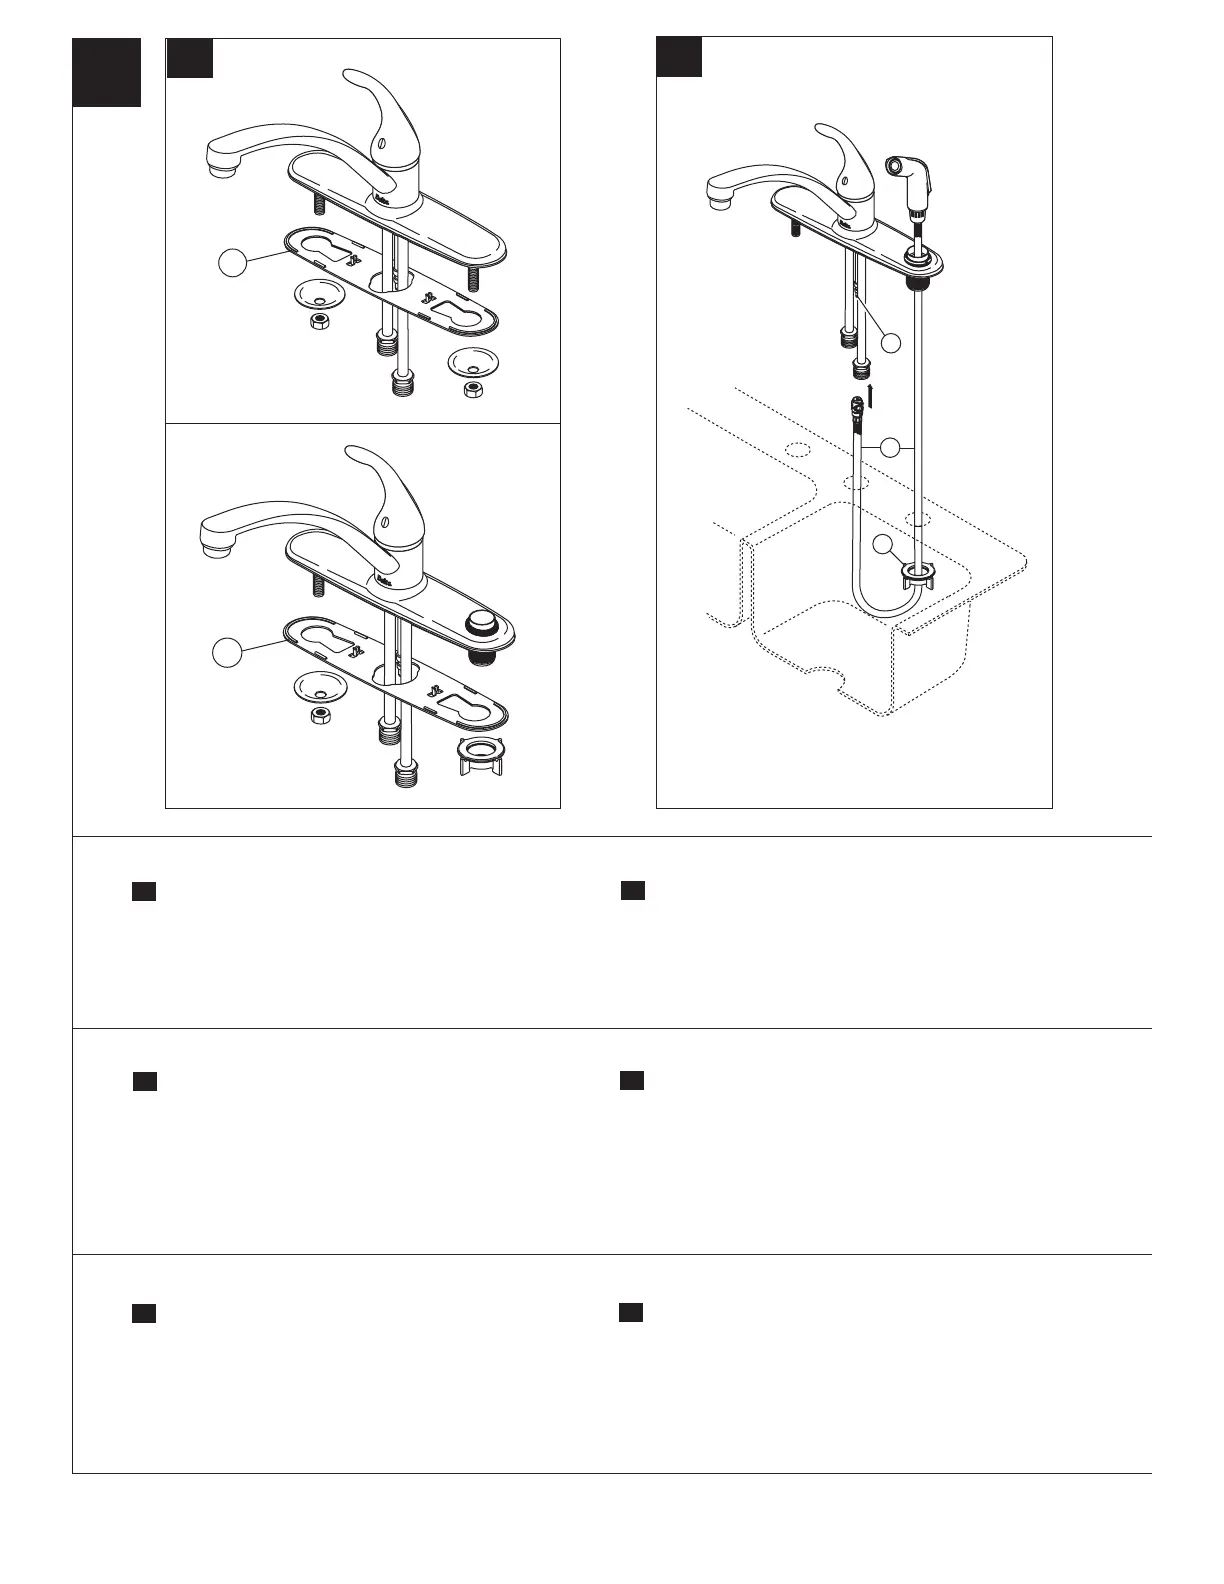
For models with spray and spray nest.
Insert spray hose (1) down through support assembly
on escutcheon and hole in sink. From underneath the
sink, place the mounting nut (2) over spray hose and
insert the hose up through the middle hole in sink.
From above the sink, attach the spray hose tightly to
hose nipple (3). DO NOT OVERTIGHTEN.
A
B
A
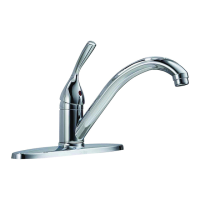
Remove old faucet. For deck mount models,
place gasket (1) on faucet.
For models without spray, go to step 1C.
For models with spray, go to step 1B.
B
CIERRE LOS SUMINISTROS DE AGUA
Para modelos con rociador y nido del rociador.
Introduzca la manguera del rociador (1) hacia abajo a
través del ensamble del soporte en el chapetón y el
hoyo en el fregadero. Desde abajo del fregadero
coloque la tuerca de montura (2), sobre la manguera
del rociador e introduzca la manguera hacia arriba a
través del hoyo del centro en el fregadero. Desde
arriba del fregadero conecte apretado la manguera del
rociador a la entrerrosca de la manguera (3). NO
APRIETE DEMASIADO.
A
Quite la llave vieja. Para modelos de montaje en
bordes coloque el empaque (1) en la llave.
Para modelos sin rociador continúe con el Paso 1C.
Para modelos con rociador continúe con el Paso 1B.
B
COUPEZ L’EAU
Modèles avec douchette sur plaque de finition.
Insérez le tuyau souple de la douchette (1) dans le
support sur la plaque et dans le trou de l’évier. Par le
dessous de l’évier, faites glisser la écrou en montage
(2) sur le tuyau souple, puis ramenez le tuyau souple
dans le trou central de l’évier. Par le dessus de l’évier,
fixez solidement le tuyau souple sur le raccord fileté (3).
ÉVITEZ DE TROP SERRER.
A
Enlevez le vieux robinet. Dans le cas des modèles
montés sur le rebord, posez le joint (1) sur le robinet.
Pour les modèles sans douchette passez à l’étape 1C.
Pour les modèles avec douchette passez à l’étape 1B.
B
1
1
1
3
2