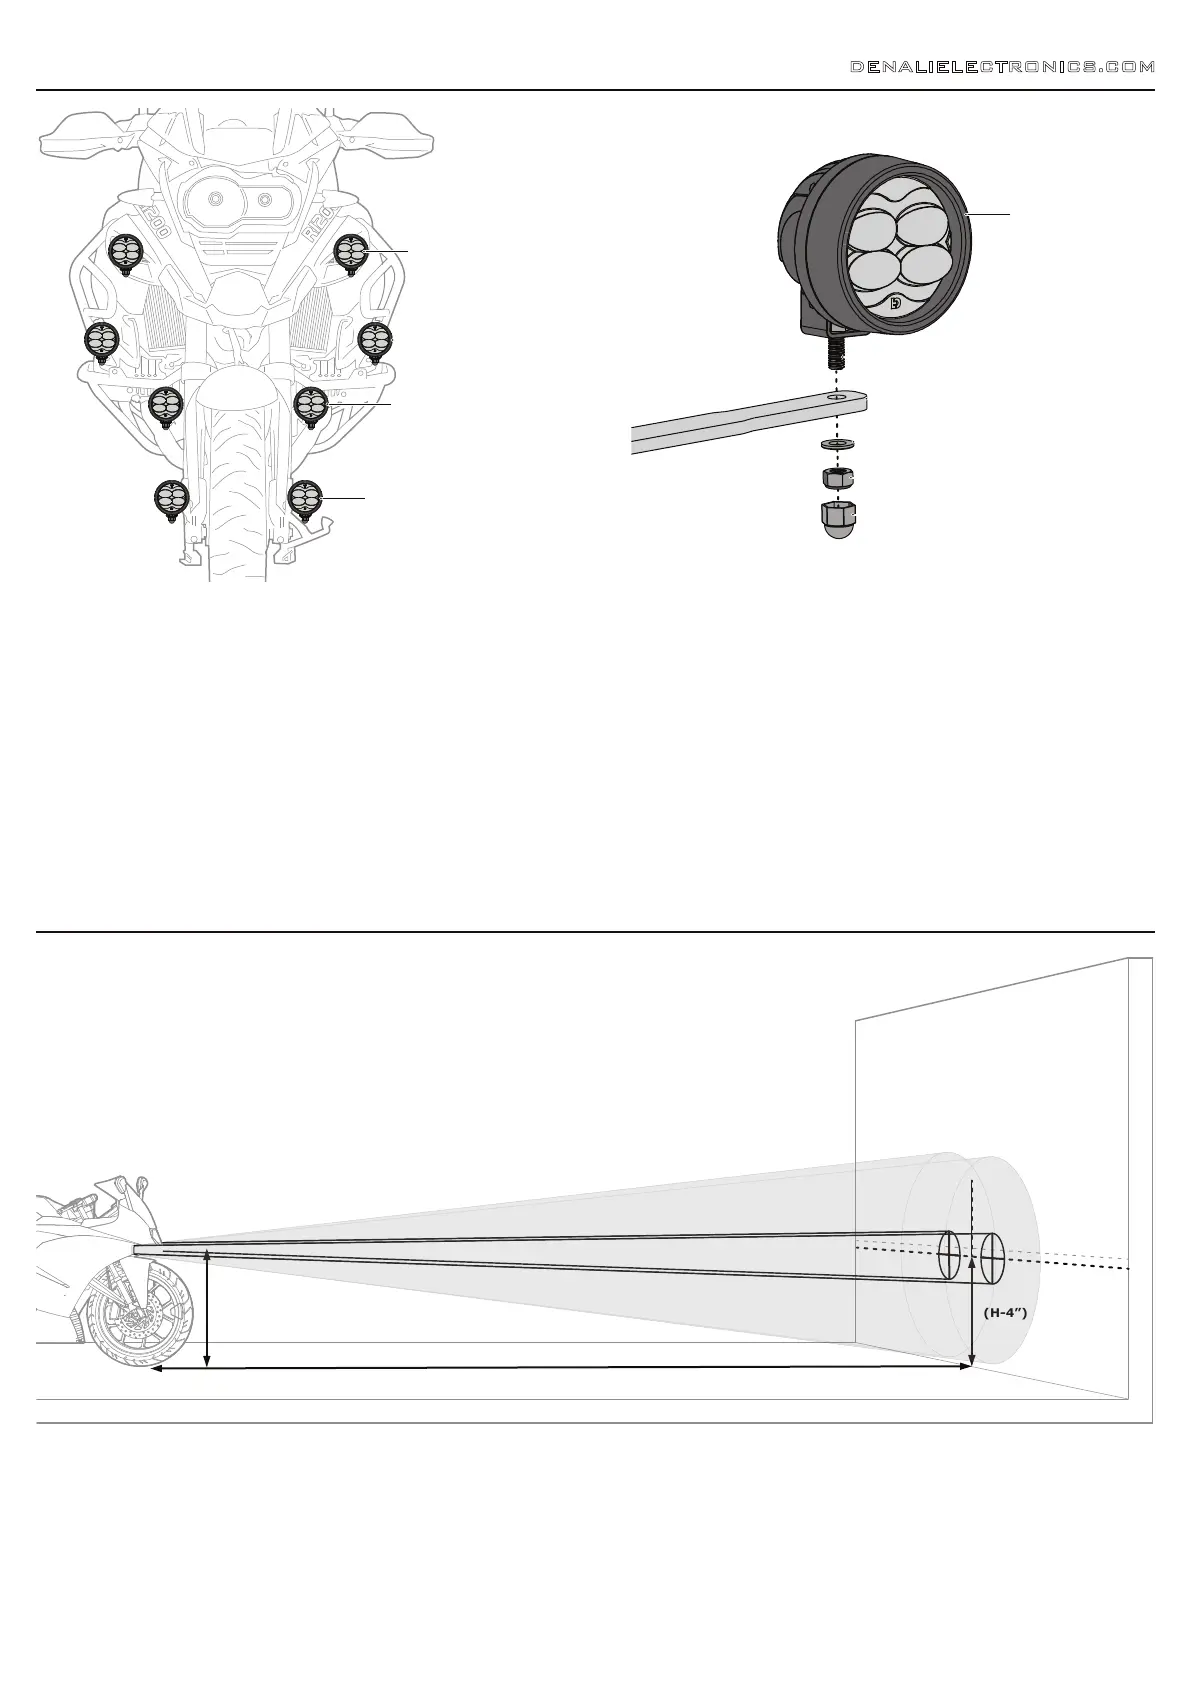
1. Mounting The Lights
1.1 - Choosing The Mounting Location
DENALI offers dozens of universal and vehicle specific light mounts. To
determine the best mounting location consider the following tips. For
maximum beam distance at night, mount the lights higher up. For
maximum day time visibility, mount the lights down low to increase your
overall lighting footprint. To create the optimum lighting and visibility
package, mount one pair of long distance spots up high for night time
distance and one pair of flood or hybrid lights down low for day time
visibility and night time fill.
Check out our full mounting application chart at DENALIELECTRONICS.COM
to see all the mounting options available for your vehicle.
DENALIELECTRONICS.COM
1.2 - Mounting The Light
Step One: Use a 13mm wrench and the included M8 screw, washer, nut
and nut cap to attached the pods to the mounting bracket.
Step Two: Use the M8 plastic nut cap to cover the nut and exposed
thread.
2. Aiming The Lights
2.1 - Suggested Aiming Method
Step One: With someone sitting on the bike and holding it upright on
level ground, position the vehicle 25 feet from a flat and vertical wall.
Be sure the wall is large enough that both beams can be projected onto
the wall. A garage door is a great place to perform this procedure.
Step Two: Measure the distance from the ground to the center of the
light pods (H)
Step Three: Using tape, make a horizontal line that is 4 inches lower
than the previous measurement from the ground to the center of the
lights (H-2”).
Step Four: Loosen the mounting and hinge bolts then aim each light so
that the center of the hot spot aligns with the tape line on the wall. The
lights should be aimed equidistant left and right from center line of the
vehicle.
Step Five: Once final adjustments are made to the lights, tighten the
mounting and hinge bolts.
Congratulations! The DENALI LED Light Kit has been successfully
installed! Enjoy!
(25 FEET FROM WALL)
(H-4”)
(H)
(H)
If you have limited space or are having trouble identifying the hot spot on the wall, you can shorten the distance to 6 feet and mark the tape line at H-1".
Vehicle Specific Fairing Mount
Crashbar/Engine Guard/
Frame Mount
Fork Tube Mount
Fender Mount
M8x20 Bolt
Example Bracket
M8 Washer
M8 Nut
M8 Nut Cap
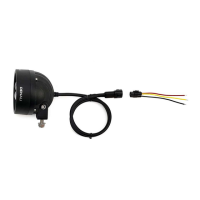
D3 Pod
 Loading...