22
1
2
3
4
5
6
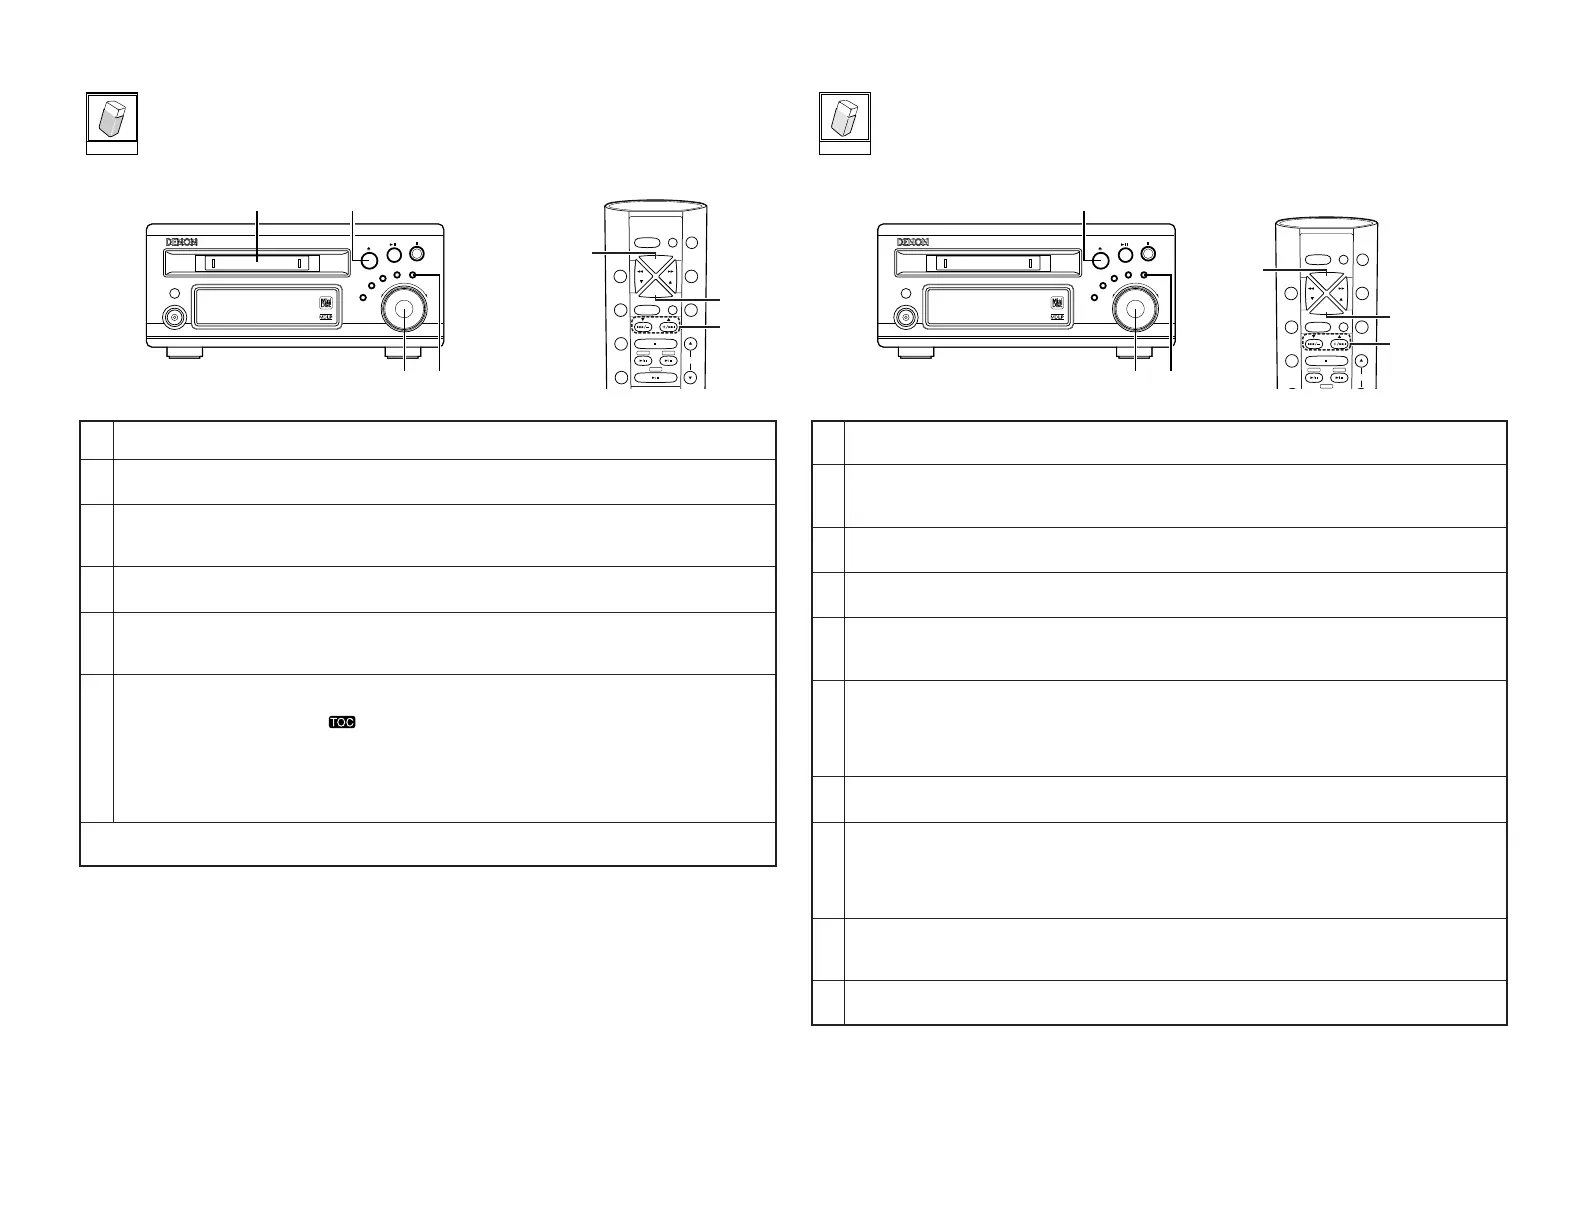
Load the disc you want to erase.
In the stop mode, press the EDIT button.
•“
Edit Mode
” is displayed.
Either turn the jog dial on the main unit or press one of the automatic search buttons (
8 and 9) on the
remote control unit.
• Display “
All Erase?
”.
Press the jog dial on the main unit or the ENTER button on the remote control unit.
• The “
Erase OK?
” message appears.
If it is OK to erase all the tracks, press the jog dial on the main unit or the ENTER button on the remote control
unit.
•“
Complete
” is displayed.
Press the 5 (eject) button on the main unit.
• The TOC data is written and the disc is ejected.
• When TOC writing starts, the “” indicator flashes. Do not shake the main unit, or unplug the power
supply cord while the TOC is being written. If the data is not recorded properly, it will not be possible to play
the disc.
• The TOC data can also be recorded by performing the following operations:
• Pressing the power button to set the power to the standby mode.
• In the stop mode, press the
2 (stop) button.
• When “
All Erase?
” is used, both the tracks and the disc title are erased.
• To cancel the erasing procedure, press the
2 (stop) or CLEAR button before step 5 above.
[Erasing a certain section of a track]
• This function comes in handy for example when you want to erase part of an unattended recording
made with the “AIR CHECK” function.
1
2
3
4
5
6
7
8
9
In the play mode or pause mode, press the EDIT button.
•“
Edit Mode
” is displayed.
Either turn the jog dial on the main unit or press one of the automatic search buttons (
8 and 9) on the
remote control unit.
• Display “
A-B Erase?
”.
Press the ENTER button.
•“
A Point In?
” is displayed.
Press the ENTER button at the position where you want to start erasing (point A).
•“
B Point In?
” is displayed.
Press the ENTER button again at the position where you want to stop erasing (point B).
• The section which is to be erased is played and “
Position OK?
” is displayed.
• The section at which the track is to be combined is played repeatedly for several seconds.
To fine-adjust point A, turn the jog dial on the main unit or use the automatic search buttons (
8 and 9) on
the remote control unit to move point A.
•“
A Point
± [point number]” is displayed.
• Fine-adjustment is possible within the range of –176 to +176 points. (1 point equals approximately 0.012
seconds.)
Press the ENTER button to reset point A.
•“
B Point
± [point number]” is displayed.
To fine-adjust point B, turn the jog dial on the main unit or use the automatic search buttons (
8 and 9) on
the remote control unit to move point A.
•“
B Point
± [point number]” is displayed.
•“Fine-adjustment is possible within the range of –176 to +176 points. (1 point equals approximately 0.012
seconds.)
Press the ENTER button.
•“
Position OK?
” is displayed.
• The section at which the track is to be combined is played repeatedly for several seconds.
[Erasing all tracks]