-16-
準備の手順 Preparation
以下のステップで BHT を使う準備をします。
Follow the steps below to prepare the BHT for use.
Step1 充電する
Charging the Battery Cartridge
充電します。
Charge the battery cartridge.
¦
Step2 ハンドストラップをつける
Wearing the Hand Strap
落とさないようにハンドストラップをつけて使います。
Wear the hand strap at your wrist to prevent the BHT
from being dropped.
¦
Step3 電源をオンする
Turning ON the Power
準備完了です。
Preparation is now complete.
Step1 充電する Charging the Battery Cartridge
お買い上げ時、電池及び電池蓋は付属しておりません。また電池は充電されていませんので、充電し
てからご使用ください。電池の取り付け方は『充電池カートリッジの交換』をご参照ください。
BHT 本体を使用しての充電はコミュニケーションユニット(CU-1301, CU-1311, CU-1321)を
ご使用ください。
充電時間は約 3 時間です。
CU-1321 で USB 接続先から電源が供給されているときは、約 7 時間です。
• BHT 本体の USB 接続先から電源が供給されているときは、約 7 時間です。
• 放電量の少ない電池では、この時間よりはやく満充電となります。
The BHT’s battery and lid are options. The BHT’s battery cartridge is not charged when purchased and
must therefore be charged prior to use. Please refer ”How to Replace the Battery Cartridge”
The following chargers can be used with the BHT.
Communication units: CU-1301, CU-1311, CU-1321
The charging time is approximately 3 hours.
• The charging time is approximately 7 hours using the CU-1321 with power supplied via the USB port.
• The charging time is approximately 7 hours using the BHT-USB with power supplied via the USB
port
• This time will be reduced for a battery cartridge with low discharge capacity.
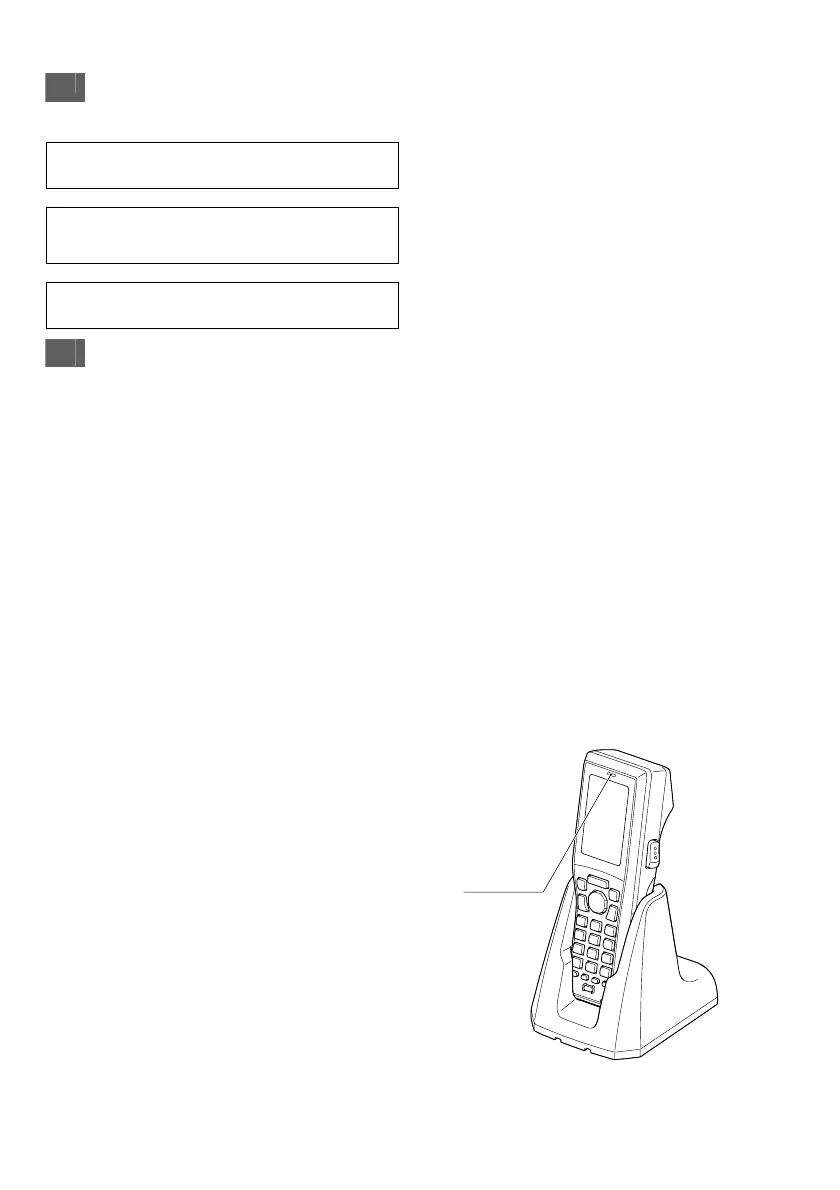
■BHT 本体を使用しての充電
Charging by the BHT
BHT を充電器にセットします。※
表示 LED が赤色に点灯し、充電が始まります。
充電が終わると、BHT の表示 LED が緑色点灯
に変わります。
Place the BHT on the charger.*
The LED illuminates in red and
charging begins.
The BHT indicator LED will change
to green when charging is complete.
※BHT 本体へ充電池カートリッジを装着する方法は「充電池カートリッジの交換」をご参照ください。
* Refer to “How to Replace the Battery Cartridge” for how to insert the battery cartridge into the BHT.
コミュニケーションユニット
Communication unit
表示 LED
Indicator LED
 Loading...