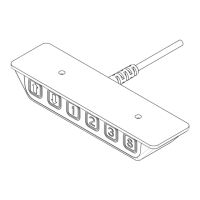
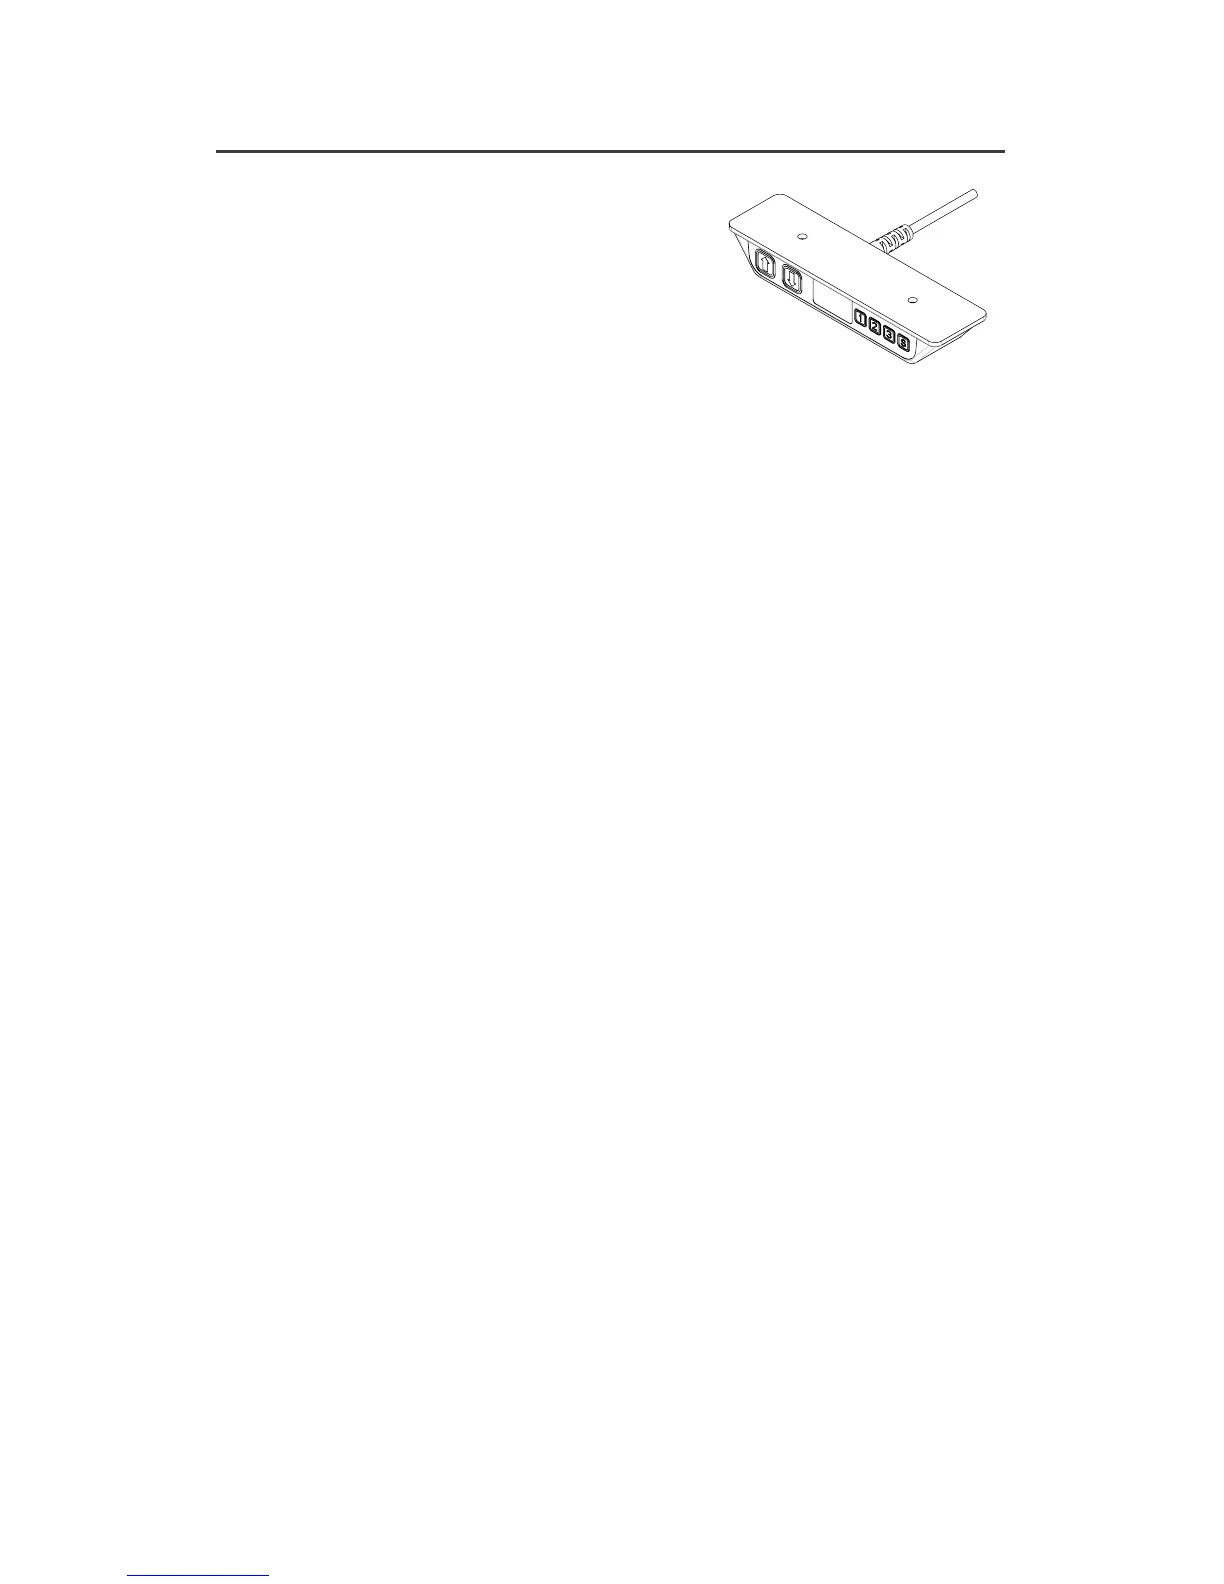
HEIGHT ADJUSTMENT CONTROLLERS
OPERATING THE CONTROLLER
• Press and hold either the Up or Down arrow to reach the desired height.
The digital controller will display the current height of the table.
• To switch to a stored height in memory, use the three pre-set buttons.
A. Press the numbered button that has the pre-set height stored into
memory once.
B. The display will flash go1, go2 or go3 for three seconds. During this
time press the Up or Down arrow and hold until the table reaches the
stored height.
• As a safety feature, the user must continuously hold down the button in order
for the table to move.
STORE HEIGHT INTO MEMORY
To set into memory the desired height for either seated or standing work, use the
three pre-set buttons.
• Press either the Up or Down arrow until the desired height is attained.
• Press the S button once.
• The display will flash S for three seconds. During this time press your choice
of pre-set buttons 1-3 to set that particular height. The display will store by
showing S1, S2 or S3 for one second.
• To pre-set additional heights repeat this sequence using the remaining 1-3 buttons.
ADJUSTING THE HEIGHT DISPLAYED
It may be necessary to adjust the height displayed. The controller will show 68 cm
or 22.5 inches at its lowest setting which is the default setting from the factory and
does not incorporate worksurface thickness or glide adjustments.
• At the same time press the S button and the Up or Down arrow, until the
display shows the correct height.
SWITCH DISPLAY FROM INCHES TO CENTIMETERS
Press and hold the S button to change the displayed height from inches to
centimeters.
ERROR CODES
In the event of a fault, the digital display may show an error code. Refer to the
troubleshooting guide.
3- Pre-Set Programmable
with Digital Display