11
ENGLISH
1. Insert the chisel as described above.
2. Rotate the chisel position collar (d) in the
direction of the arrow until the chisel is in the
desired position.
Setting the Electronic Impact Power
Control Dial (fi g. 1)
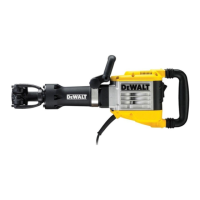
D25902
Turn the dial (c) to the desired level. The higher the
number, the greater the impact energy. With dial
settings from «1» (low) to «7» (full power) the tool is
extremely versatile and adaptable for many different
applications.
The required setting is a matter of experience,
for example:
• when chiselling soft, brittle materials or when
minimum break-out is required, set the dial to
«1» or «2» (low);
• when breaking harder materials, set the dial to
«7» (full power).
Fitting and Adjusting the Side Handle
(fi g. 8)
The side handle (f) can be mounted on the front of
the machine to suit both RH- and LH-users.
WARNING: Always operate the
machine with the side handle properly
mounted.
1. Unscrew the side handle clamp knob (i).
2. Slide the side handle assembly onto the
machine locating the steel ring (r) in the
mounting area (x). The correct position of the
side handle is between head and middle of the
tube.
3. Adjust the side handle (f) to the desired angle.
4. Slide and rotate the side handle to the desired
position.
5. Lock the side handle in place by tightening the
clamp knob (i).
OPERATION
Instructions for Use
WARNING:
• Always observe the safety instructions
and applicable regulations.
• Be aware of the location of pipework and
wiring.
Inserting and Removing SDS Max
®
Accessories (fi g. 3, 4)
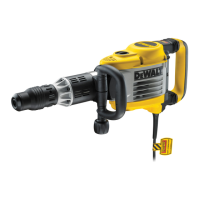
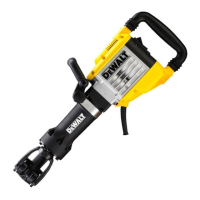
D25899, D25902
This machine uses SDS Max
®
chisels (refer to the
inset in Figure 4 for a cross-section of a chisel
shank).
Only D
EWALT recommended accessories should be
used with this product.
1. Clean the chisel shank.
WARNING: Do not apply lubricant to
the machine.
2. Insert the chisel shank into the tool holder/
sleeve (e). Press and turn the chisel slightly until
the sleeve snaps into position.
3. Pull on the chisel to check if it is properly
locked. The hammering function requires
the chisel to be able to move axially several
centimetres when locked in the tool holder.
4. To remove a chisel, pull back the tool holder/
sleeve (e) and pull the chisel out of the tool
holder.
Inserting and Removing 19 mm Hex
Accessories (fi g. 5, 6)
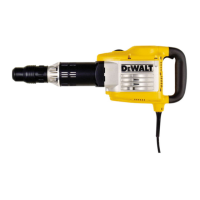
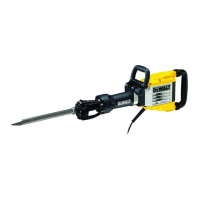
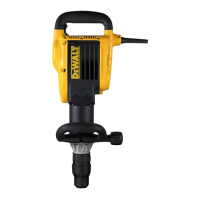
D25941
This machine uses chisels with a 19 mm hex. shank
(refer to the inset in Figure 6 for a cross-section of a
chisel shank).
Only DEWALT recommended accessories should be
used with this product.
1. Clean the chisel shank.
WARNING: Do not apply lubricant to
the machine.
2. Pull back the tool holder/sleeve (e), align the
groove (g) with the yellow marker (h) and insert
the chisel shank into the tool holder. Release
the locking sleeve.
3. Pull on the chisel to check if it is properly
locked. The hammering function requires
the chisel to be able to move axially several
centimetres when locked in the tool holder.
4. To remove a chisel, pull back the tool holder/
sleeve (e) and pull the chisel out of the tool
holder.
Indexing the Chisel Position (fi g. 7)
The chisel can be indexed and locked into
12 different positions.