7
ENGLISH
Charging a Battery
NOTE: To ensure maximum performance and life of lithium‑ion battery packs, charge the
battery pack fully before firstuse.
1. Plug the charger into an appropriate outlet before inserting batterypack.
2. Insert the battery pack
1
into the charger, making sure the battery pack is fully seated
in the charger. The red (charging) light will blink repeatedly indicating that the charging
process hasstarted.
3. The Stage 1Charging blink indicator represents the charge process that charges the
majority of the battery's capacity. Stage2Charging blink indicator represents the
remainder, or top off charge process, for the battery to reach fullcapacity.
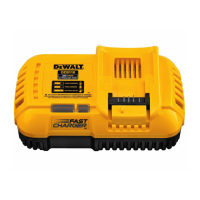
Description (Fig.A)
WARNING: Never modify the power tool or any part of it. Damage or personal injury
couldresult.
1
Battery
2
Battery release button
3
Charger
Intended Use
The DCB1104 charger is designed for charging 18V DeWALT Li‑Ion XR and XR FLEXVOLT
battery packs: DCB181, DCB182, DCB183, DCB183B, DCB183G, DCB184, DCB184B, DCB184G,
DCB185, DCB187, DCB189, DCB546, DCB547, DCB548, DCB549, DCBP034.
DO NOT use under wet conditions or in the presence of flammable liquids orgases.
These battery chargers and battery packs are professional powertools.
Date Code Position (Fig.A)
The date code
4
, which also includes the year of manufacture, is printed into thehousing.
Example:
2021XX XX
Year and Week of Manufacture
• The location in which the charger is used should be
clean and dry. Use of a charger in a dirty or wet area could
result in risk of fire, electric shock, orelectrocution.
SAVE THESE INSTRUCTIONS