7
ENGLISH
• This product is not intended for use by persons (including
children) suffering from diminished physical, sensory or
mental abilities; lack of experience, knowledge or skills
unless they are supervised by a person responsible for their
safety. Children should never be left alone with thisproduct.
OPERATION
Instructions for Use
WARNING: Always observe the safety instructions and
applicableregulations.
WARNING: To reduce the risk of serious personal
injury, turn tool off and disconnect battery pack
before making any adjustments or removing/
installing attachments or accessories. An accidental
start-up can causeinjury.
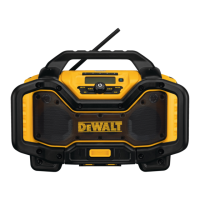
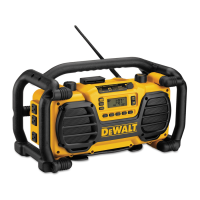
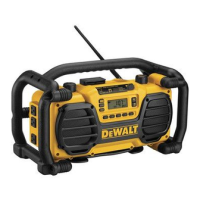
Inserting and Removing the Battery Pack
from the Radio (Fig. B)
NOTE: Make sure your battery pack
17
is fullycharged.
To Install the Battery Pack into the Radio
1. Align the battery pack
17
with the rails inside the battery
receptacle
20
.
2. Slide it into the receptacle until the battery pack is firmly
seated in the tool and ensure that you hear the lock snap
intoplace.
To Remove the Battery Pack from the Radio
1. Press the release button
18
and firmly pull the battery pack
out of the batteryreceptacle.
2. Insert battery pack into the charger as described in the
charger section of thismanual.
Fuel Gauge Battery Packs (Fig. B)
Some
battery packs include a fuel gauge which
consists of three green LED lights that indicate the level of
charge remaining in the batterypack.
To actuate the fuel gauge, press and hold the fuel gauge
button
19
. A combination of the three green LED lights will
illuminate designating the level of charge left. When the level
of charge in the battery is below the usable limit, the fuel gauge
will not illuminate and the battery will need to berecharged.
NOTE: The fuel gauge is only an indication of the charge left on
the battery pack. It does not indicate tool functionality and is
subject to variation based on product components, temperature
and end-userapplication.
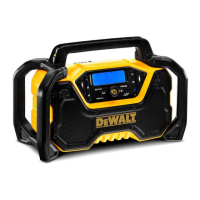
Powering with the AC Adapter (Fig. B)
WARNING: Use only the AC adapter supplied with
this product. Use of any other external power supply
could damage the radio or powersupply.
To power the radio using the AC adapter
15
, plug the cord
into the radio's AC power input
16
found on the back of the
radio, then plug the 230V AC cord end into the wall outlet or
an appropriate-sized extension cord that is plugged into a wall
outlet. Always fully extend the cord before eachuse.
To prevent interference, locate the adapter as far from the radio
aspossible.
NOTE: The battery pack must be removed before the AC
adapter can be plugged into the AC powerinput.
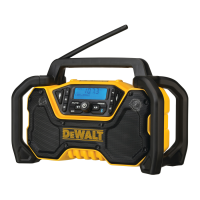
Power/Volume Adjustment
1. To turn the radio on, press the ON/OFF button/Volume
knob
1
.
NOTE: When the radio is first used it will enter 'DAB' mode
and automatically scan for stations. It will then start playing
the first station itfinds.
2. Turn the ON/OFF button/Volume knob
1
clockwise
to increase the volume. To decrease the volume, turn
anti-clockwise.
Mode Function
To choose one of the mode functions('DAB', 'FM', or 'AUX' or
Bluetooth®) push the mode button
4
until the desired function
isfound.
NOTE: Pressing the Bluetooth® button
9
also puts the radio
into Bluetooth®mode.
DAB Mode
Tuning
When the unit is first switched on the unit will start in
'DAB'/'DAB+' mode and will 'Auto Scan' to find broadcast
stations in the local area. Once 'Auto Scan' is complete, use the
left or right arrow buttons
3
to scroll through thestations.
NOTE: When moving locations or if reception was poor
in the original scan(possible if the antenna was not up),
this may result in an empty or incomplete list of available
stations. Manually running an 'Auto Scan' will find all available
broadcaststations.
To Perform an Auto Scan:
1. Press the Menu button
7
, scroll through the options
by pressing the right arrow button
3
until you reach
'AutoScan'.
2. Press the Enter/Display button
10
to perform the
'AutoScan'.
Once 'Auto Scan' is complete the radio will play the first station
itfinds.
Display
Press the Enter/Display Button
10
to alternate between
scrolling text, date and stationinformation.
Station Prune
Some stations once received by your radio which are no longer
available may display with a ? after the stationname.
To remove these stations from the station list, use the
'Prune'function:
1. Press Menu
7
and scroll right to the 'Prune'option.
2. Press Enter/Display
10
toselect.
Tune or Seek Function (FM)
There are two tuning methods and one seek method for finding
the desiredfrequency.
 Loading...