ENGLISH
9
English (original instructions)
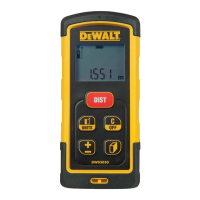
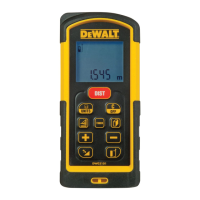
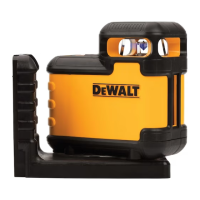
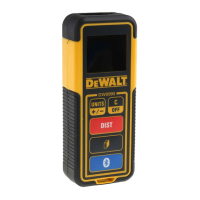
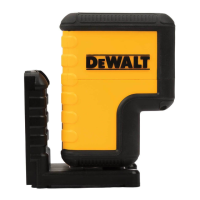
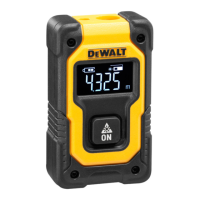
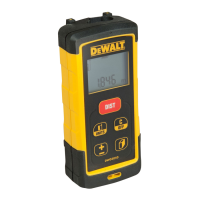
LASER DISTANCE MEASURER
DW03050, DW03101
Contents
• User Safety
• Battery Safety
• Setup (Load Batteries)
• Operation
• Warranty
• Error Codes
• Specifications
Retain all sections of this manual for future reference.
User Safety
WARNING: Carefully read the Safety Instructions and
Product Manual before using this product. The person
responsible for the product must ensure that all users
understand and adhere to these instructions.
WARNING: The following label information is placed on
your laser tool to inform you of the laser class for your
convenience and safety.
The DW03050 and DW03101 tools emit a visible laser beam,
as shown in Figure A 1 . The laser beam emitted is Laser Class 2
per IEC 60825-1 and complies with 21 CFR 1040.10 and 1040.11
except for deviations pursuant to Laser Notice No. 50, dated
June 24, 2007.
WARNING: While the laser tool is in operation, be careful
not to expose your eyes to the emitting laser beam (red
light source). Exposure to a laser beam for an extended
time period may be hazardous to your eyes. Do not look
into the beam with optical aids.
WARNING: To reduce the risk of injury, user must read the
Product User manual, Laser Safety manual, and Battery
Safety information.
Battery Safety
WARNING: Batteries can explode or leak and cause
serious injury or fire. To reduce the risk:
ALWAYS follow all instructions and warnings on the battery label
and package.
DO NOT short any battery terminals.
DO NOT charge alkaline batteries.
DO NOT mix old and new batteries. Replace all of them at the
same time with new batteries of the same brand and type.
DO NOT mix battery chemistries.
DO NOT dispose of batteries in fire.
ALWAYS keep batteries out of reach of children.
ALWAYS remove batteries if the device will not be used for several
months.
NOTE: Ensure that the recommended batteries are used.
NOTE: Ensure the batteries are inserted in the correct manner,
with the correct polarity.
Loading Batteries
1. Pull up the endpiece on the back of the tool (Figure D 1)).
2. Pull up the battery compartment latch on the back of the
tool (Figure D 2 and D 3).
3. Insert three AAA batteries, making sure to position the
- and + ends of each battery as noted inside the battery
compartment (Figure D 4).
4. Push the battery door down until it snaps in place (Figure
D 5).
When the tool is ON, the battery level appears on the screen
(Figure C 1).
Turning the Tool On
1. Point the tool's laser (Figure A 1) toward a wall or object, and
not toward anyone's eyes.
2. Press (Figure A 3) to turn the tool on and display the red
laser dot.
Choosing the Settings
Setting Automatic Turn Off
By default, the tool will automatically turn off 90 seconds after
no buttons or options have been selected. To change when the
tool automatically turns off, follow these steps.
1. On the first screen (Figure E 1), press to display the
Main Menu.
2. On the Main Menu (Figure E 2), select and press .
3. On the Settings Menu (Figure G), select and press .
4. Select the time.
- Choose to turn off the tool after 30 sec, 60 secs, 90 secs,
or 300 secs.
- To keep the tool turned on until you manually turn it off
(by pressing and holding for 10 seconds), select .
5. Press to save your setting.
Setting Screen Brightness
By default, the tool's screen will be set at 25% brightness. To
change the brightness level, follow these steps.
1. On the first screen (Figure E 1), press to display the
Main Menu.
2. On the Main Menu (Figure E 2), select and press .
 Loading...