5
E
Contents
• User Safety
• Battery Safety
• Setup (Load Batteries)
• Operation
• Warranty
• Error Codes
• Specifications
Retain all sections of this manual for future
reference.
User Safety
WARNING: Carefully read the Safety
Instructions and Product Manual
before using this product. The person
responsible for the product must ensure
that all users understand and adhere to
these instructions.
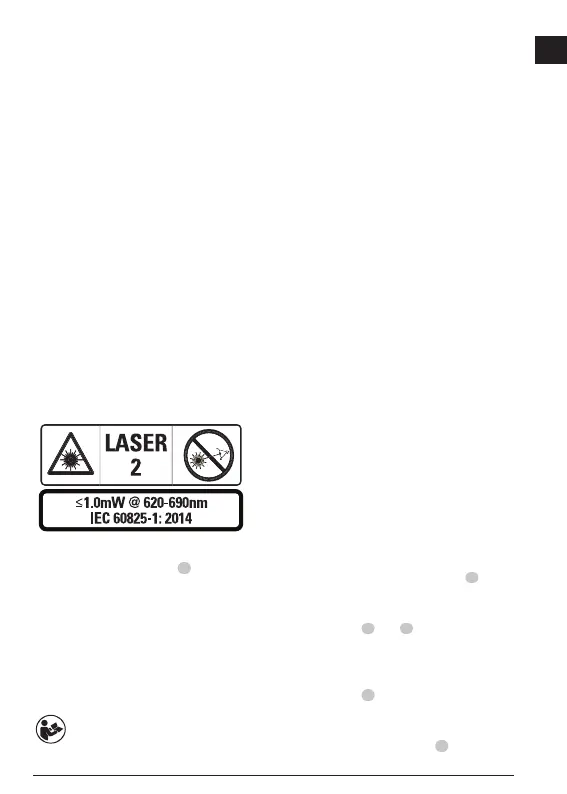
WARNING: The following label
information is placed on your laser tool
to inform you of the laser class for your
convenience and safety.
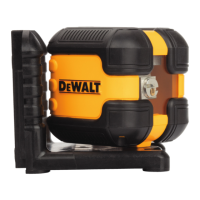
The DWHT77100 tools emit a visible laser
beam, as shown in Figure A
1
. The laser beam
emitted is Laser Class 2 per IEC 60825-1 and
complies with 21 CFR 1040.10 and 1040.11
except for conformance with IEC 60825-1ED.3,
as described in laser notice 56, dated May 8,
2019.
WARNING: While the laser tool is in
operation, be careful not to expose your
eyes to the emitting laser beam (red
light source). Exposure to a laser beam
for an extended time period may be
hazardous to your eyes. Do not look
into the beam with optical aids.
WARNING: To reduce the risk of
injury, user must read the Product User
manual, Laser Safety manual, and
Battery Safety information.
Battery Safety
WARNING: Batteries can explode or
leak and cause serious injury or fire. To
reduce the risk:
• ALWAYS follow all instructions and
warnings on the battery label and package.
• DO NOT short any battery terminals.
• DO NOT charge alkaline batteries.
• DO NOT mix old and new batteries. Replace
all of them at the same time with new
batteries of the same brand and type.
• DO NOT mix battery chemistries.
• DO NOT dispose of batteries in fire.
• ALWAYS keep batteries out of reach of
children.
• ALWAYS remove batteries if the device will
not be used for several months.
• NOTE: Ensure that the recommended
batteries are used.
NOTE: Ensure the batteries are inserted in the
correct manner, with the correct polarity.
Setup (Load Batteries)
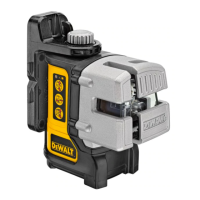
1. Locate the battery compartment latch on
the back of the tool (Figure D
2
).
2. Using your finger, pull the latch up to
unlock and remove the battery door
(Figure E
1
and
2
).
3. Insert two AAA batteries, making sure to
position the - and + ends of each battery
as noted inside the battery compartment
(Figure E
3
).
4. Slide the pins at the bottom of the battery
door into the notches in the battery
compartment (Figure E
4
).
5. Push the battery door down until it snaps
in place (Figure E
5
).
 Loading...