10
11
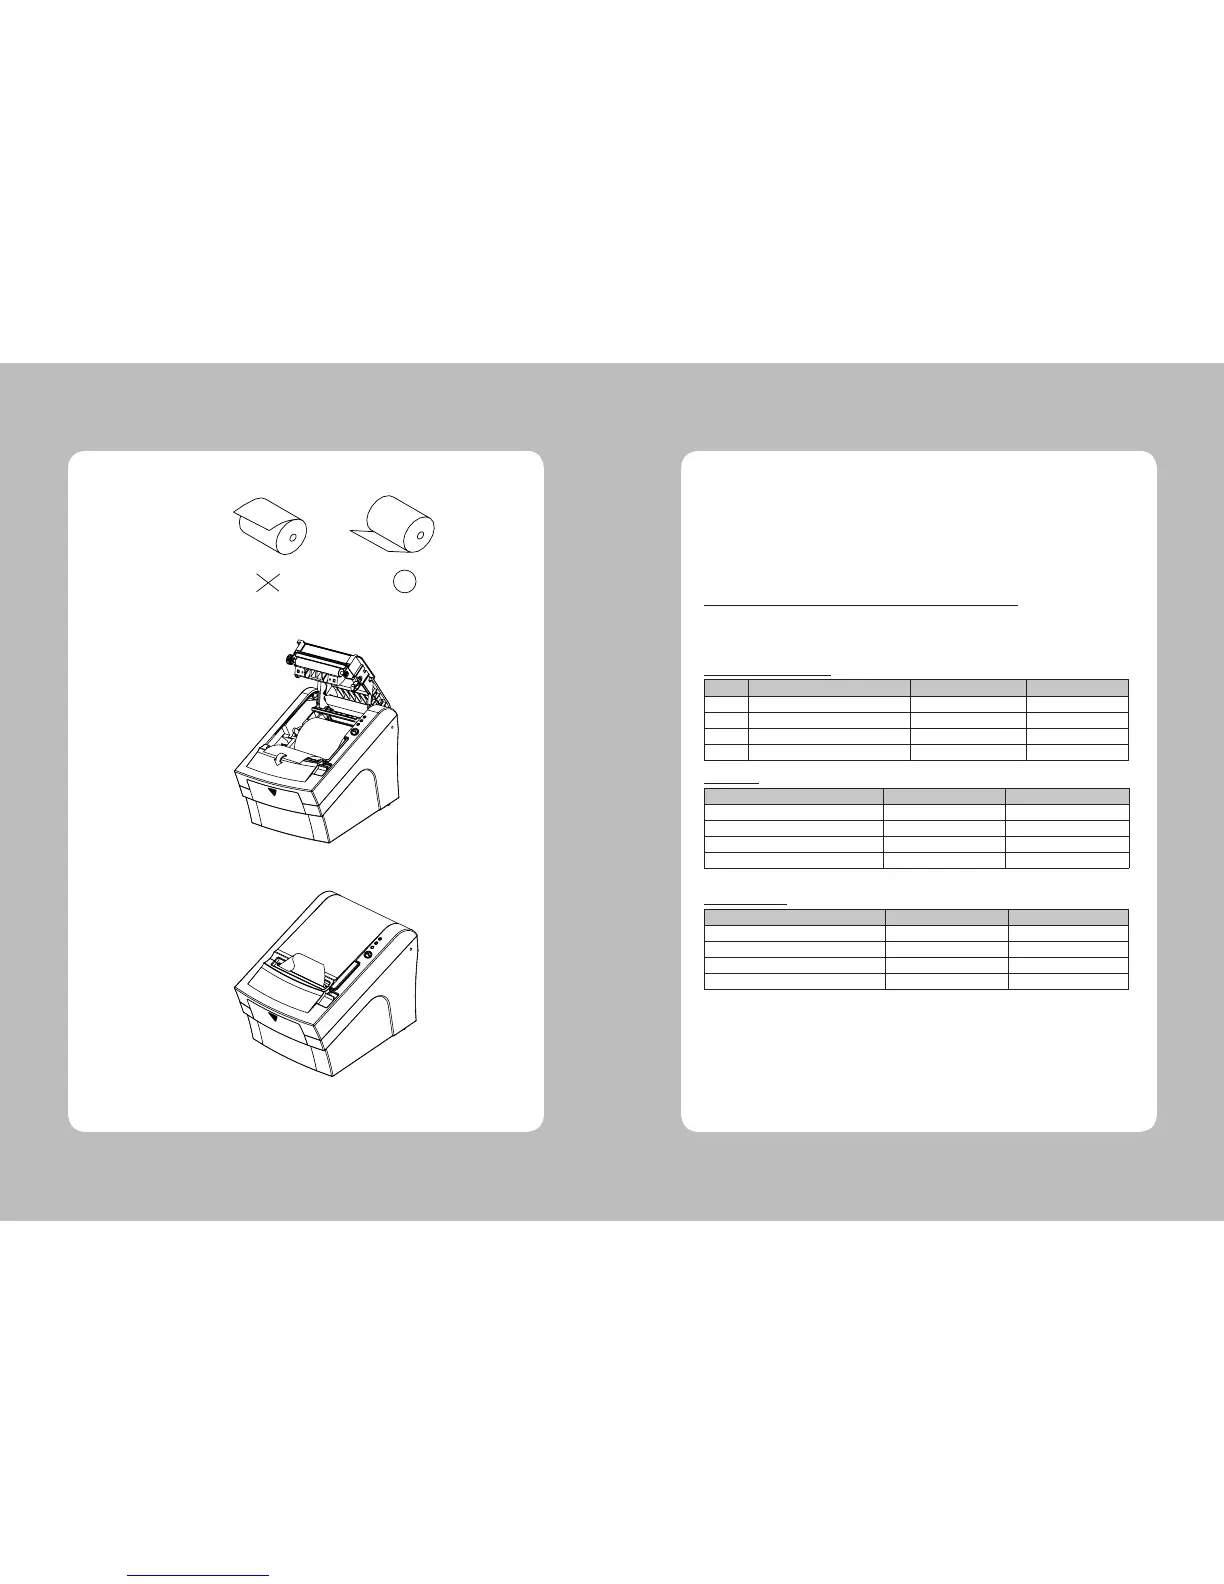
2-4. Dip Switch Setting
The printer is set up at the factory to be appropriate for almost all users. On the other hand,
offers some more settings for users with special requirements.
It has DIP switches that allow you to change communication setting, such as handshaking and parity
check, as well as print density.
Your printer has one set of DIP switches. The functions of the switches are shown in the following
tables.
♣Note : Power off. And open the cover of Dip Switch and change setting.
2-4-1. Serial Interface Specification
DIP Switch Setting (Standard)
SW FUNCTION ON OFF
2 Hexadecimal HEXDUMP NORMAL
5 Cut Mode Full Cut Partial Cut
6 Handshaking XON/XOFF DTR/DSR
8 Paper Low Mode Paper Low Detect Do not detect
Print Density
Function SW-3 SW-4
Low Power ON ON
Normal OFF ON
Normal ON OFF
Dark OFF OFF
Baud rate selection
Transmission Speed SW-9 SW-10
115200 BPS ON ON
9600 BPS OFF ON
19200 BPS ON OFF
38400BPS OFF OFF
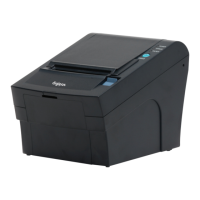
5. Be sure to note the correct direction that the paper comes off the roll.
6. Pull out a small amount of paper, as shown. Then, close the cover.
7. Tear off the paper as shown.