Quick Start Guide for Your DASDEC II Page 18 of 40
Step 4 – Setting the Time
**NOTE**: The following steps are written for a DASDEC that has the Plus Package Option
license key configuration, not the Multistation option. If you have the Multistation option,
please refer to the website,
http://www.digitalalertsystems.com/resources_application_notes.htm and find the
Multistation 2 and 5 app-note that aids in setting up the Multistation encoding and decoding
of alerts.
The DASDEC-II has two options for setting the time: The time can be entered and updated
manually – or – the time can be set via an NTP server. Using an NTP server is
recommended.
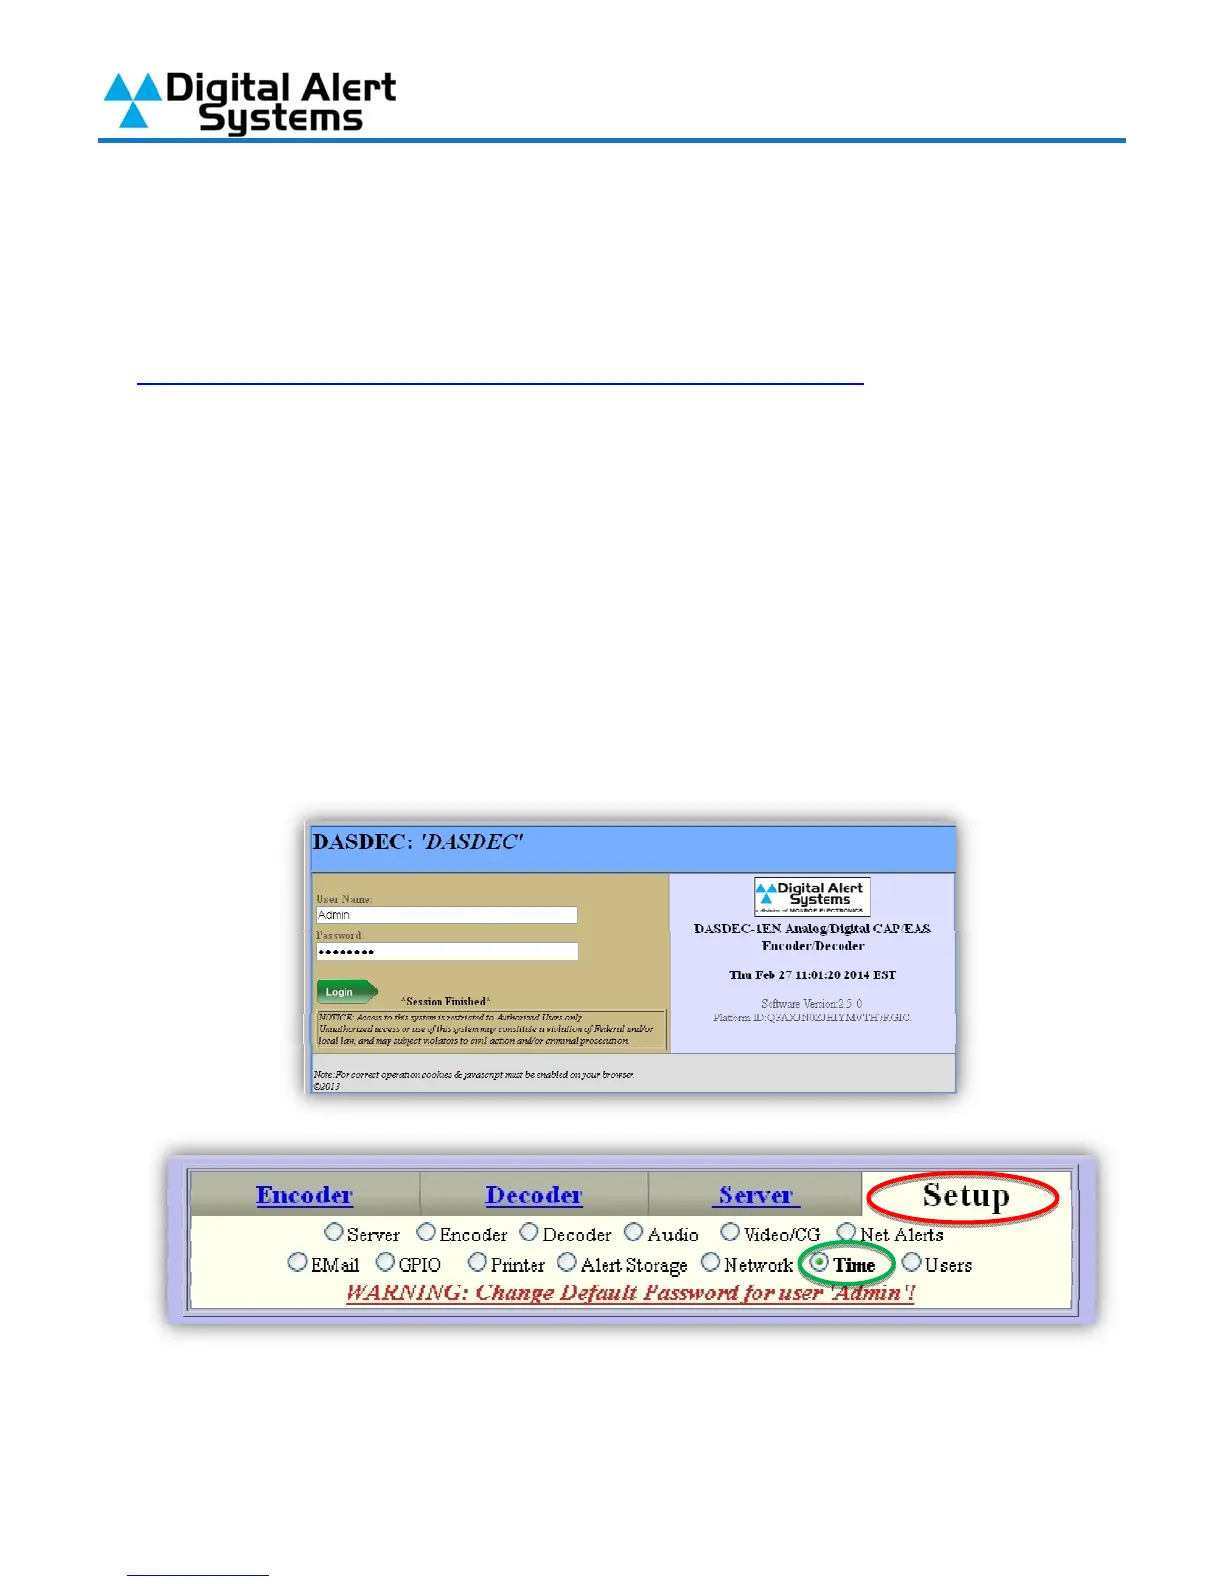
1) Log into your DASDEC-II by launching an Internet browser and typing the IP Address of your
DASDEC-II into the browsers address bar. Enter your User Name (the default User Name is
“Admin”) and Password (the default Password is “dasdec”) and click “Login”.
2) After logging in click on the “Setup” tab (circled in red) and then the “Time” radio button
(circled in green).
 Loading...