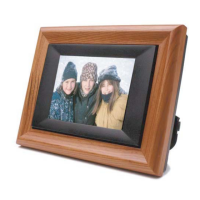
Changing the Frame
MemoryVue
tm
supports changeable frames so you can change the look of the frame as the décor changes. Use
the following instructions to change the frame:
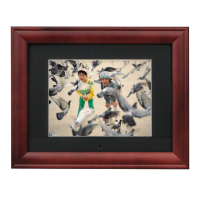
Lay the digital frame on a flat surface with the scrfeen facing down. Make sure the surface is flat and protected
to avoid scratches.
Using a #6 Philips head screwdriver and the illustration below, remove the 4 screws that fasten the frame to the
unit. Lift the digital frame unit up, turn it over, and lay it down in another area. The frame should be left on the
protected surface. Note the location hole in the matte
Lift the removed frame
from the surface. Replace this frame with the new frame, making sure the orientation of
the
remote sensor hole in the new frame is the same as the other.
Lift the digital frame unit up, turn it back over, and place it over the frame, aligning the mounting holes, and
making sure the
remote sensor hole on the unit and the hole on the matte are aligned.
Use the four screws that were removed to fasten the new frame. The unit is now ready for display.
1767-M0-Po-5
Frame Mounting Screw
Frame Mounting Screw
Frame Mounting Screw
Frame Mounting Screw
Rear Case of MemoryVue