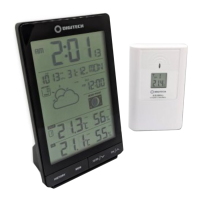
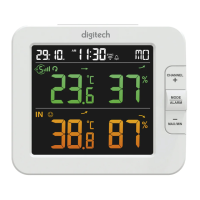
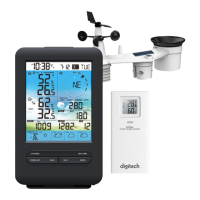
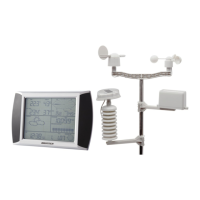
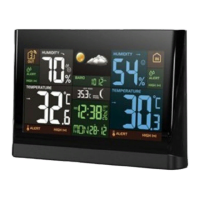
GETTING STARTED
WIRELESS SENSOR
1. Remove the battery door.
2. Insert 2 x AA size batteries into the battery compartment. Make sure you insert
them the right way according to the polarity information marked on the battery
compartment.
3. Close the battery door.
Note:
- Once the channel is assigned to a Wireless Hygro-Thermo sensor, you can only
change it by removing the batteries or resetting the unit.
- Avoid placing the sensor in direct sunlight, rain or snow.
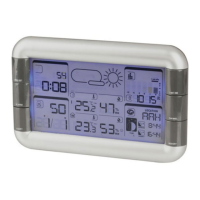
MAIN UNIT
1. Plug the power adapter to power up the main unit.
2. Once the main unit power up, it will enter normal time mode.
Note:
- You can using AAA batteries for backup purpose, remove the battery door and
install 3 new AAA size batteries as per the polarity information marked on the battery
compartment, then close the battery door.
- If no display appears on the LCD after installing the batteries, press the [ RESET ] key
by using a metal wire.
- To avoid the wireless sensor and main unit pairing fail, please power up the sensor(s)
rst, and then press [ RESET ] key in main unit after sensor setup.
- You may not receive the signal immediately. Due to the atmospheric disturbance, the
best reception often occurs during night time.
WIRELESS SENSOR SIGNAL RECEIVING
1. In normal mode, press [ SENSOR ] key once to start receiving the sensor signal of
current on displaying channel. The signal icon will ash.
For example, when CH 1 is displayed, pressing [ SENSOR ] key will start receive for
CH 1 only.
2. The signal icon will ash until the reception succeeded. If no signal is received within
5 minutes the icon will disappear.
Receiving wireless signal after manual reset or the [
SENSOR ] key is pressed
When waiting for signals, “--” will display in the readings
eld
Good wireless sensor signal
3. If the signal for Ch 1~8 has discontinued and
does not recover within 1 hour, the signal icon
will disappear. The temperature and humidity will
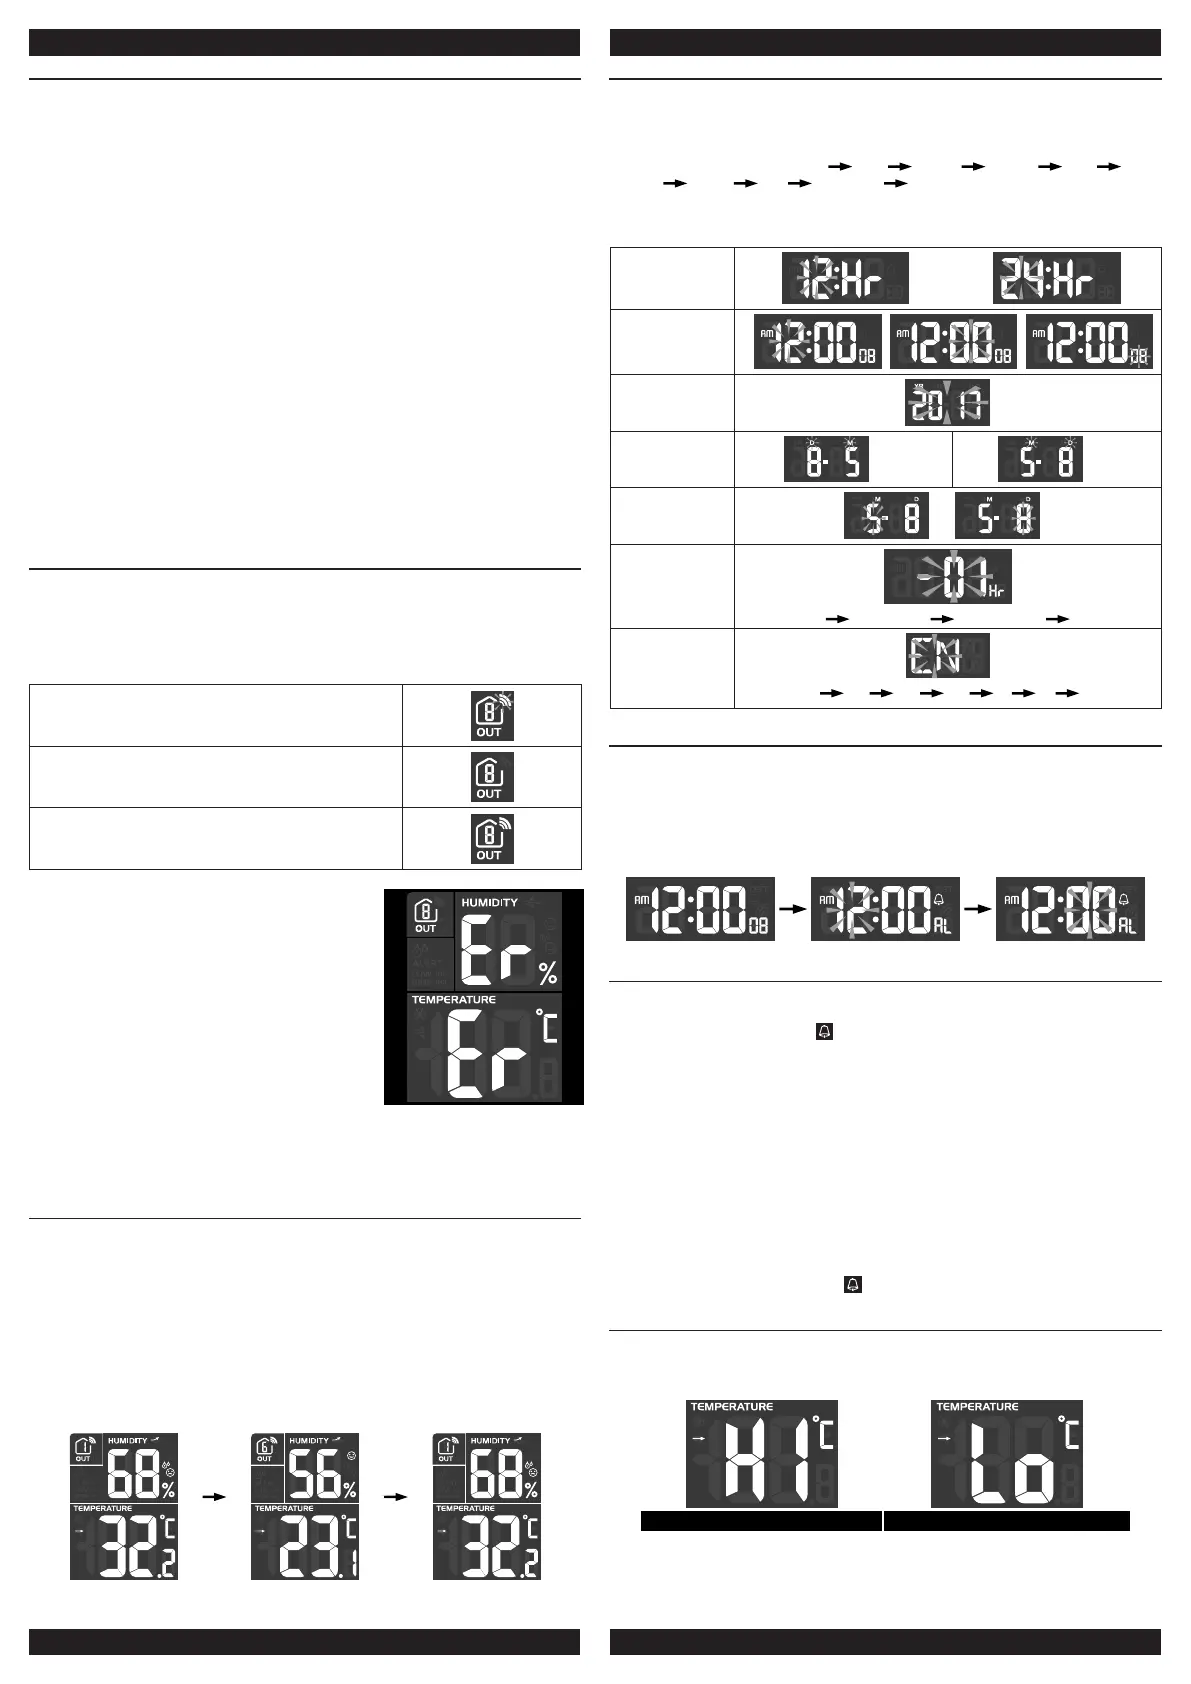
display “Er” for the corresponding channel.
4. If the signal does not recover within 48 hours, the
“Er” display will become permanent you need to
replace the batteries of “Er” channel’s sensors and
then press [ SENSOR ] key to pair up the sensors
of each “Er” channels again.
Note:
After replacing the batteries of the wireless sensor or the unit fails to receive wireless
sensor signal of a specied channel. During the failed channel is displaying, press
[ SENSOR ] key to manually receive that sensor signal again.
VIEW CHANNEL OF MULTIPLE WIRELESS SENSORS
1. In normal mode, press [ CHANNEL / + ] key to switch the display between CH 1~8.
2. In normal mode, press and hold [ CHANNEL / + ] key for 2 seconds to enter auto-
cycle mode, after a bi sounds, it will alternately displays the channels at 4 second
intervals.
3. During auto-cycle mode, press [ CHANNEL / + ] key once to stop auto-cycle and
display the current channel.
4. Using auto-cycle mode will only display the communicated channels. For example,
when CH 1 and 6 have received the signal from the corresponding sensor, holding [
CHANNEL / + ] key for 2 seconds will only toggle the readings of CH 1 and 6. Other
channels will be neglected.
CH 1 CH 6 CH 1
TIME AND CALENDAR SETTING
1. In normal mode, press and hold [ TIME SET ] key for 2 seconds to enter date and
time setting mode.
2. Press [ CHANNEL / + ] or [ MEM / - ] key to adjust the setting.
3. Press [ TIME SET ] key to enter the next setting
4. The setting sequence: 12/24H hour minute second year DM/
MD month day time offset language
5. When you complete the setting, press [ TIME SET ] key or leave the unit for 60
seconds to return to normal mode.
12/24H setting
Hour/Minute/
Second setting
Year setting
Month/Day
setting
D/M M/D
Month/day
setting
M/ D
Time offset
setting
00H 01H...23H -23H...-01H 00H
Language
setting
EN FR DE ES IT NL RU
ALARM TIME SETTING AND DISPLAY
1. In normal time mode, press and hold [ ALARM ] key for 2 seconds until the alarm
hour digit ashes to enter alarm time setting mode.
2. Press [ CHANNEL / + ] or [ MEM / - ] key to change the value. Press and hold the
key for quick-adjust.
3. Repeat the above operations to set the alarm time in this order: Hour → Minute.
4. When you complete the setting of Minute, Press [ ALARM ] key or leave the unit for
60 seconds to return to normal mode.
USING ALARM AND SNOOZE FUNCTION
1. Set the desired alarm time as described in the above section.
2. Or press “ALARM” key to display the alarm time, press it again to turn on alarm
function with the alarm icon “ ” displayed on the LCD.
3. When clock reach the alarm time, alarm sound will start.
Where it can be stopped by following operation:
a) Auto-stop after 2 minutes alarming if without any operation and the alarm will activate
again in the next day.
b) By pressing [ ALARM / SNOOZE ] key to enter snooze that the alarm will sound again
after 5 minutes.
c) By pressing and hold [ ALARM / SNOOZE ] key for 2 seconds to stop the alarm and
will activate again in the next day
d) By pressing [ ALARM ] key to stop the alarm and the alarm will activate again in the
next day.
Note:
- The snooze could be used continuously in 24 hours.
- During the snooze, the alarm icon “ ” will keep ashing.
TEMPERATURE FUNCTIONS
1. Press [ °C / °F ] key to switch between °C /°F temperature unit.
2. When the temperature is below -40°C or above 70°C, “Lo” or “Hi” will be displayed
respectively.
Above 70°C Below -40°C
 Loading...