INSTALLATION
2. INSTALLATION
2.1 Install the Hardware
This camera can be installed in two ways: ceiling-mounted and desktop. During the installation, please make sure the
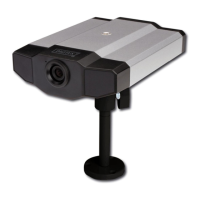
upper side of the camera is always facing up, as shown in Figure 1 below, regardless of which installation way you’re using.
This is to ensure the video output won’t be up side down.
Note: The illustrations below are based on the ceiling-mounted installation.
Note: For the detailed cable connection, please refer to the section “Rear Panel”.
Tool needed: Power drill x 1 (not supplied within the sales package)
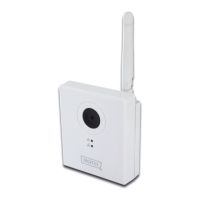
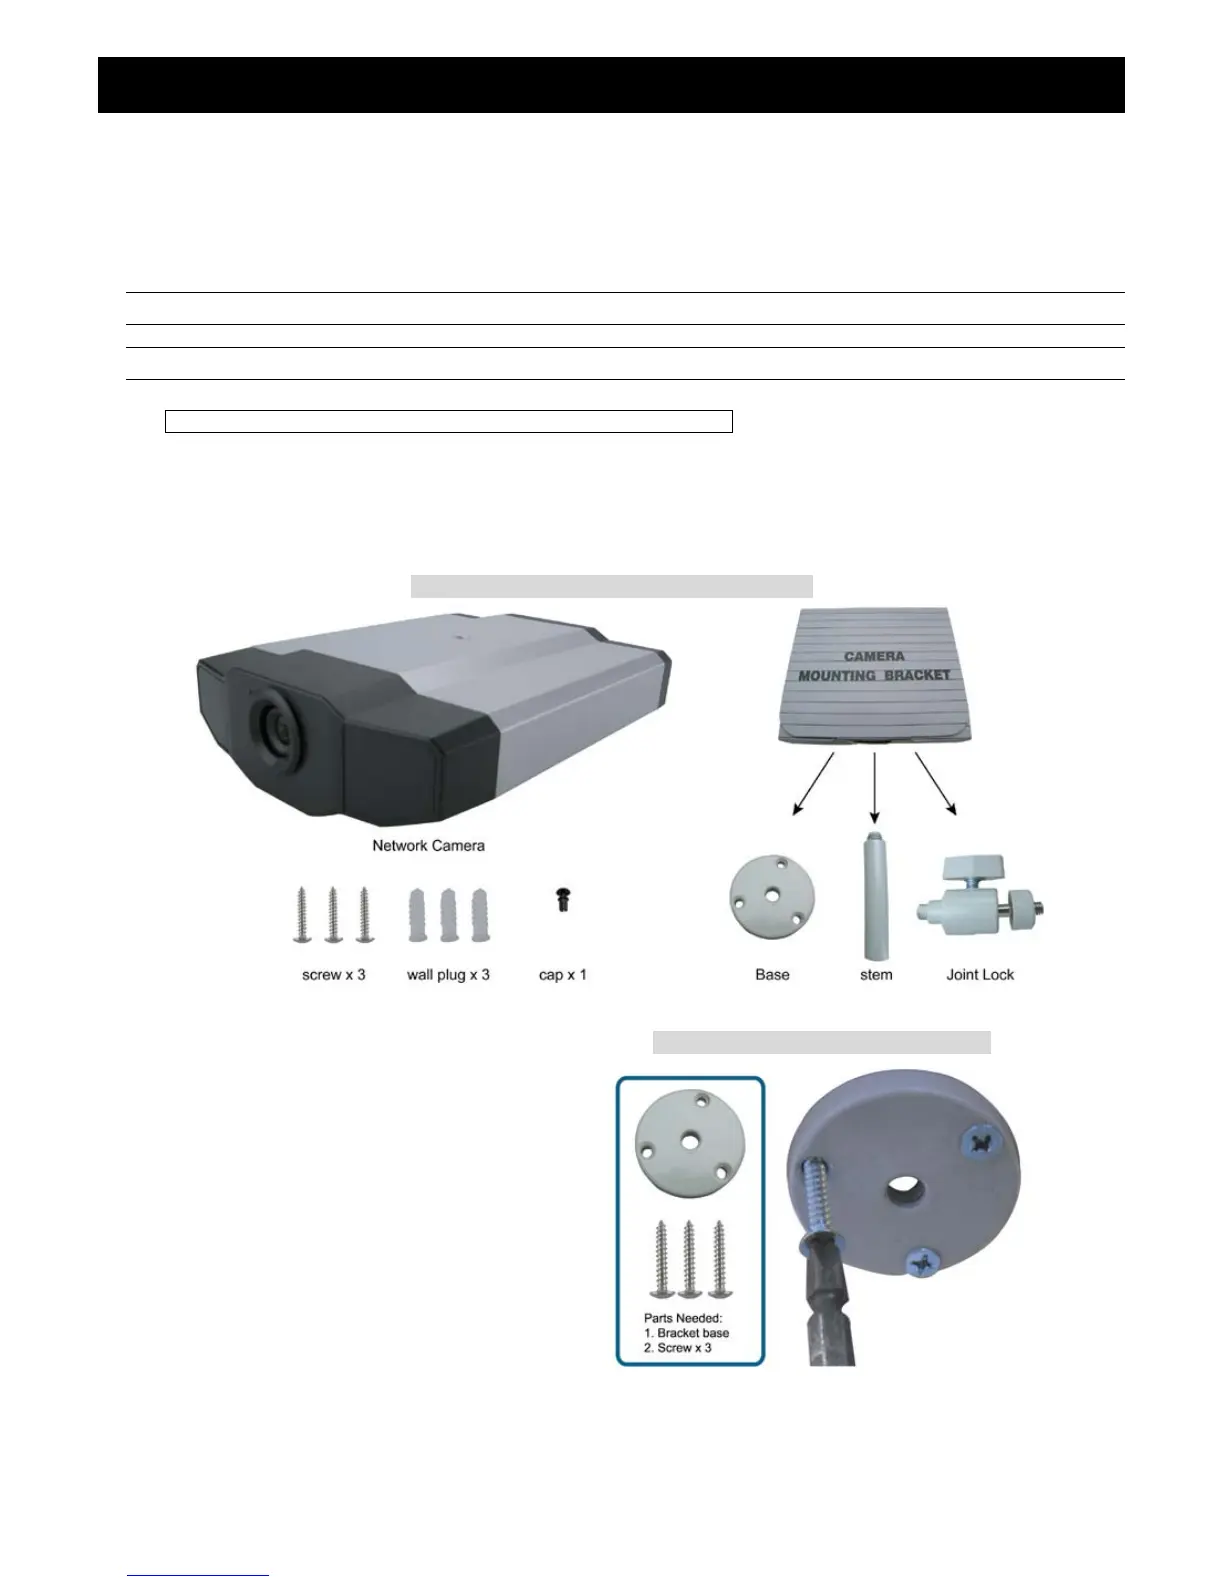
1. Prepare all the parts needed for camera installation.
Find the network camera, bracket package, a bag of screws & wall plugs, and a cap supplied with the sales
package, as shown in Figure 1.
Unpack the bracket package to find the bracket disassembled into three parts: the base, stem and joint lock.
Figure 1: Parts needed for camera installation
2. Fix the base of the bracket.
Fix the base of the bracket with the supplied 3
screws to the place you want to install by using a
power drill.
Figure 2: Screw the base to the ceiling
 Loading...