-5-
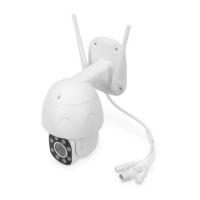
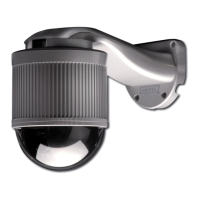
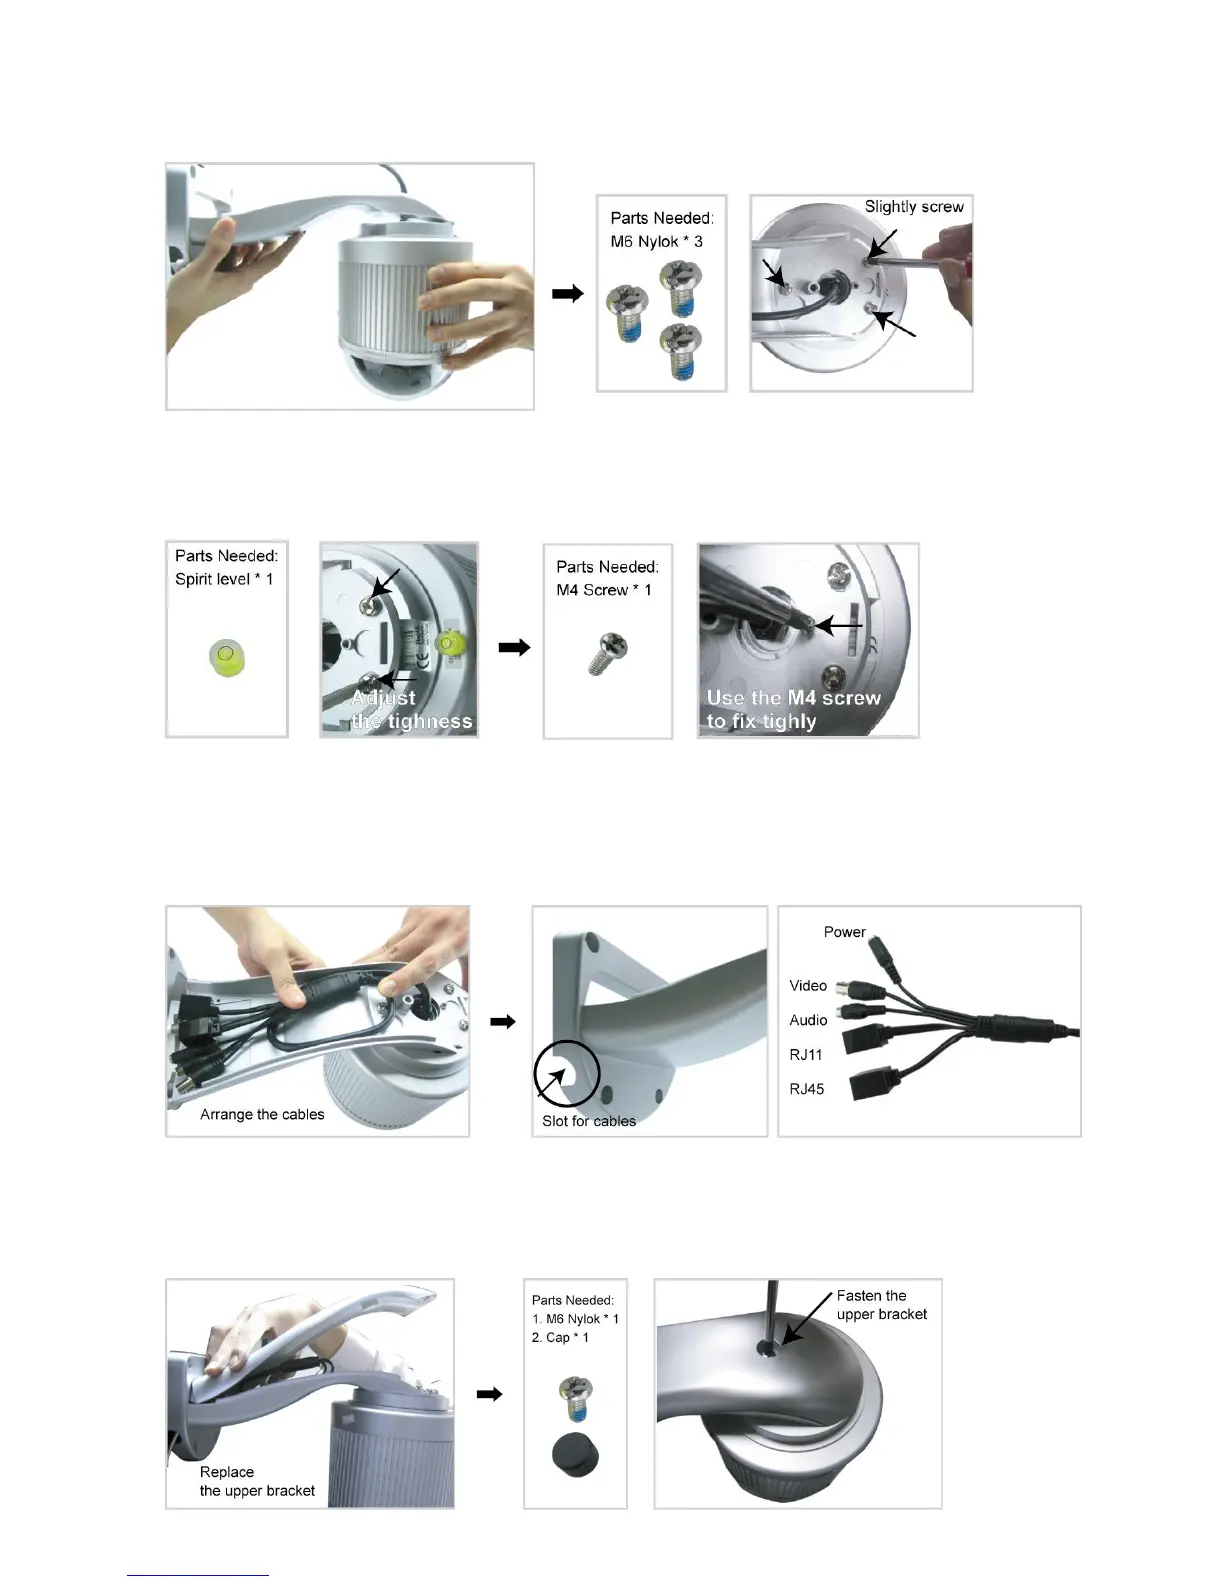
STEP 3: Attach the PTZ network camera to the bracket.
Turn the camera up side down, and put the power, video and RS485 data connectors through the hole of the
bracket. Then, slightly secure the camera and the bracket with three M6 Nylok screws.
STEP 4: Check the surface is horizontal or not.
Use the spirit level to check the surface is horizontal or not, and adjust the tightness of the M6 Nylok screws.
When you make sure the surface is horizontal, use the M4 screw to fix the camera and the bracket tightly.
STEP 5: Connect the power, video, audio, RJ11, RJ45 connectors.
Arrange the cables in the proper position. Put the cables through the slot and connect the camera with the
indicated power adapter, video cable, audio cable, RJ11 cable and RJ45 cable. After connection, use the
insulation tape to cover the connected wires and arrange the cables in the proper position again.
STEP 4: Replace the upper part of the bracket and finish the installation.
Replace the upper part of the bracket and fasten the bracket with a M6 Nylok screw. Then use the cap supplied
with the package to cover it and finish the installation.
 Loading...