-4-
3. INSTALLATION
3.1 Install the Hardware
Before installation, you need the following items before installation:
‧ Bracket (supplied with the bracket sales package)
‧ The accessory packages supplied with the bracket sales package, including:
(1) Wall mounting screws
(2) Wall plugs
(3) Cap
(4) M6 Nylok screws
(5) Spirit level
(6) M4 screw
‧ Power Drill
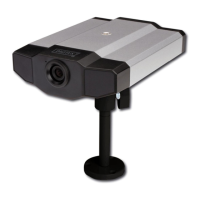
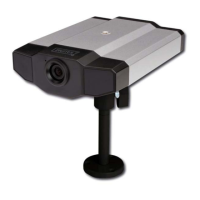
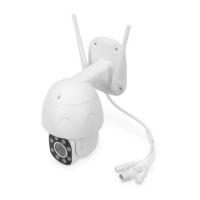
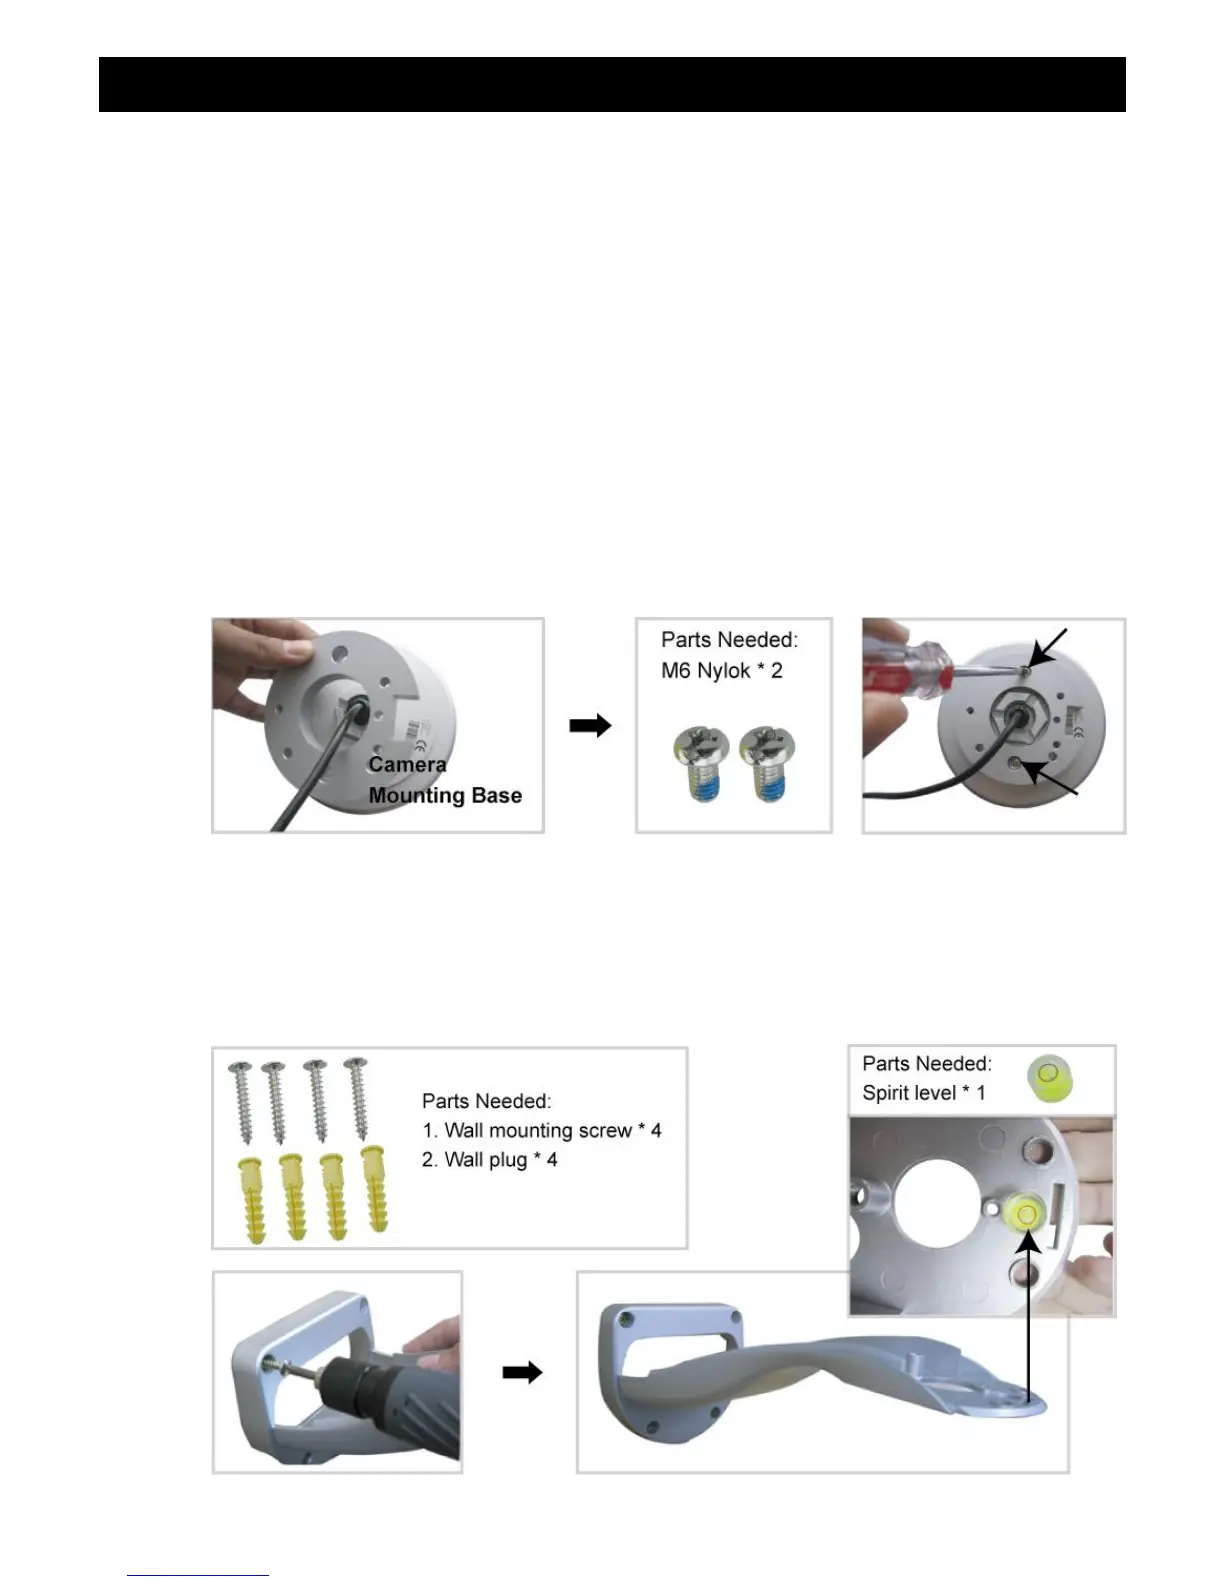
STEP 1: Attach the camera-mounting base to the PTZ camera.
Put the all the camera connectors through the hole of the camera-mounting base. Align the breach of the
camera-mounting base to the sticker label on the camera, and use two M6 Nylok screws to attach the
camera-mounting base to the camera, as shown in the picture below.
STEP 2: Attach the bracket to the wall.
The bracket is composed of two parts: the upper part and the bottom part. Remove the upper part from the
bottom part of the bracket. Use the four mounting screws and wall plugs to attach the bottom bracket to the wall,
as shown in the picture below.
Use the spirit level supplied with the bracket package to check the surface is horizontal or not. If the surface is
horizontal, the bubble will remain in the center circle of the spirit level.
 Loading...