ASSEMBLY DimasTech Mini V.2.0 – PD001_16mm
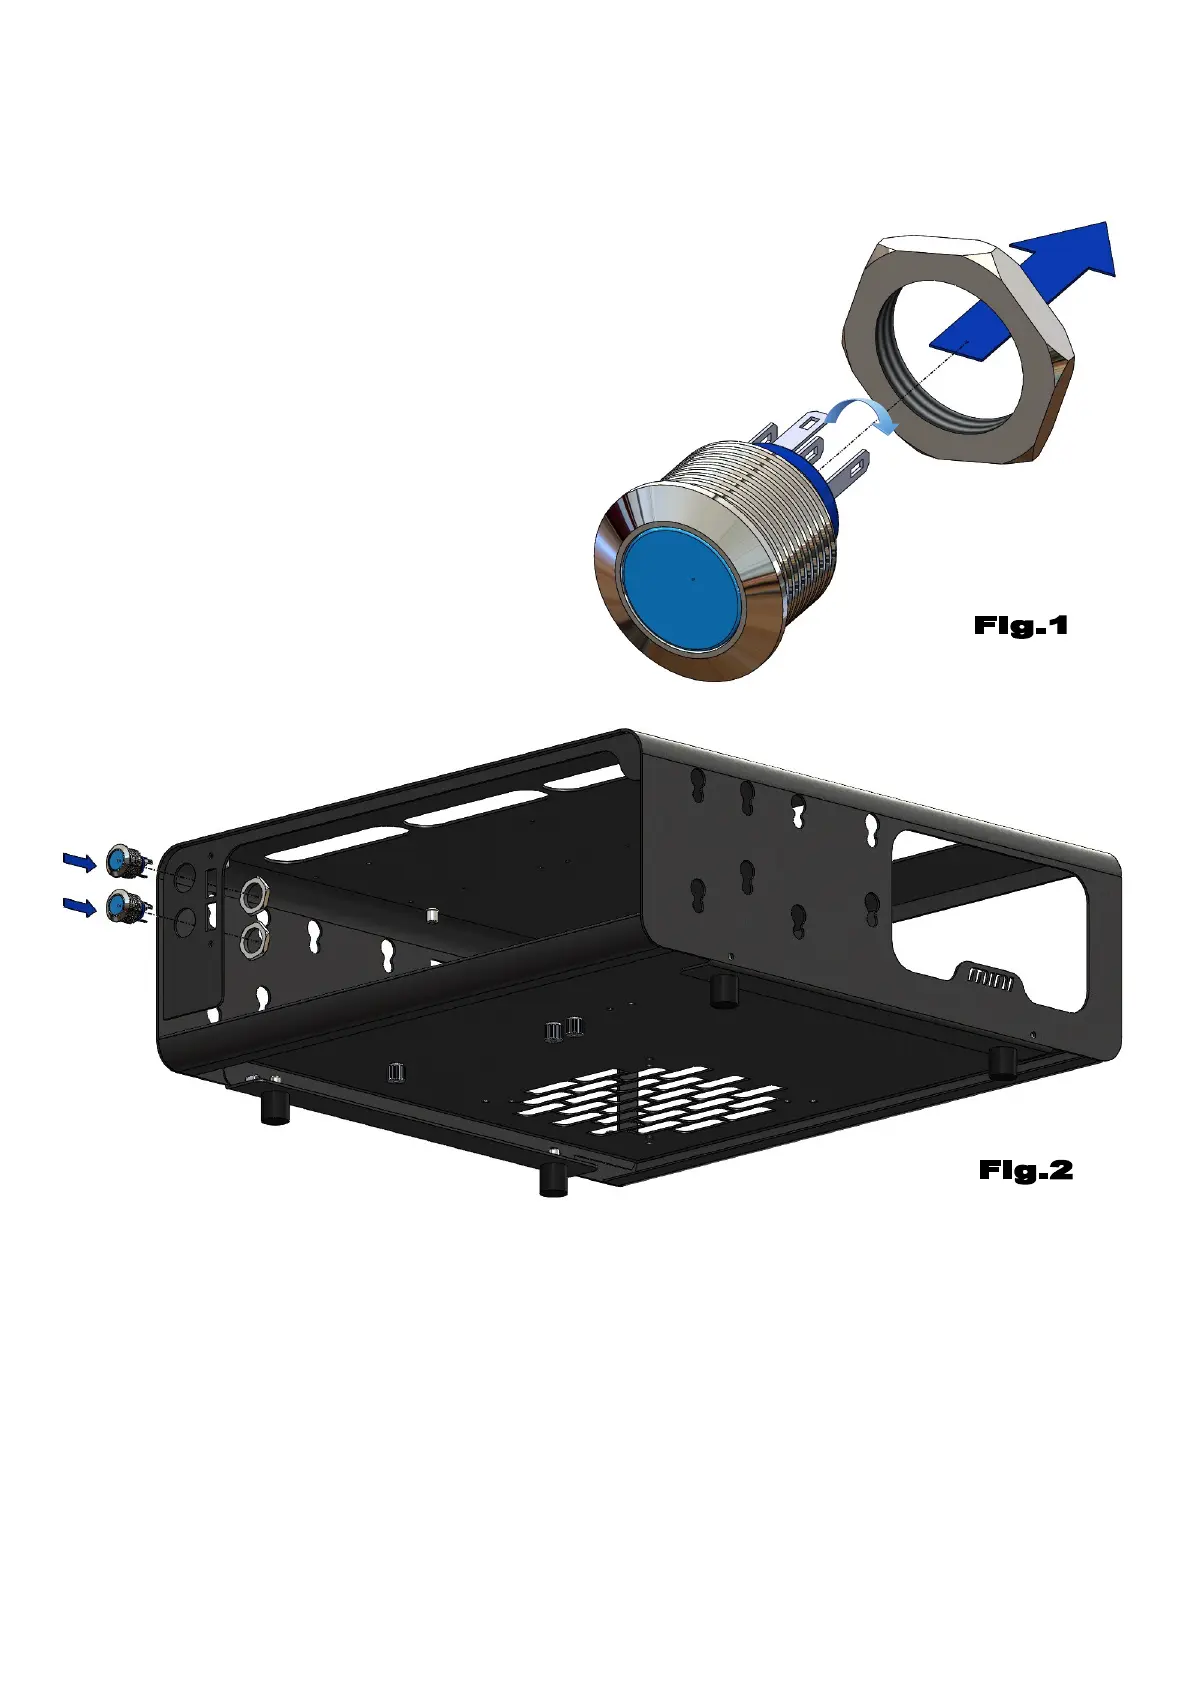
– Unscrew the hexagon nut of the
pushbutton PD001_16mm (9), as
shown in Figure 1
- Before proceeding with the assembly
of the hardware parts, it is necessary
to extract the DIMAS_23 (3) and
DIMAS-24 components (4) as shown in
STEP-2 and STEP-5.
- Align No.2 PD001_16mm (9) to the 2 vertical holes in the front of the body
DIMAS_100_C_RF-RB_V.2.0 (1) and fasten with the previously unscrewed
hexagon nuts, as shown in Figure 2
Note: The number indicated in the brackets indicates the corresponding
identification in the table on the page No.2
 Loading...