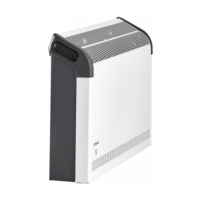
Using the heater
WARNING: DO NOT USE THE HEATER UNTIL THE FEET OR WALL
BRACKETS ARE FITTED CORRECTLY.
The product can be used as an installed or portable unit. Once the desired
application has been decided upon and the requirements below have been
met the product is ready to be used. Simply plug in and switch on at the
wall socket.
There are various control options available with various combinations
comprising of thermostat, switched, timer & indicating neons.
Please note – the element has been coated with a protective lm which will
burn off during the rst few minutes of use and may cause a small amount
of fuming. This is quite normal – the fumes are non-toxic and will quickly
disappear.
We recommend that you open a window to ventilate the room when using
the heater for the rst time.
Positioning the heater
Always ensure that the heater is stood on a rm, level base near to, but not
directly beneath, a suitable mains supply socket.
Ensure that curtains and furniture are not positioned close to the chosen
position, as this would create a potential re hazard.
We recommend that the heater should be wall-mounted in rooms where
children may be left unattended, see ‘Important Safety Advice’.
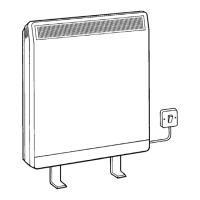
Portable use
WARNING: THE HEATER SHOULD NEVER BE USED AS A PORTABLE
APPLIANCE WITHOUT THE FEET SECURELY FITTED.
Lay the heater on its back and remove the wall mounting brackets - see Wall
mounting. Locate and remove the foot xing screw - see Fig. 2(a). Clip the
foot in place and secure using the foot xing screw.
NOTE – The wall mounting brackets must be removed before the foot can
be tted.
Wall Mounting (Installed)
Three identical wall mounting brackets are secured to the base of the heater
with a xing screw. To wall mount appliance, rst remove the brackets as
follows, lay the heater on its back and follow the sequence shown - see Fig.
3. Identify and remove the xing screw securing the brackets located beside
mains cable as shown in (a), pull out brackets and rotate them to disengage
them from the slot and withdraw the brackets from the slot (b).
Select a suitable position, near to a mains power socket whilst ensuring
the minimum mounting clearances are maintained - see Fig. 1. Fix the two
top retaining brackets to the wall, using suitable xings – see Fig. 4.
574
Fig. 2
Fig. 3
Fig. 4
Locate the heater on the top brackets and allow it to hang in place.
Fit the bottom bracket into the slot in the heater and then x it to the wall.
Test that the heater is now securely xed to the wall.
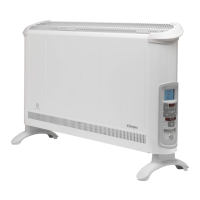
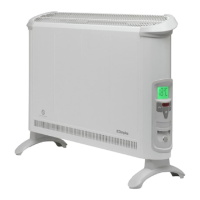
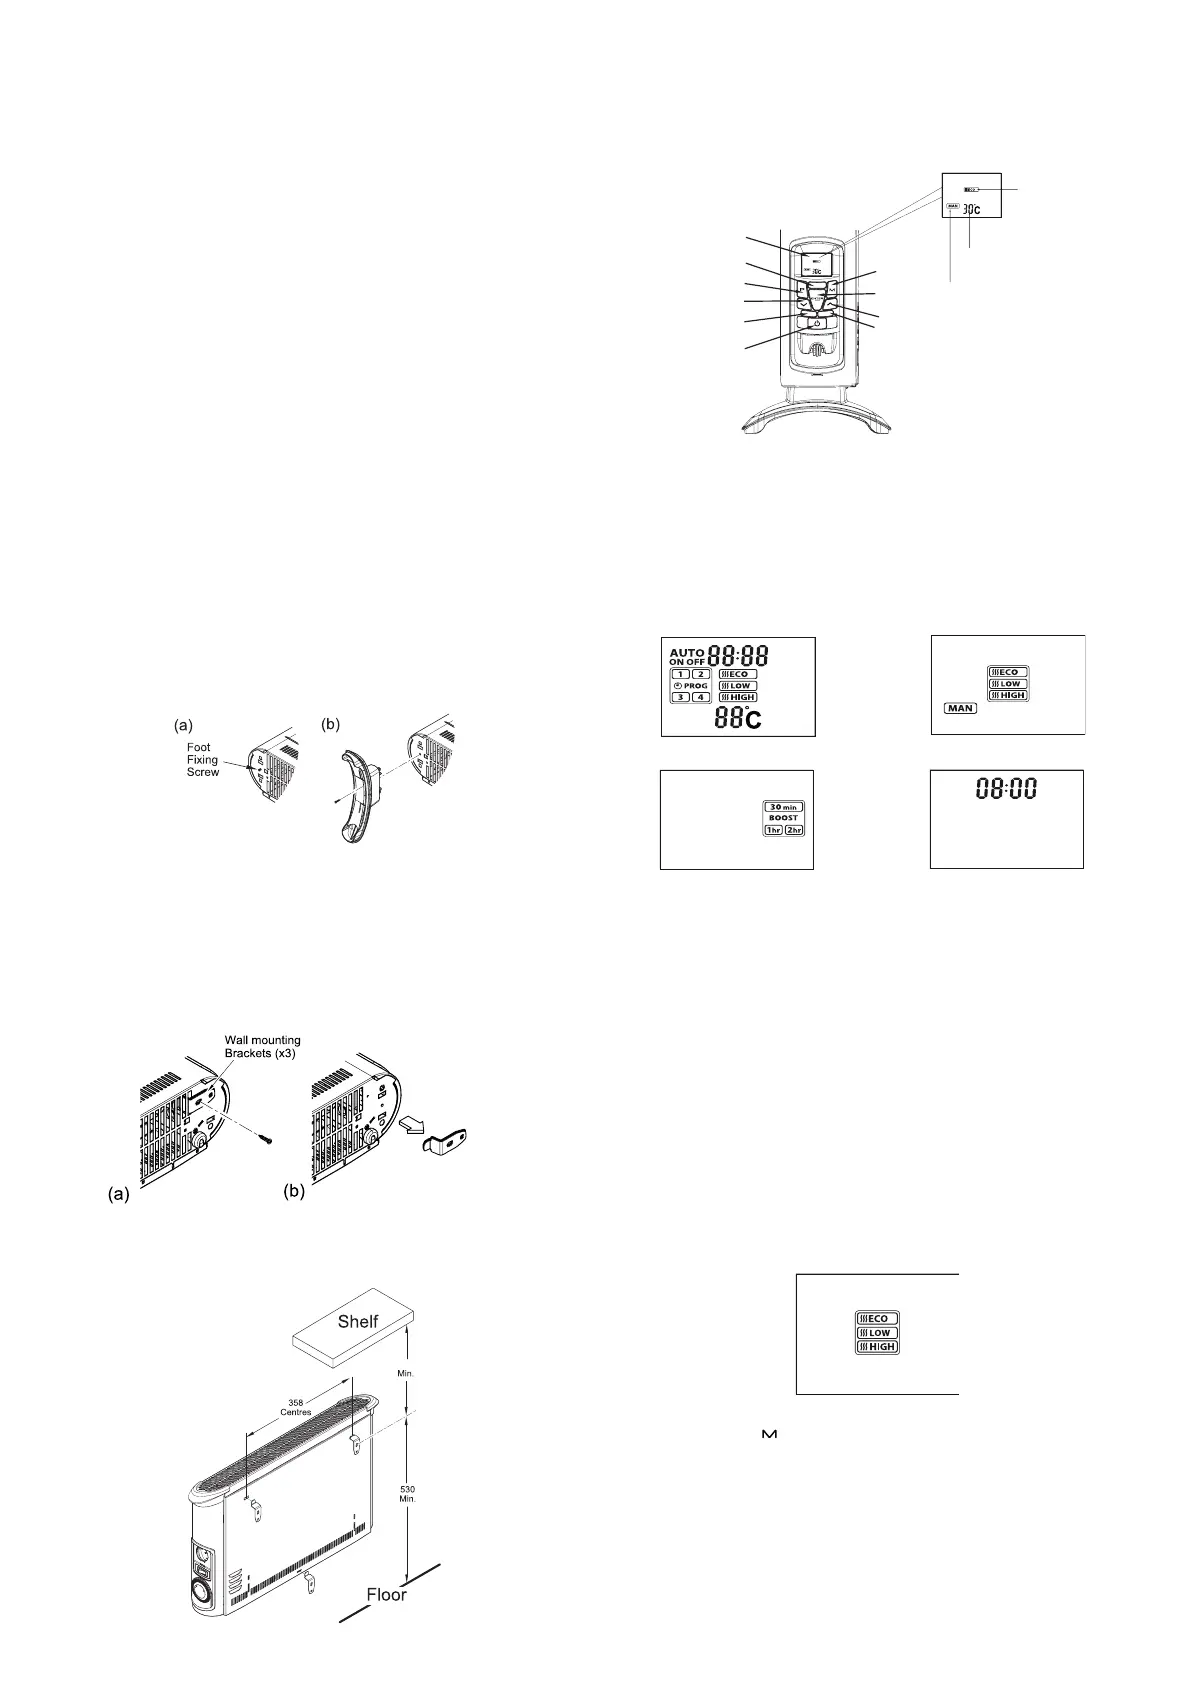
Controls
LCD Display
Heat Neon
Mains Neon
Bluetooth Neon
Standby
Up
Down
Programme
Mode/Pair
Desired
Temperature
Selected
Mode
Selected Heat
Seng
Enter
NOTE: When using the appliance or setting appliance controls always
ensure that the heater is stood on a rm level base. Do not tilt the
appliance at any time.
Operational modes
The electronic control has four control modes: AUTO, MANUAL, BOOST
and STANDBY mode.
Auto Mode
Standby ModeBoost Mode
Manual Mode
In both MANUAL and AUTO mode there are three heat settings options:
‘Intelligent’ Eco Mode - This is the initial default setting, the convector will
automatically start up in this setting once power is applied. The convector
will automatically regulate the room temperature accordingly. In this mode
the convector operates at full power, however the output of the convector is
automatically reduced and regulated as the room temperature approaches
the desired level. This mode optimises energy use by calculating the most
efcient and effective way to achieve the desired temperature setting. The
desired room temperature can be adjusted at any time during operation by
pressing the appropriate key.
Low Heat - In this option, the appliance will operate at a low heat setting,
the appliance will automatically cycle at this setting to maintain the room
temperature setting.
High Heat - In this option, the appliance will operate at a high heat setting,
the appliance will automatically cycle at this setting to maintain the room
temperature setting.
Press the Mode key,‘ ’, to toggle through the modes and the ENTER key
to conrm the mode selection. Note: when selecting the mode if the ENTER
key is not pressed, after 5 seconds the heater will activate the mode shown
on the LCD display.
Fig. 5
Fig. 6
Fig. 7
 Loading...