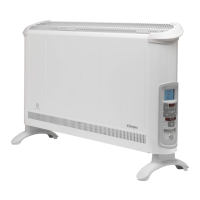
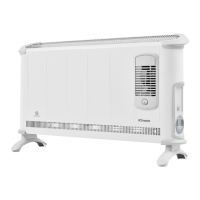
Using the heater
WARNING: DO NOT USE THE HEATER UNTIL THE FEET ARE
FITTED CORRECTLY.
The product is intended for occasional use as a portable unit. Please ensure
the feet are securely tted before the product is used. Once the feet have
been installed simply plug in and switch on at the wall socket.
Please note – the element has been coated with a protective lm which
will burn off during the rst few minutes of use and may cause a small
amount of fuming. This is quite normal – the fumes are non-toxic and will
quickly disappear.
We recommend that you open a window to ventilate the room when using
the heater for the rst time.
Positioning the heater
Always ensure that the heater is stood on a rm, level base near to, but
not directly beneath, a suitable mains supply socket.
Ensure that curtains and furniture are not positioned close to the chosen
position, as this would create a potential re hazard.
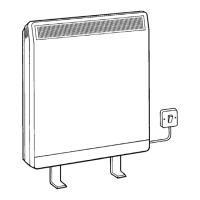
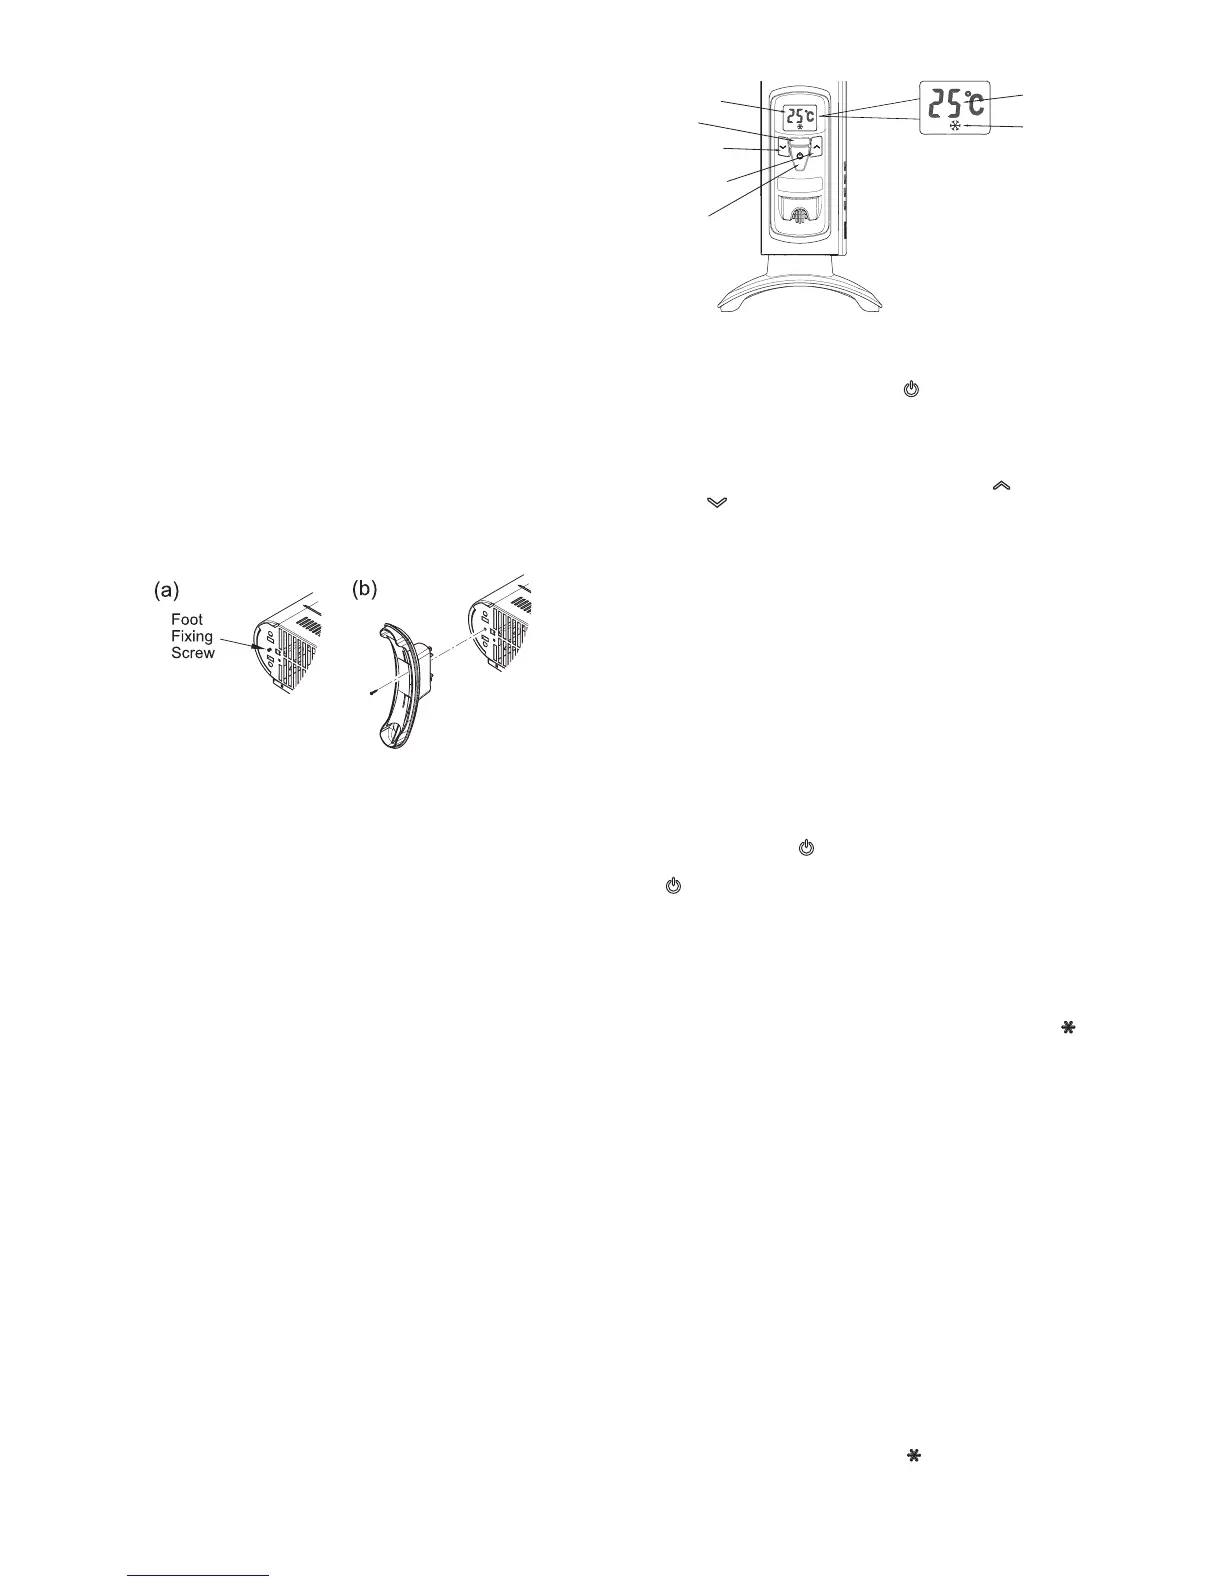
Product Assembly
WARNING: THE HEATER SHOULD NEVER BE USED WITHOUT THE
FEET SECURELY FITTED.
Lay the heater on its back so the underneath of the product is accessible.
Locate and remove the foot xing screw - see Fig. 2(a). Clip the foot in
place and secure using the foot xing screw - see Fig. 2(b).
Fig. 2
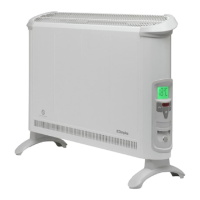
Controls
Symbol
Operating the Heater - ‘Control Mode’
With the product plugged in, press the ‘‘ ’ button. This will illuminate the
neon and also light up the LCD display. This indicates that the product is in
control mode, the desired room temperature can then be set.
Setting the ‘Desired’ Room Temperature
The temperature is set using the temperature increase ‘ ’ and temperature
decrease ‘ ’ keys - see Fig. 3. The room temperature can be set in the
range between 5°C to 30°C. The back light of the LCD will change colour
depending on the desired room temperature. (Blue screen 5 to 16, 17 to 19
green, 20 to 22 white, 23- 30 red). Please note the temperature setting is
for desired room temperature (not the actual room temperature).
‘Intelligent’ Eco Mode
This is the appliance default setting, the appliance will automatically start
up in this setting once power is applied and the standby key is pressed. The
LCD display will indicate the desired room temperature and the appliance
will automatically regulate the room temperature accordingly. In this mode
the appliance operates at full power, however the output of the appliance is
automatically reduced and regulated as the room temperature approaches
the desired level. This mode optimises energy use by calculating the most
efcient and effective way to achieve the desired temperature setting. The
desired room temperature can be adjusted at any time during operation by
pressing the appropriate key.
Standby Mode
With the heater ON if the ‘ ’ button is pressed, the heater will go into standby
mode, the heater switches off and the display will go blank. On pressing
the ‘ ’ button again the heater will come on in the with the desired room
temperature settings it had prior to going into standby mode.
Note: the mains on ‘Neon’ will remain illuminated when the appliance is
in standby mode.
LCD Display
The LCD display shows the desired room temperature. When the appliance
is set to frost protection mode (5°C) the frost protection symbol ‘ ’ will be
displayed on the screen.
The colour of the display backlight will vary depending on the desired
temperature set (see notes above under ‘Setting the desired room
temperature’). The backlight will switch off a short period after the last key
press. Any additional key presses will re-illuminate the screen.
Indicator Neon
The control contains an indicator neon. This neon comes on to indicate
when the product is in ‘control mode’. This neon does not indicate if the
heat is on, if the room temperature is at the desired temperature then the
heat will be off but the control is still operating, the neon will remain on.
When the delayed start function is activated the neon will blink intermittently
to indicate the product is in delayed start mode. Once the delayed start
period has elapsed the neon will switch on to indicate the product is in
control mode.
Frost Protection Mode
The appliance has a frost protection mode. This setting is useful in areas
such as garages to assist in the prevention of frost damage. If the thermostat
is set to its minimum setting ‘5°C’, the heater will cycle ON and OFF to
maintain a temperature of approximately 5°C and help protect against frost
conditions. The frost protection symbol ‘ ’ will be displayed on the LCD
display when frost protection mode is activated.
Fig. 3
 Loading...