DRAINAGE INSTRUCTION
Switch off before carrying out any of these operations
and leave for 3 minutes before switching on again. The
extracted water is collected by the water tank (set up
as supplied), or can be set up to drain continuously
using a PVC hose (not included) connected to a drain
outlet, the drain point must be lower than the unit outlet
(see details below).
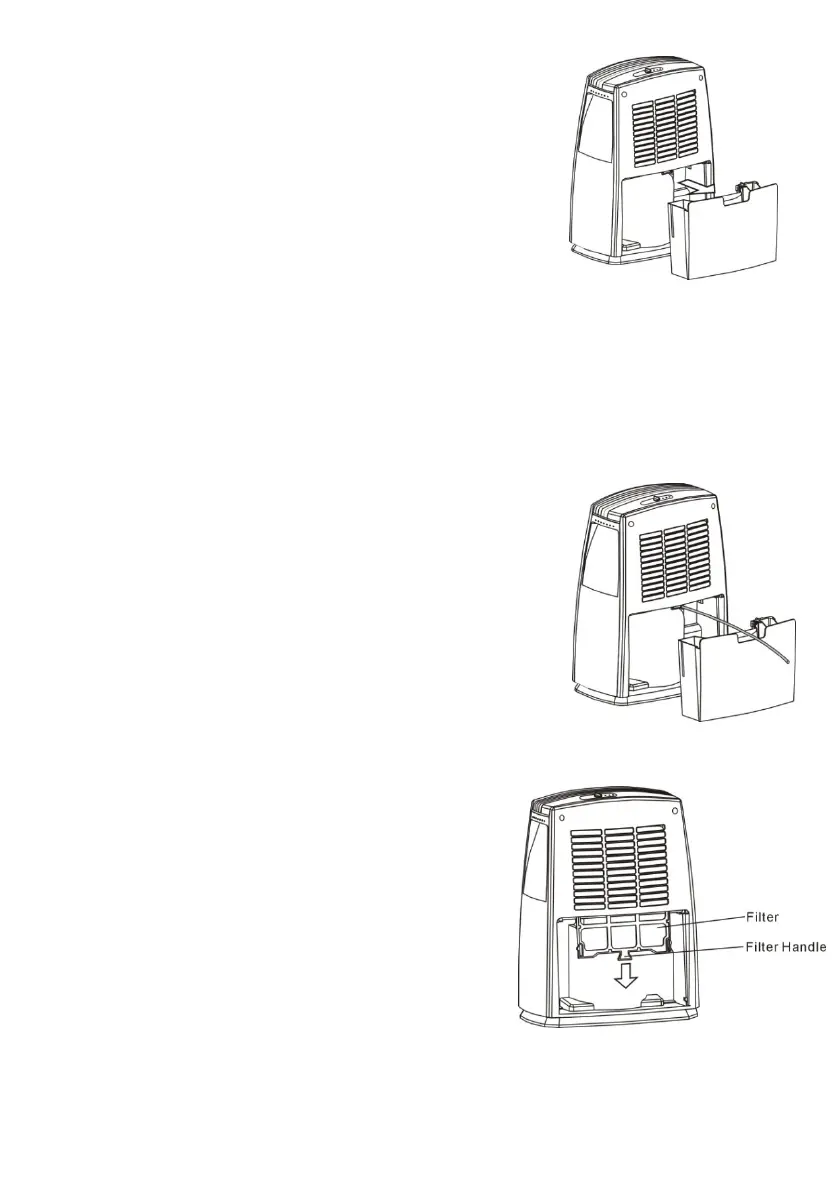
USE OF THE WATER TANK:
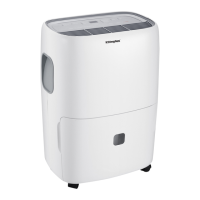
When the tank full LED illuminates the tank is full, the compressor and the
fan will stop operation, please empty the water tank. Remove the water tank as
per Fig 01 and empty it. Gently refit the water tank into the unit in its original
position. Note, if the tank full LED remains on when the tank is emptied please
remove and re-fit the tank to reset the light.
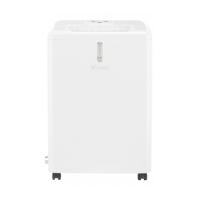
CONTINUOUS DRAINAGE
If you want to use this function, please pull out the water tank and plug a 9mm
internal diameter water pipe onto the “Water out tube”
(See Fig.02). Replace the water tank into the unit, the
unit will now operate while discharging the extracted
water through the free end of the fitted pipe, Note, you
must ensure that the free end of the pipe is below the
product outlet connection and that the drain point is
likewise lower than the unit outlet.
NOTE: When the
continuous drain feature is not being used, remove the
drain hose from the outlet and attach the rubber plug
back to the drain outlet. Store the drain hose safely
away from children and vulnerable people.
Filter Removal
•To remove the filter you must first remove the
water tank as instructed above.
•The filter can then be removed from its slot by
gripping the filter handle and sliding it down and
out of the back of the appliance as indicated
below.
• Every 2 weeks, remove the filter and clean it
with warm water, below 40°C. Allow it to dry
naturally and then replace by reversing the
removal instruction above.
• Never operate the product without the filter
Fig 01
Fig 02