us.diono.com/installation-videos
1-855-463-4666
26
27
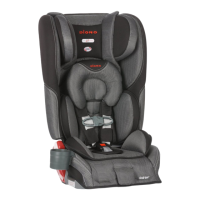
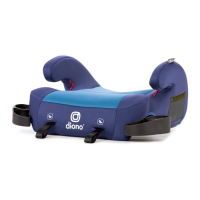
UNFOLDING AND FOLDING:
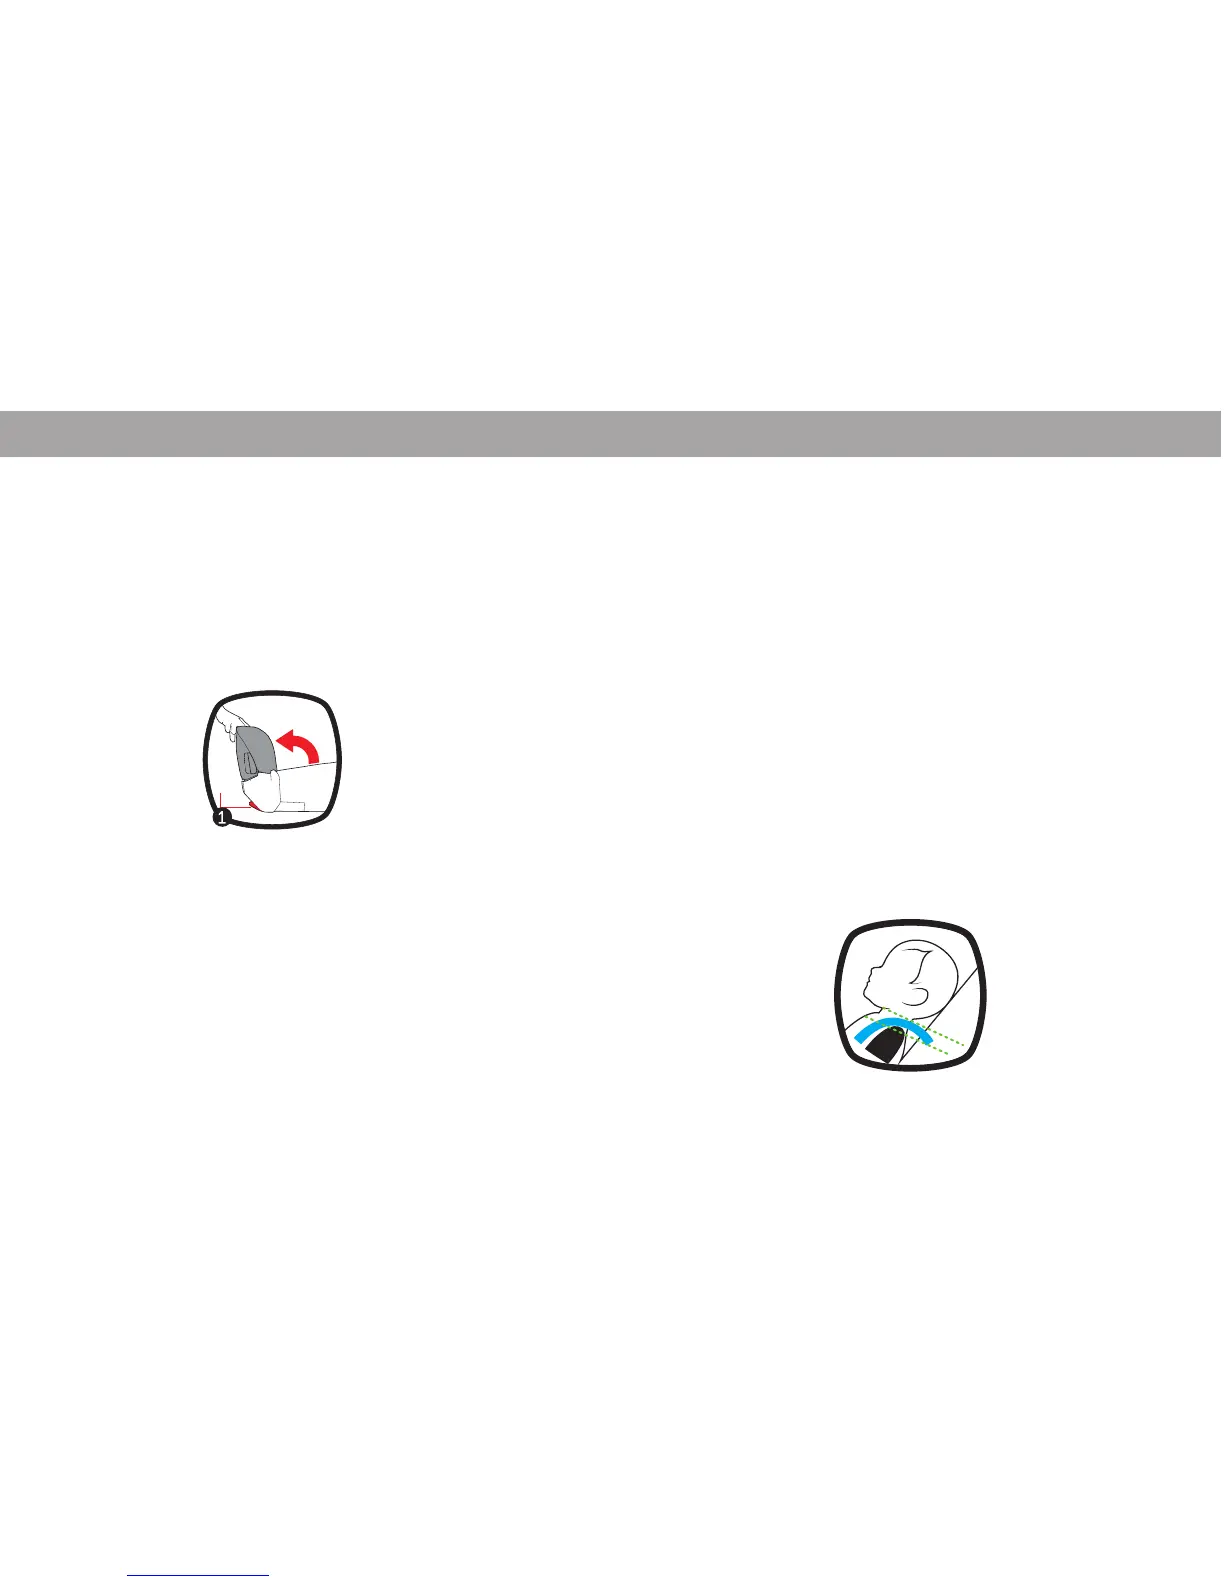
1. Place car seat on its back on a flat surface and
unfasten red carry strap from the bottom. Be sure the
harness adjuster moves freely and is not locked within
the bottom of the seat.
2. Rotate bottom until your hear it ‘click’, this confirms
the car seat is locked for use.
3. Check proper operation - Pull harness adjusting
strap until harness begins to tighten. If it does not
tighten freely, check the belt path on the back of the
seat bottom is clear from obstruction. If necessary,
unfold seat by releasing the levers as shown and
repeat the above steps.
4. Tuck the red strap through the harness slot and
behind the cover.
5. To fold, release lever shown and secure with red
strap.
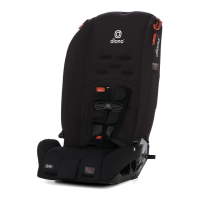
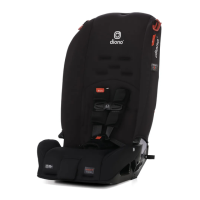
FIRST SETUP
INITIAL SETUP
CLICK
Folding
release
lever
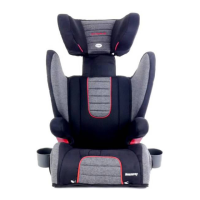
INITIAL SETUP
1. Place Your Child in the Seat
Make sure their back is flat against the car seat back.
(This can be done in or out of the car).
Avoid bulky or heavy clothing because they will prevent
the harness straps from being tightened properly at first
fitment.
2. Place Harness Straps Over Child’s Shoulders and
Buckle
You will hear a “click” when buckle tongues are
securely attached. Pull up on each buckle tongue to
make sure it is securely attached.
3. Be Sure the Harness Straps Are at the Proper Height
Rear-Facing: Harness straps MUST be at or just below
the child’s shoulders. Top of head must be 1.5 in. below
the headrest ears.
Rear-Facing
(Harness AT or just below shoulders)