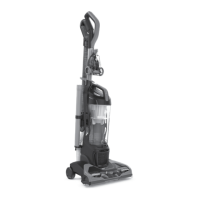
ASSEMBLY
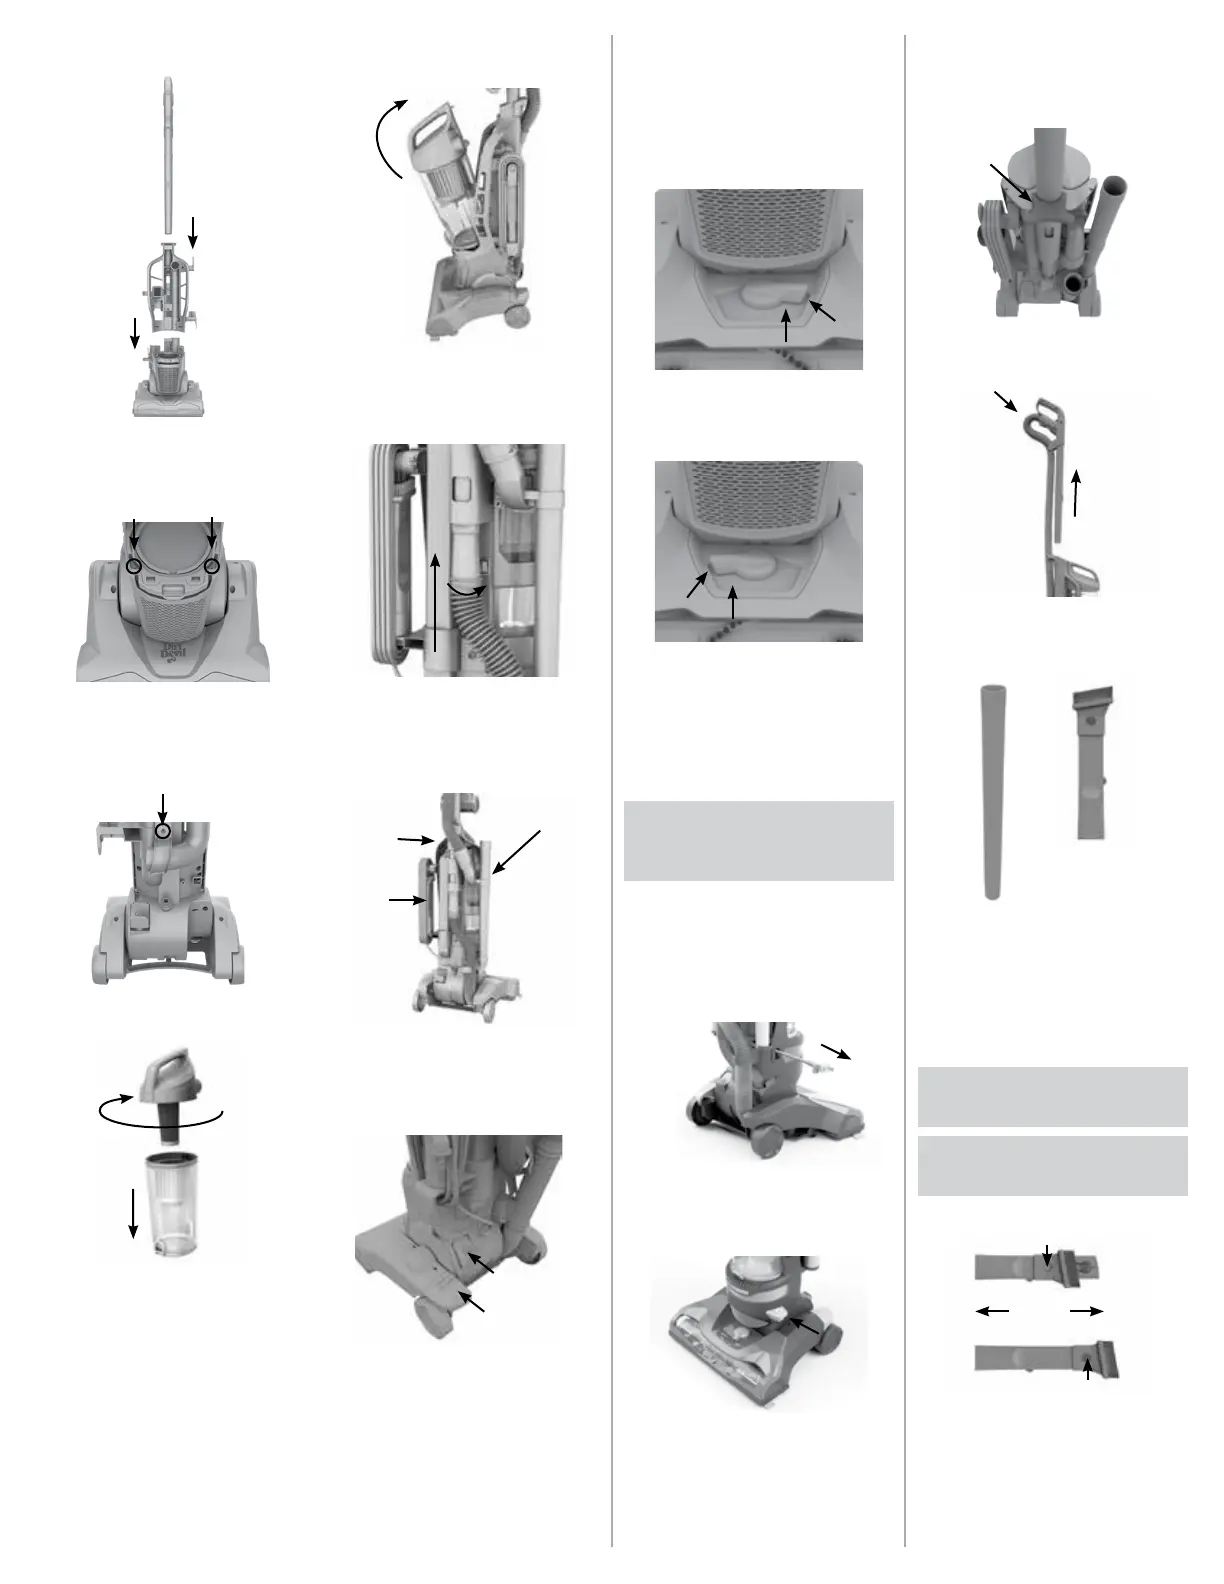
1
Assemble from the front of the unit and slide
the back panel down into place. Then slide the
handle into the top.
2
Verify the front tabs of the back panel have
engaged with the base snap features. If they are
not engaged, the back panel needs to be pushed
down further.
3
Using phillips head screwdriver, drive screw into
back panel to secure to the base.
4
Assemble the dirt cup and make sure the cyclonic
assembly is aligned in the notch, and twist the lid
into the locked position.
5
Place dirt cup into position and push back to lock
it into back panel.
6
Attach the hose from the nozzle to the adapter
on the back panel by inserting up and rotating
to the right.
Hose
Extension Tool
Tools
7
Attach the extension hose to the back of the
handle and the upper adapter on the back of the
unit. Place the tools in on-board storage.
Handle
Release
On/O
Pedal
8
Plug power cord into an outlet and press ON/OFF
pedal to turn on. Push the handle release button
and pull back to recline.
HEIGHT ADJUST
THE FOLLOWING HEIGHT
SETTINGS ARE RECOMMENDED
FOR MAXIMUM CLEANING
PERFORMANCE.
1
Low Settings - Two Positions:
Great for tile, hardwood, linoleum and low pile
carpets.
2
High Settings - Two Positions:
Great for plush and shag carpets.
CORD RELEASE AND
STORAGE*
WARNING: Hold plug when rewinding
onto cord reel. Do not allow plug to whip when
rewinding.*
IMPORTANT: When pulling on the cord, yellow
tape will identify when the cord is almost fully
extended. When red tape is visible on the cord,
the cord has reached its full length. (Do not pull
the cord past the red tape.)
8
HEIGHT ADJUST
THE FOLLOWING HEIGHT SETTINGS ARE RECOMMENDED FOR MAXIMUM
CLEANING PERFORMANCE.
1. Low Settings - Two Positions:
Great for tile, hardwood, linoleum
and low pile carpets.
2. High Settings - Two Positions:
Great for plush and shag carpets.
WARNING
Hold plug when rewinding onto cord reel. Do not
allow plug to whip when rewinding.
IMPORTANT
When pulling on the cord, yellow tape will identify
when the cord is almost fully extended. When red
tape is visible on the cord, the cord has reached its
full length. (Do not pull the cord past the red
tape.)
CORD RELEASE
AND STORAGE
*
*
Not all models have these features
1
Prior to using, grasp the end of the plug and pull
to release the cord from the cord reel until red
tape is reached.
8
HEIGHT ADJUST
THE FOLLOWING HEIGHT SETTINGS ARE RECOMMENDED FOR MAXIMUM
CLEANING PERFORMANCE.
1. Low Settings - Two Positions:
Great for tile, hardwood, linoleum
and low pile carpets.
2. High Settings - Two Positions:
Great for plush and shag carpets.
WARNING
Hold plug when rewinding onto cord reel. Do not
allow plug to whip when rewinding.
IMPORTANT
When pulling on the cord, yellow tape will identify
when the cord is almost fully extended. When red
tape is visible on the cord, the cord has reached its
full length. (Do not pull the cord past the red
tape.)
CORD RELEASE
AND STORAGE
*
*
Not all models have these features
2
To return cord for storage, hold plug and press
down Cord Release Pedal on side of cord reel.
*Not all models have this feature.
TOOLS
QUICK RELEASE CLEANING WAND
8
1. Press the wand release button.
*
QUICK RELEASE
CLEANING WAND
3. Push the tools on the wand*
for convenient cleaning.
When you’re done, twist &
pull to take them off.
** *
*
Accessories not included on all models.
Wand Release
1
Press the wand release button.
8
1. Press the wand release button.
*
QUICK RELEASE
CLEANING WAND
3. Push the tools on the wand*
for convenient cleaning.
When you’re done, twist &
pull to take them off.
** *
*
Accessories not included on all models.
2
Pull wand up & out and insert hose to wand.
* *
3
Push the tools on the wand* for convenient
cleaning. When you’re done, twist & pull to take
them o.
*Accessories not included on all models.
COMPLETE ON-BOARD TOOLKIT
WARNING: Unplug vacuum before
connecting hose, wand or tools.
CAUTION: Not to be used for grooming
a pet.
OR
A
A
*
When using the 2-IN-1 Combo Tool, Press the
lock button down and slide to switch between
Crevice Tool and Dusting Brush Tool.
 Loading...